Predictability in direct restorations using Biometrics
Restoring smiles using biometrics is not applicable exclusively to milled restorations. Dr. Thiago Ottoboni together with Dr. Lincoln Queiros developed a patented technique for making quality direct restorations using 3D printed guides for copying shape, morphology and texture.
Bellow you have the complete protocol starting from 2D planning, to direct restoration of not only enamel but also dentin and palatal morphology, resulting in a natural and functional new smile.
Initial
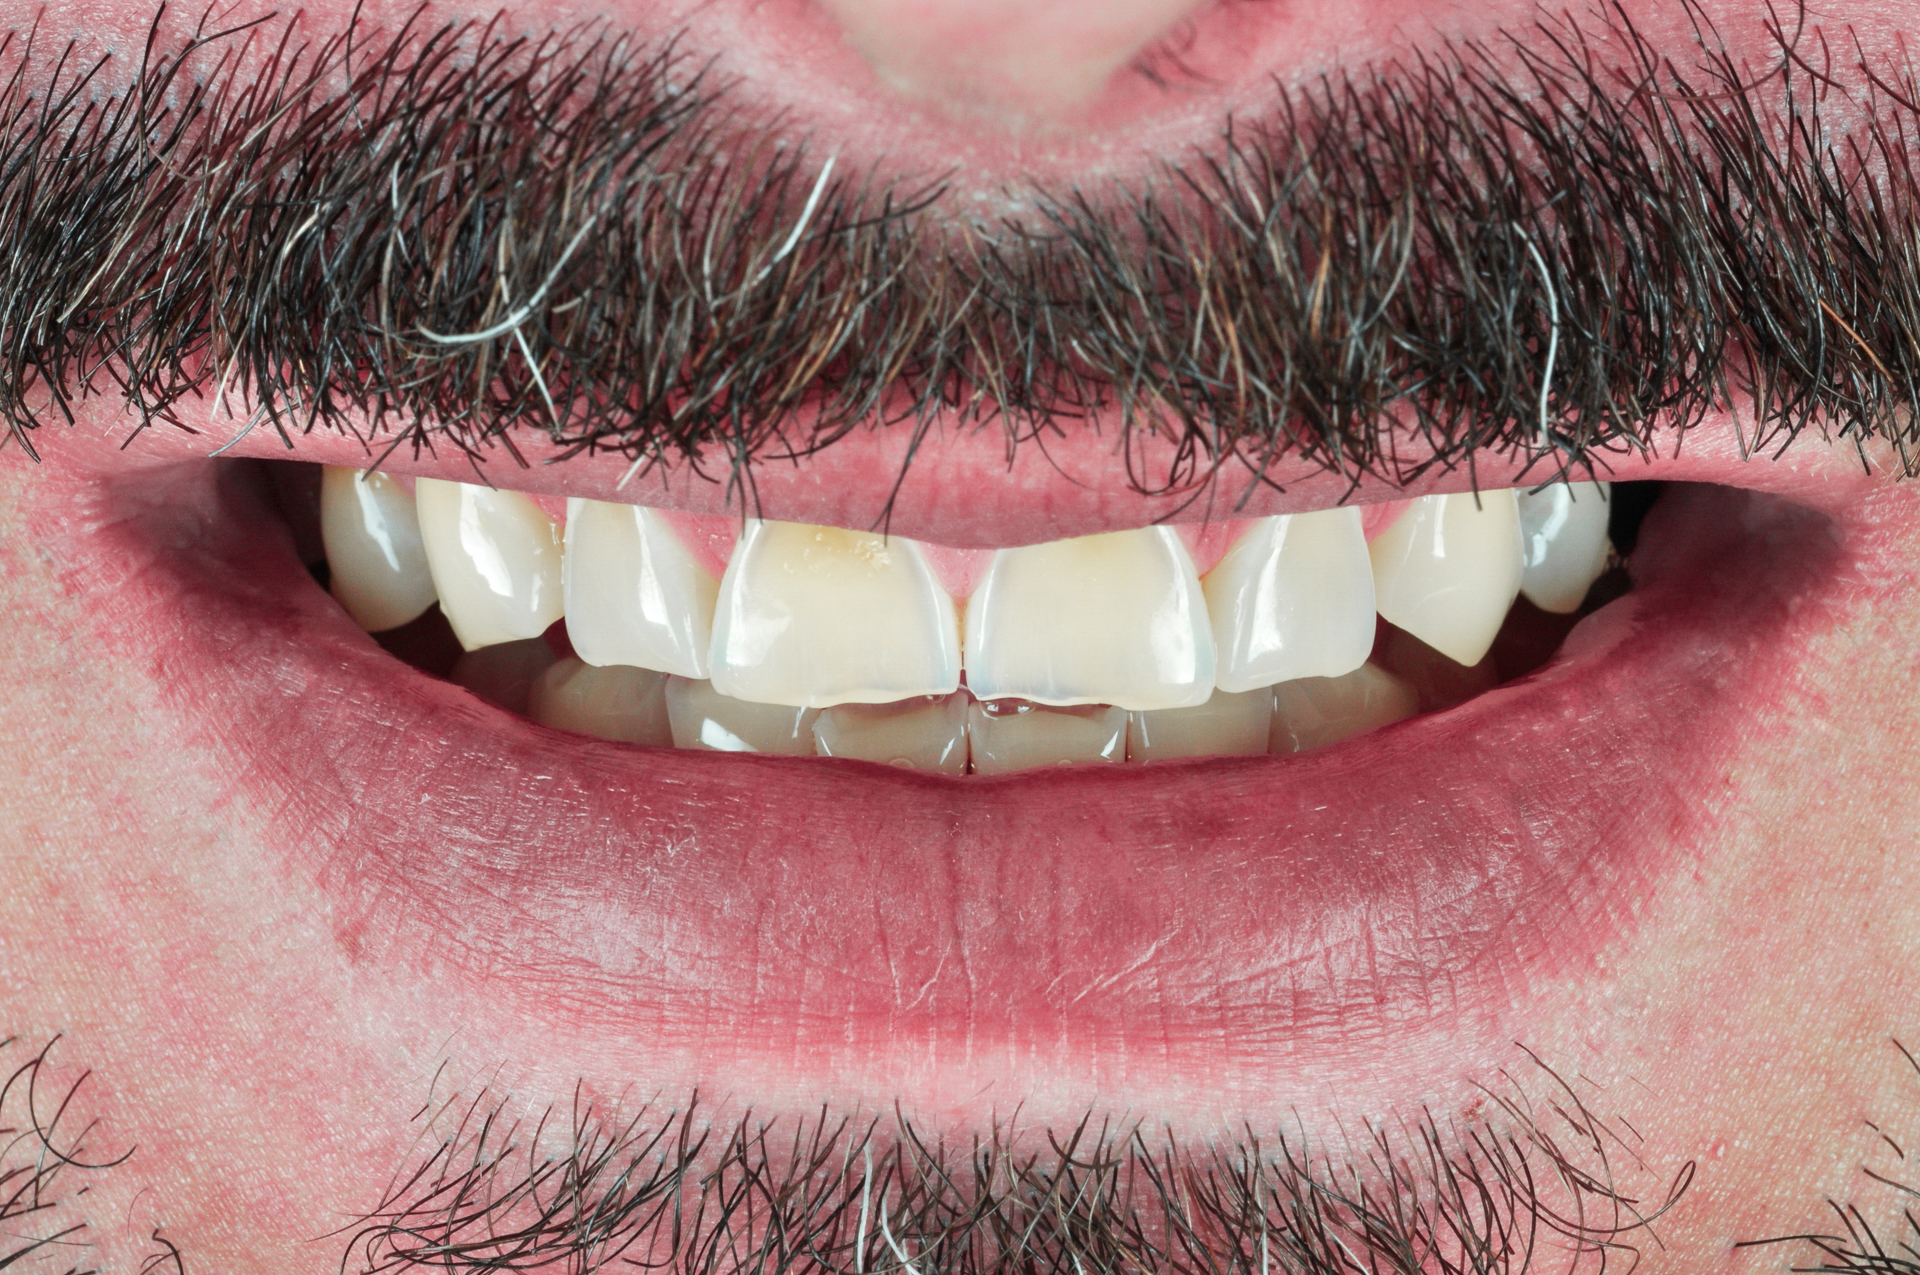
The patient shows a great loss of enamel and dentin due to corrosion. Both aesthetic and functional issues prove to be very serious, requiring a total rehabilitation as well as an increase of the DVO to achieve stability and function.
Initial situation
Initial situation
2D Planning
We started the case with a 2D design using the Smilecloud algorithm to find the best matching natural shapes. After the patient agreed with the treatment plan, we downloaded the biometric library and designed the 3D mockup following the guidelines of the 2D plan.

2D planning and shape selection
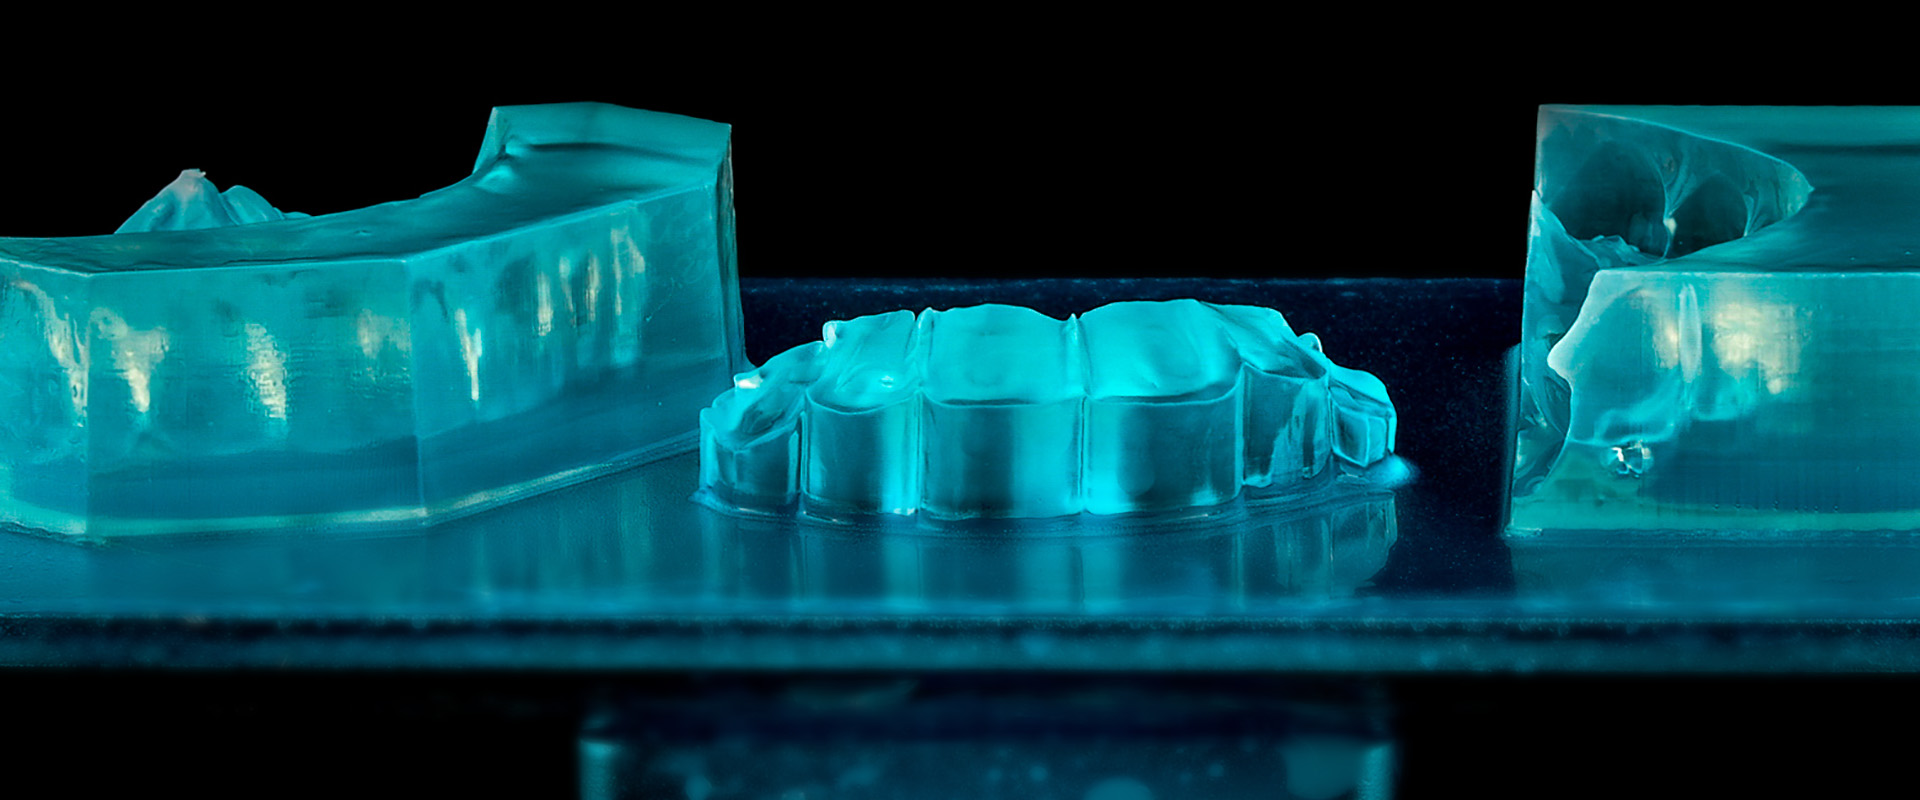
Guides
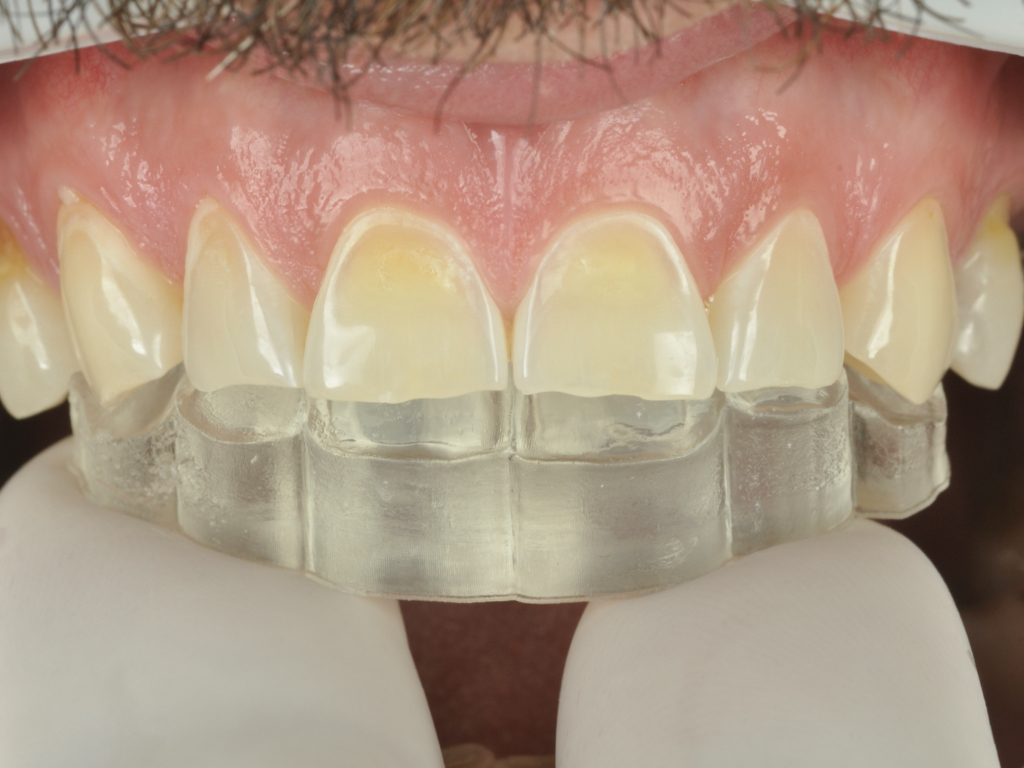
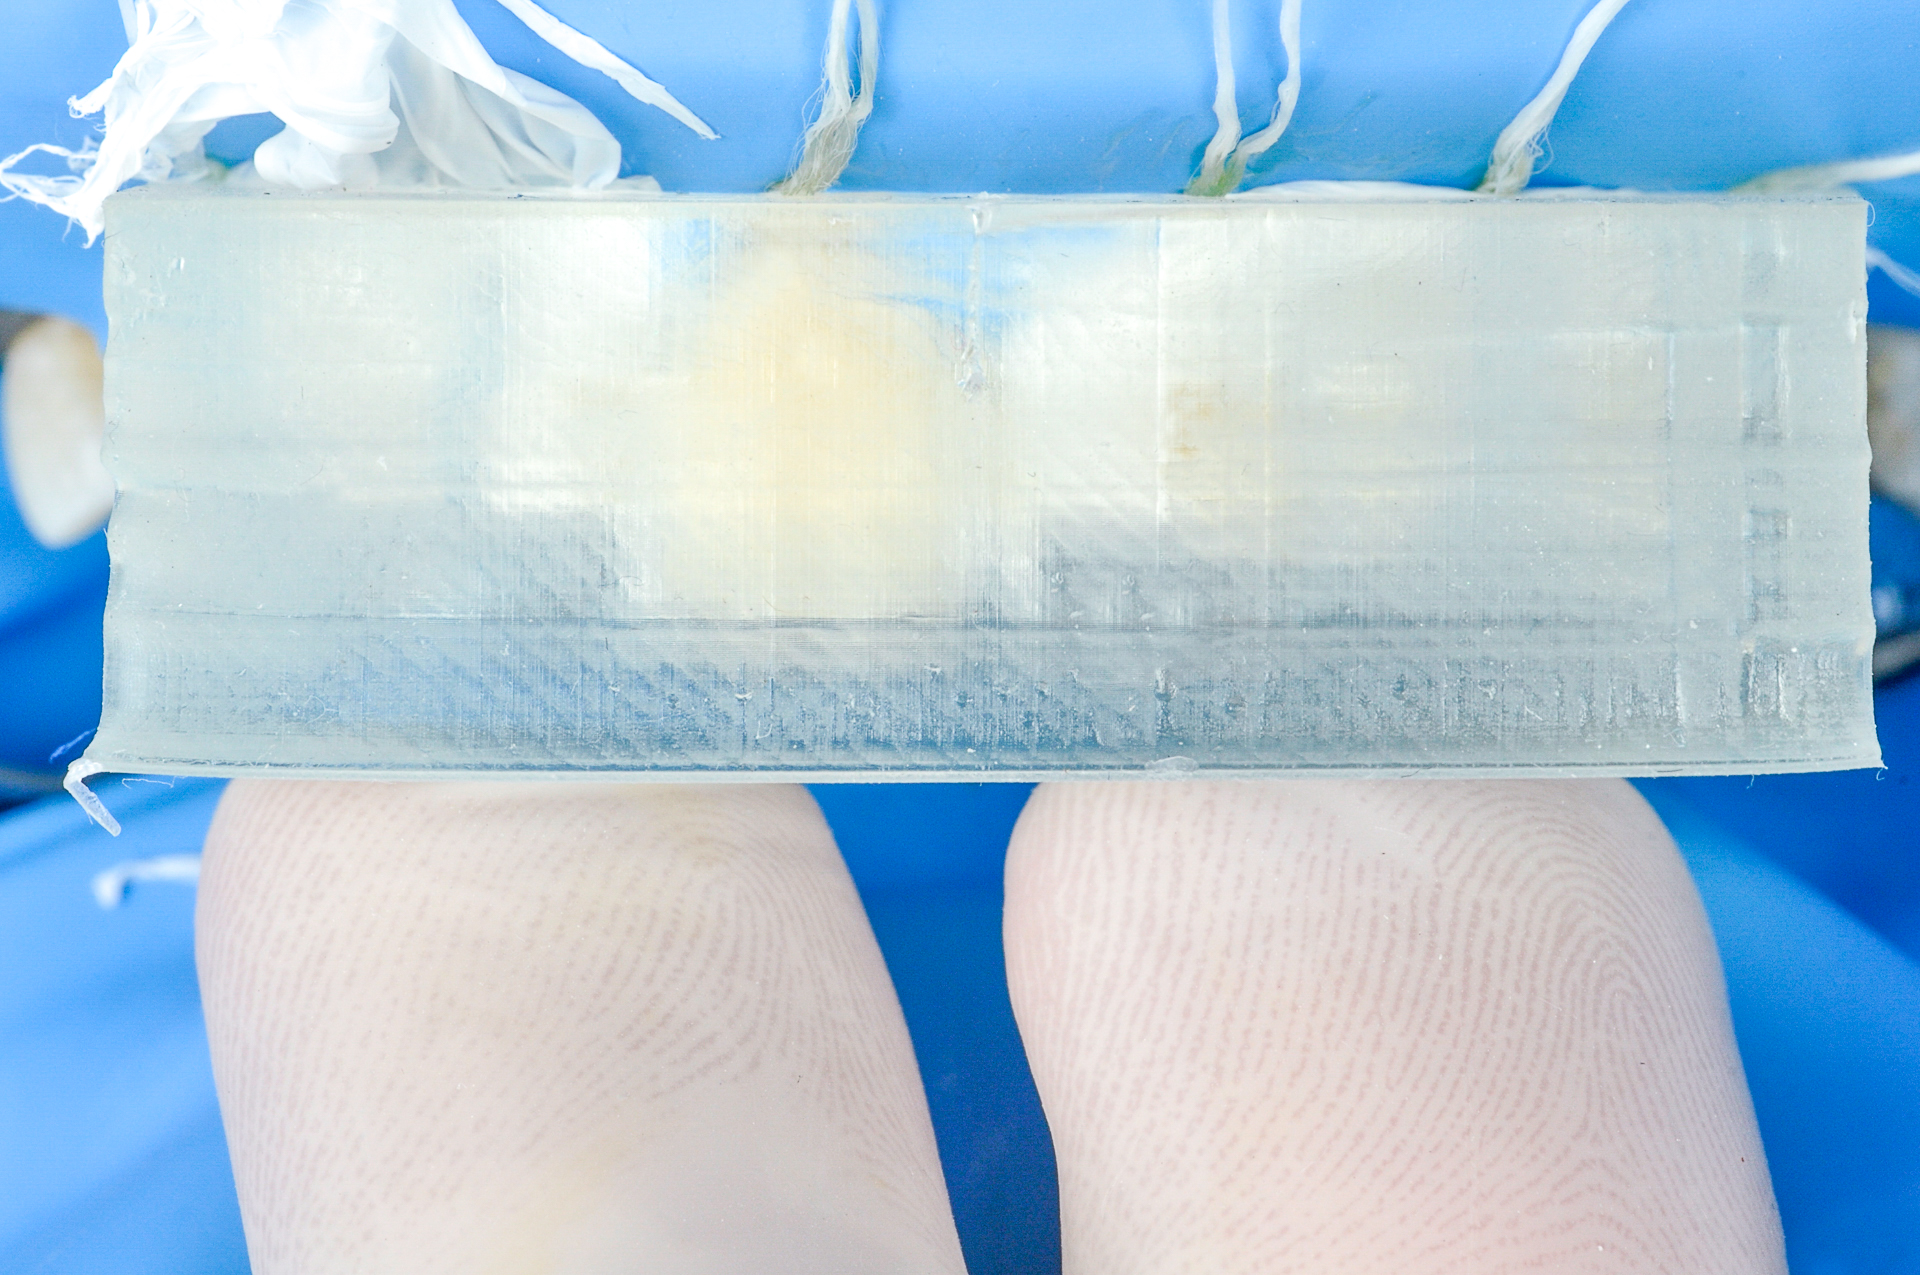
Due to the big lack of vestibular volume – 0.5 mm, case required an extra dentin layer in addition to the vestibular and palatal build-up. We used the 3D mockup design to create 3 guides and printed in clear resin. After testing in the mouth we confirmed a perfect adaptation and insertion axis of guides.
We installed posterior provisional restorations for the establishment of DVO and occlusal stability after which we continued to restoring the anteriors with composite resin on vestibular and palatal surface, restoring not only lost enamel but also dentin after corrosion.
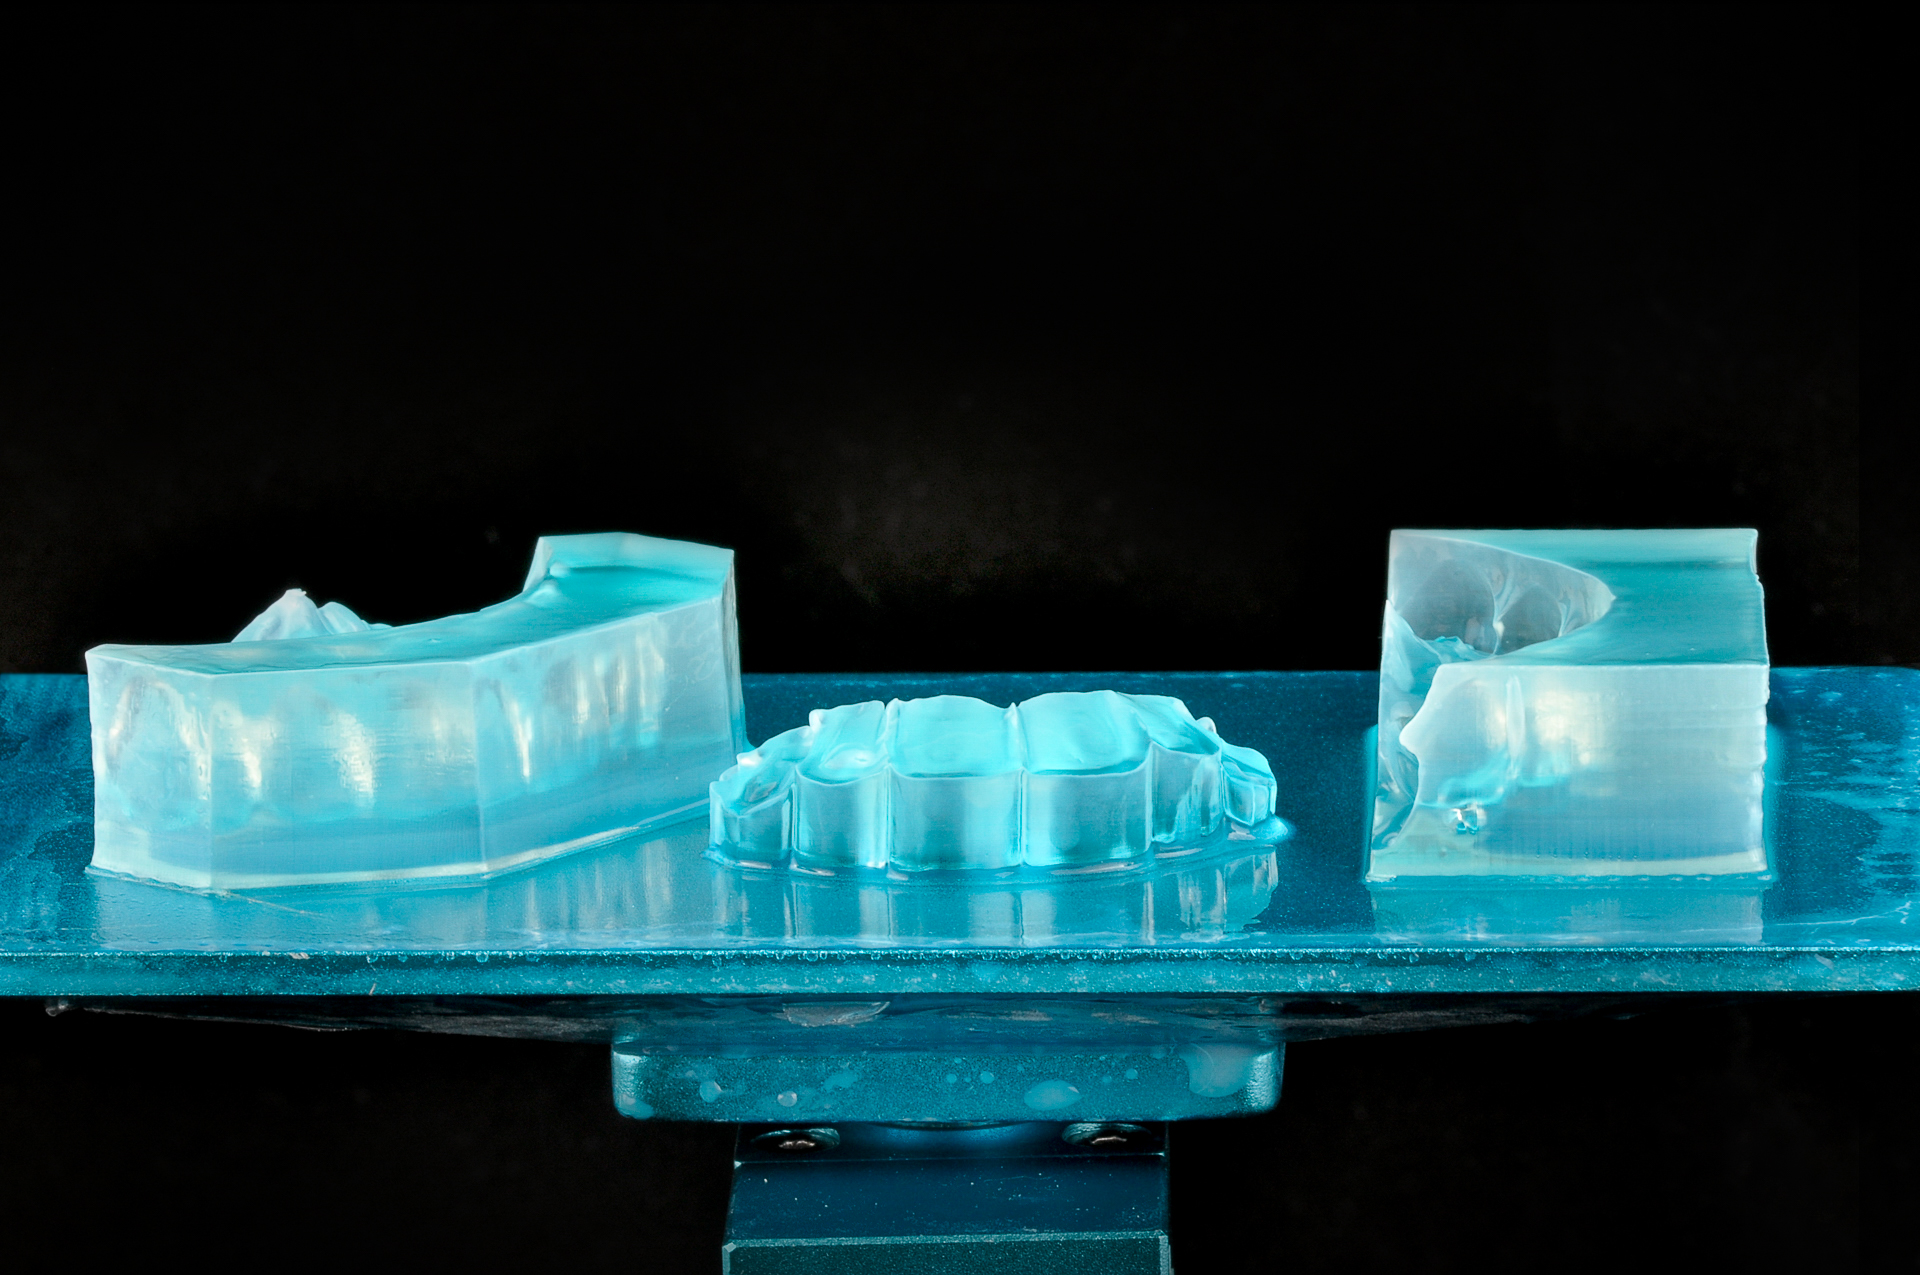
Printed guides for Dentine, palatal and vestibular direct restorations
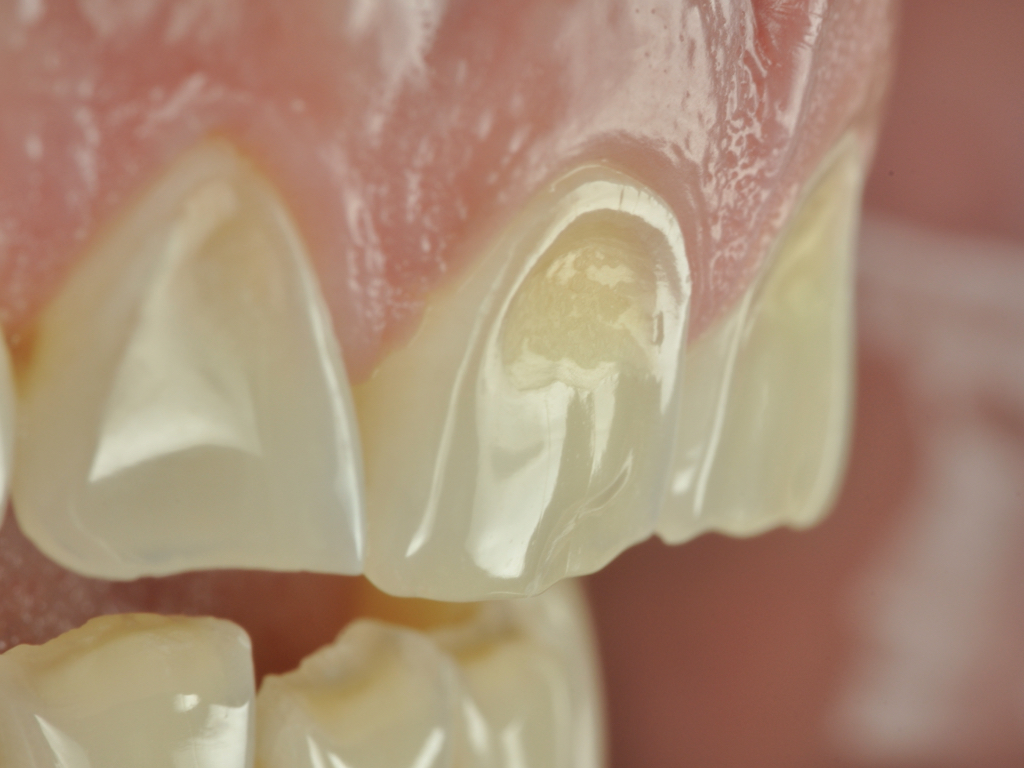
Restoration of dentin
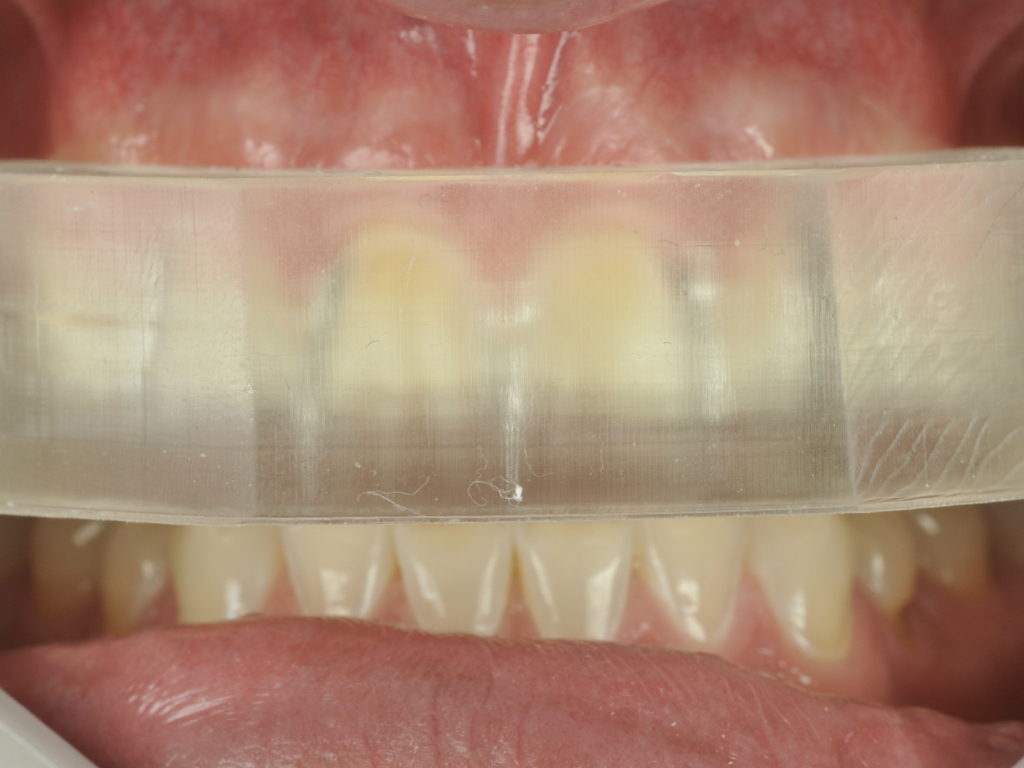
The digital design allowed us to calibrate an adequate thickness of layers and dentin morphology providing a greater predictability in choosing the right materials considering colour and opacity needed to achieve the best results.
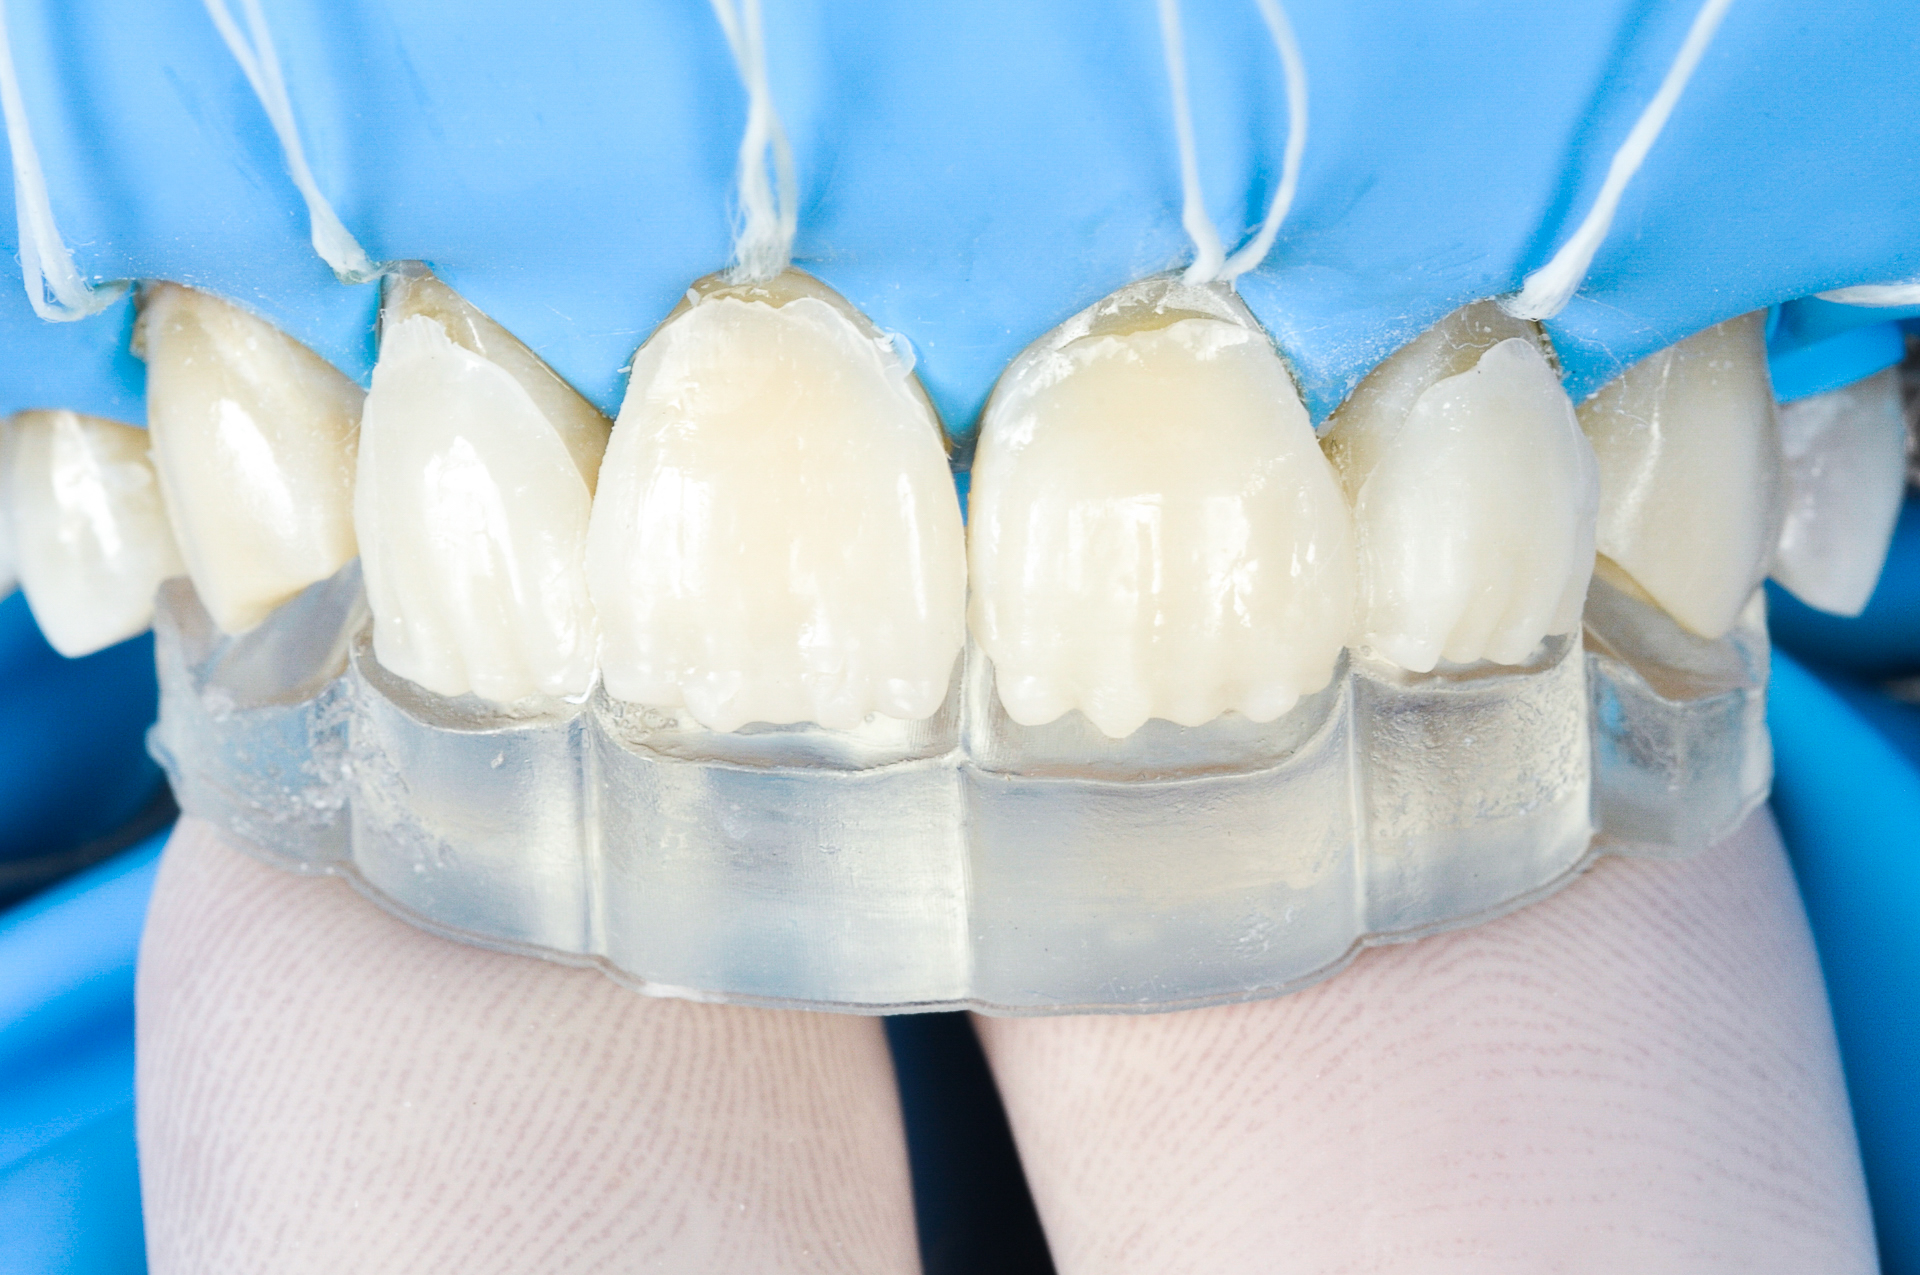
After the first test, we performed absolute isolation, and a second test to check if the rubber dam created any interference in the insertion of the guides.
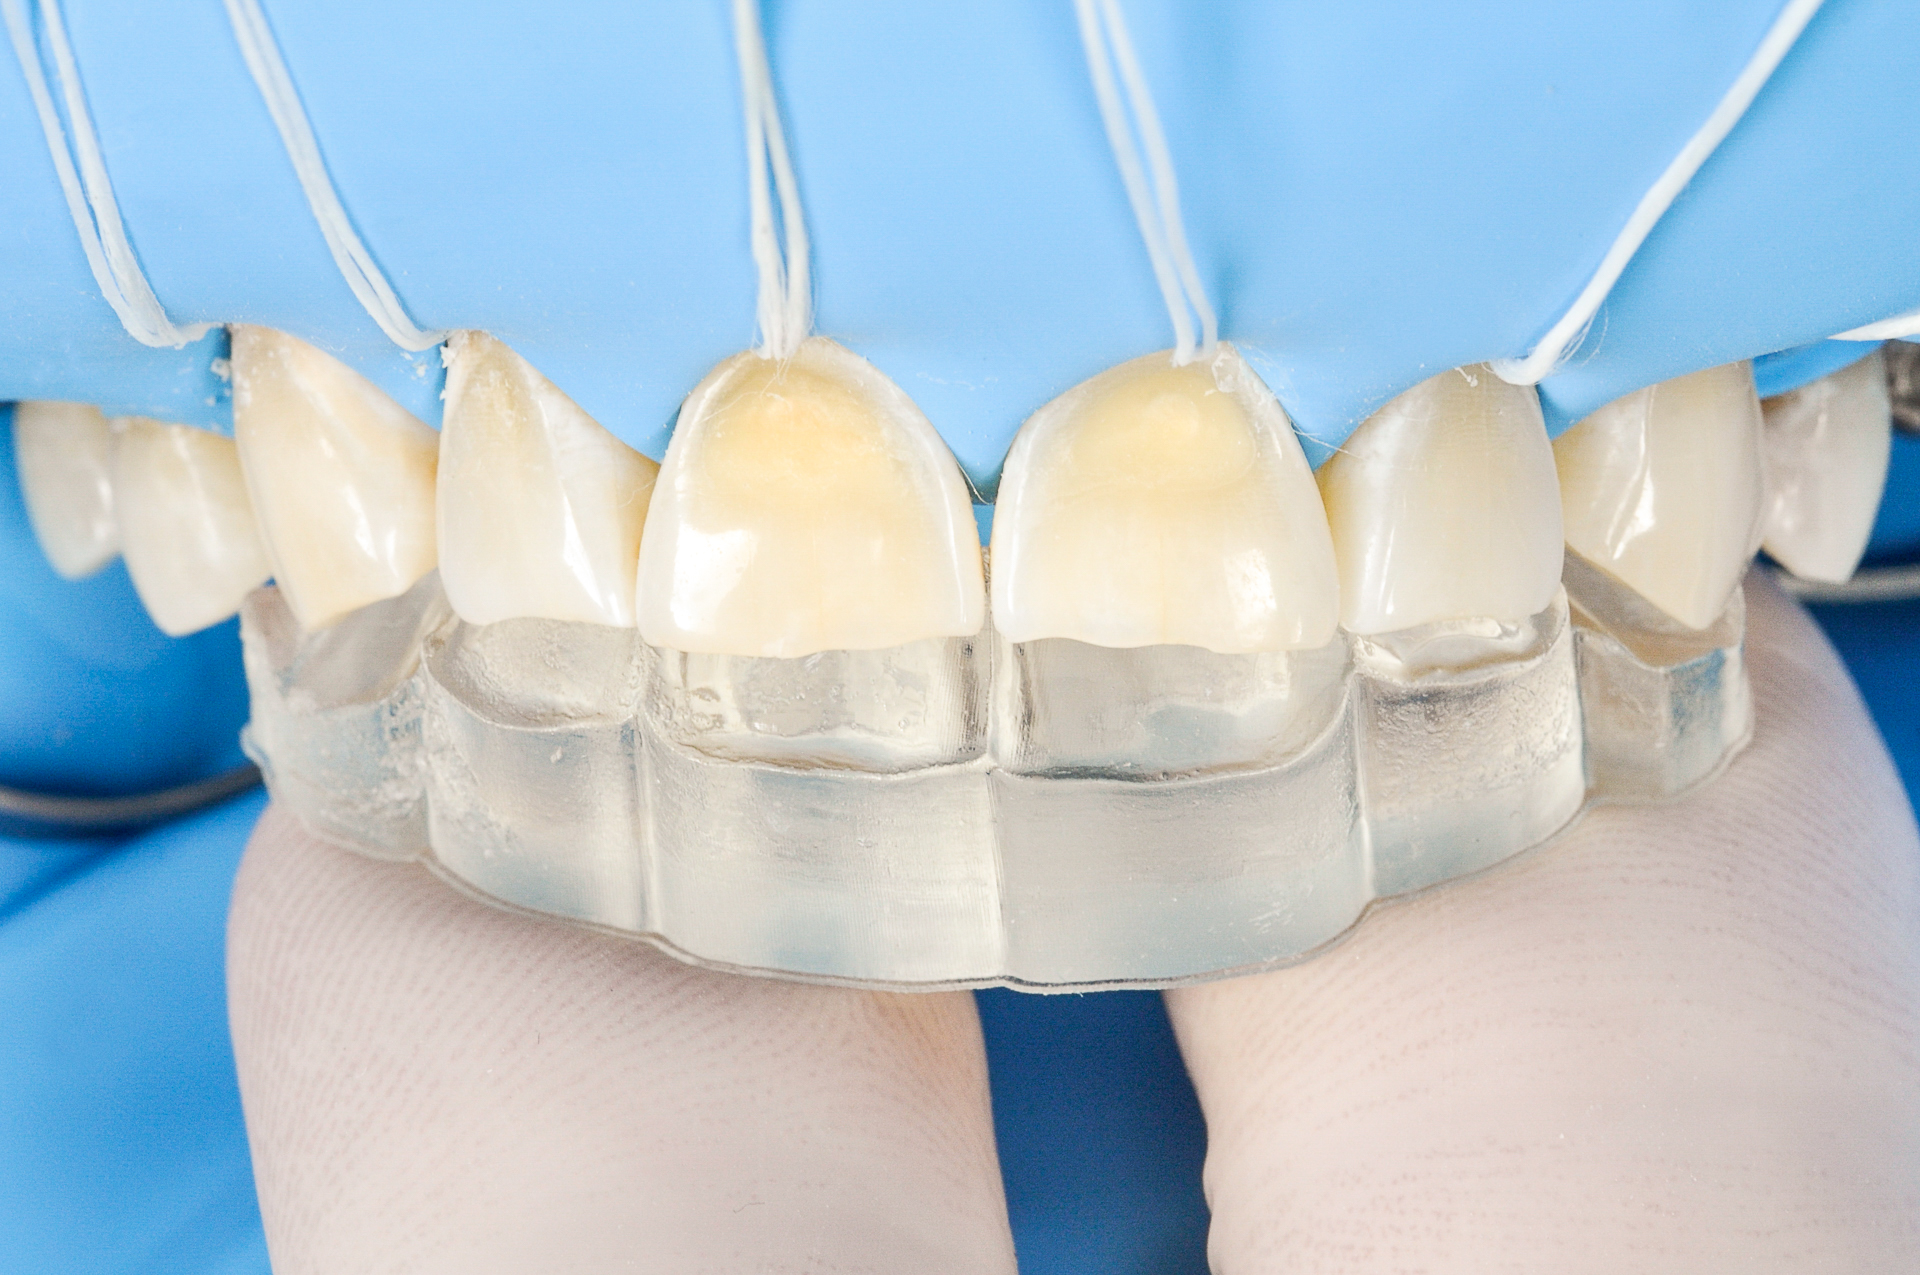
Absolute isolation and evaluation of the insertion without interference
The application process was the following:
- acid conditioning of enamel
- selective application of self-etching adhesive
- isolation of adjoining teeth
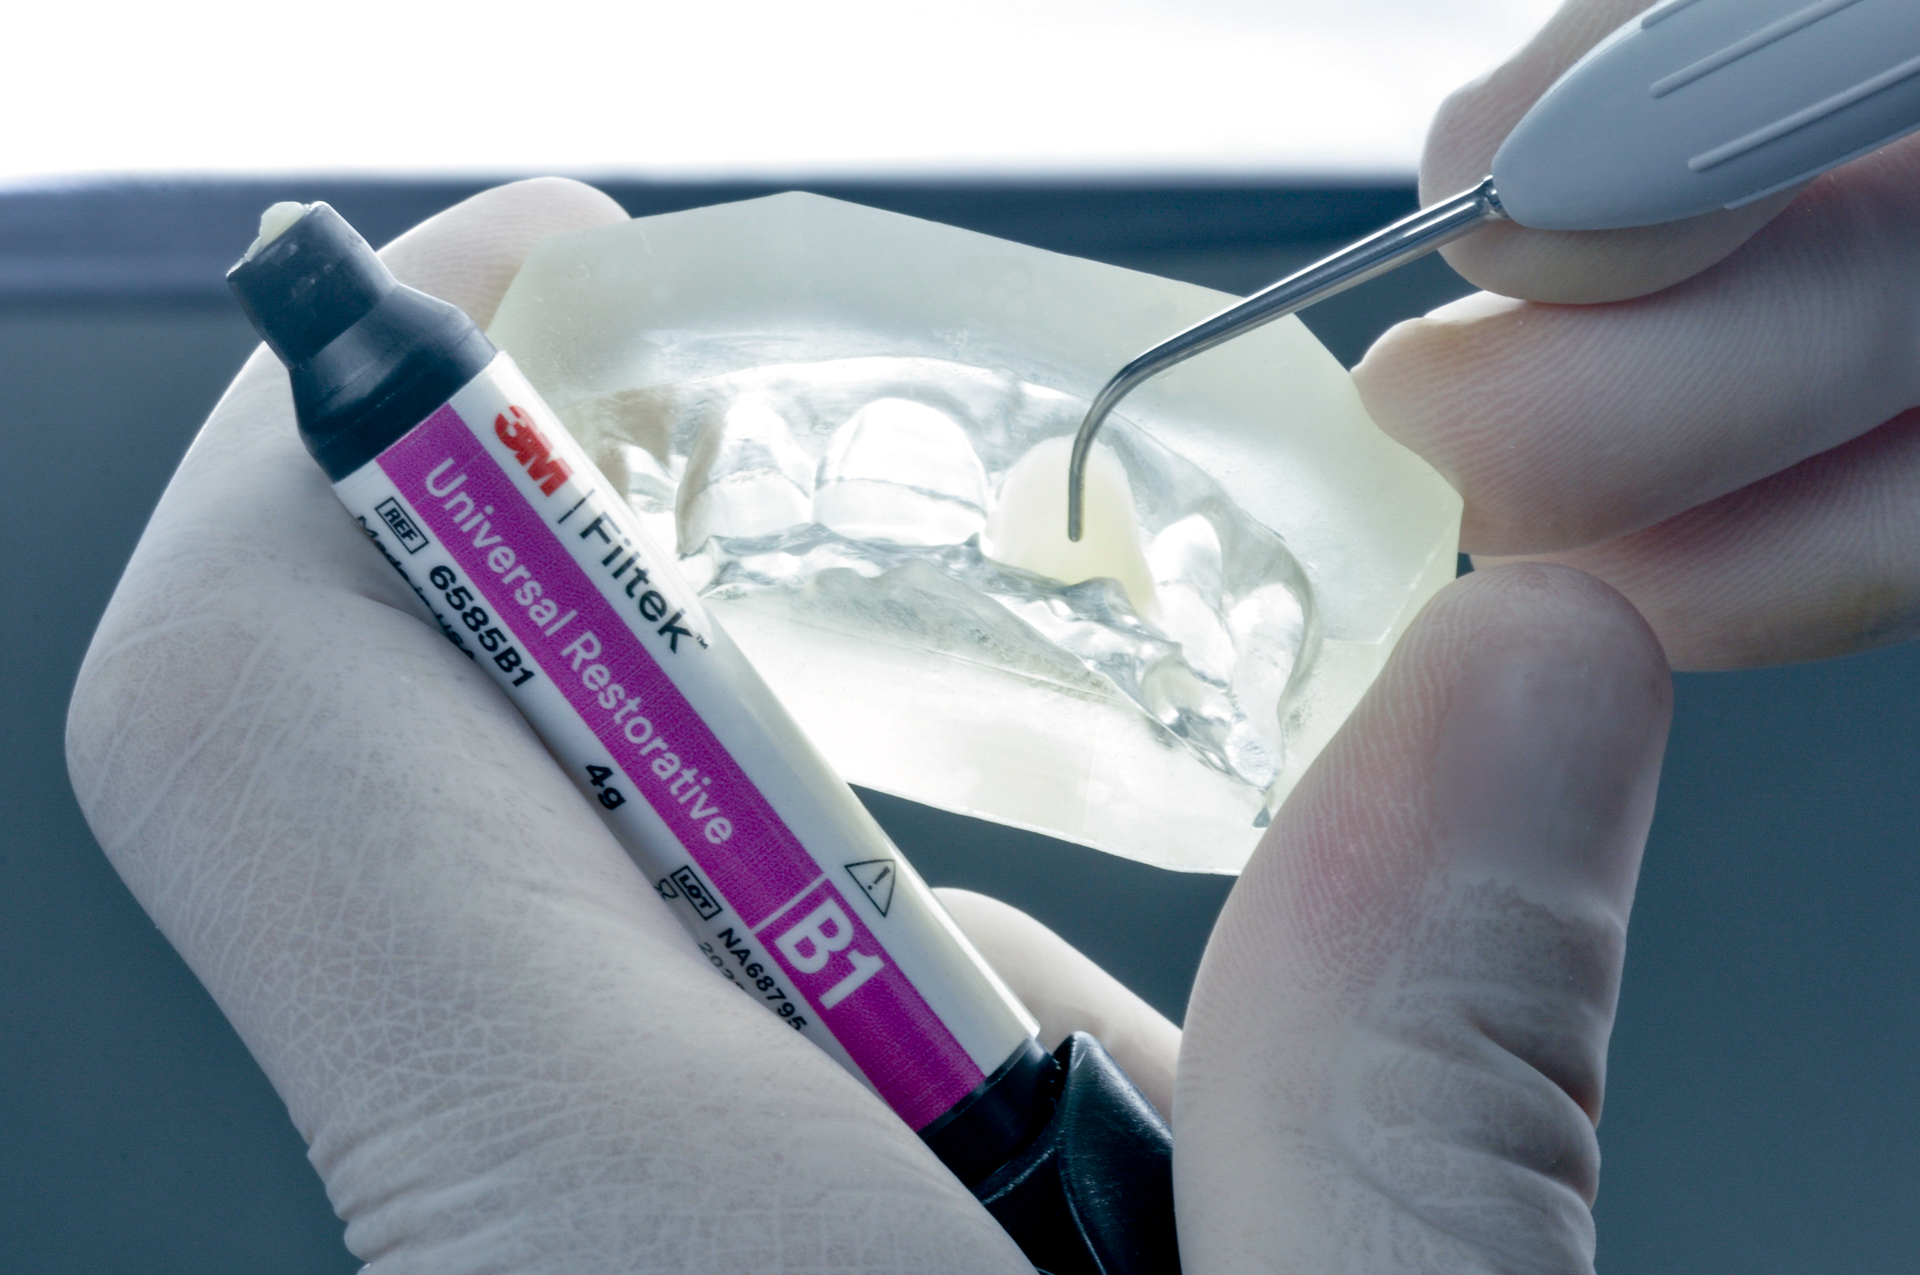
- application of dentine composite A1B Z350 Xt 3M onto the guide
- insertion of the guide with dentine layer into correct position
- 20 second polymerisation
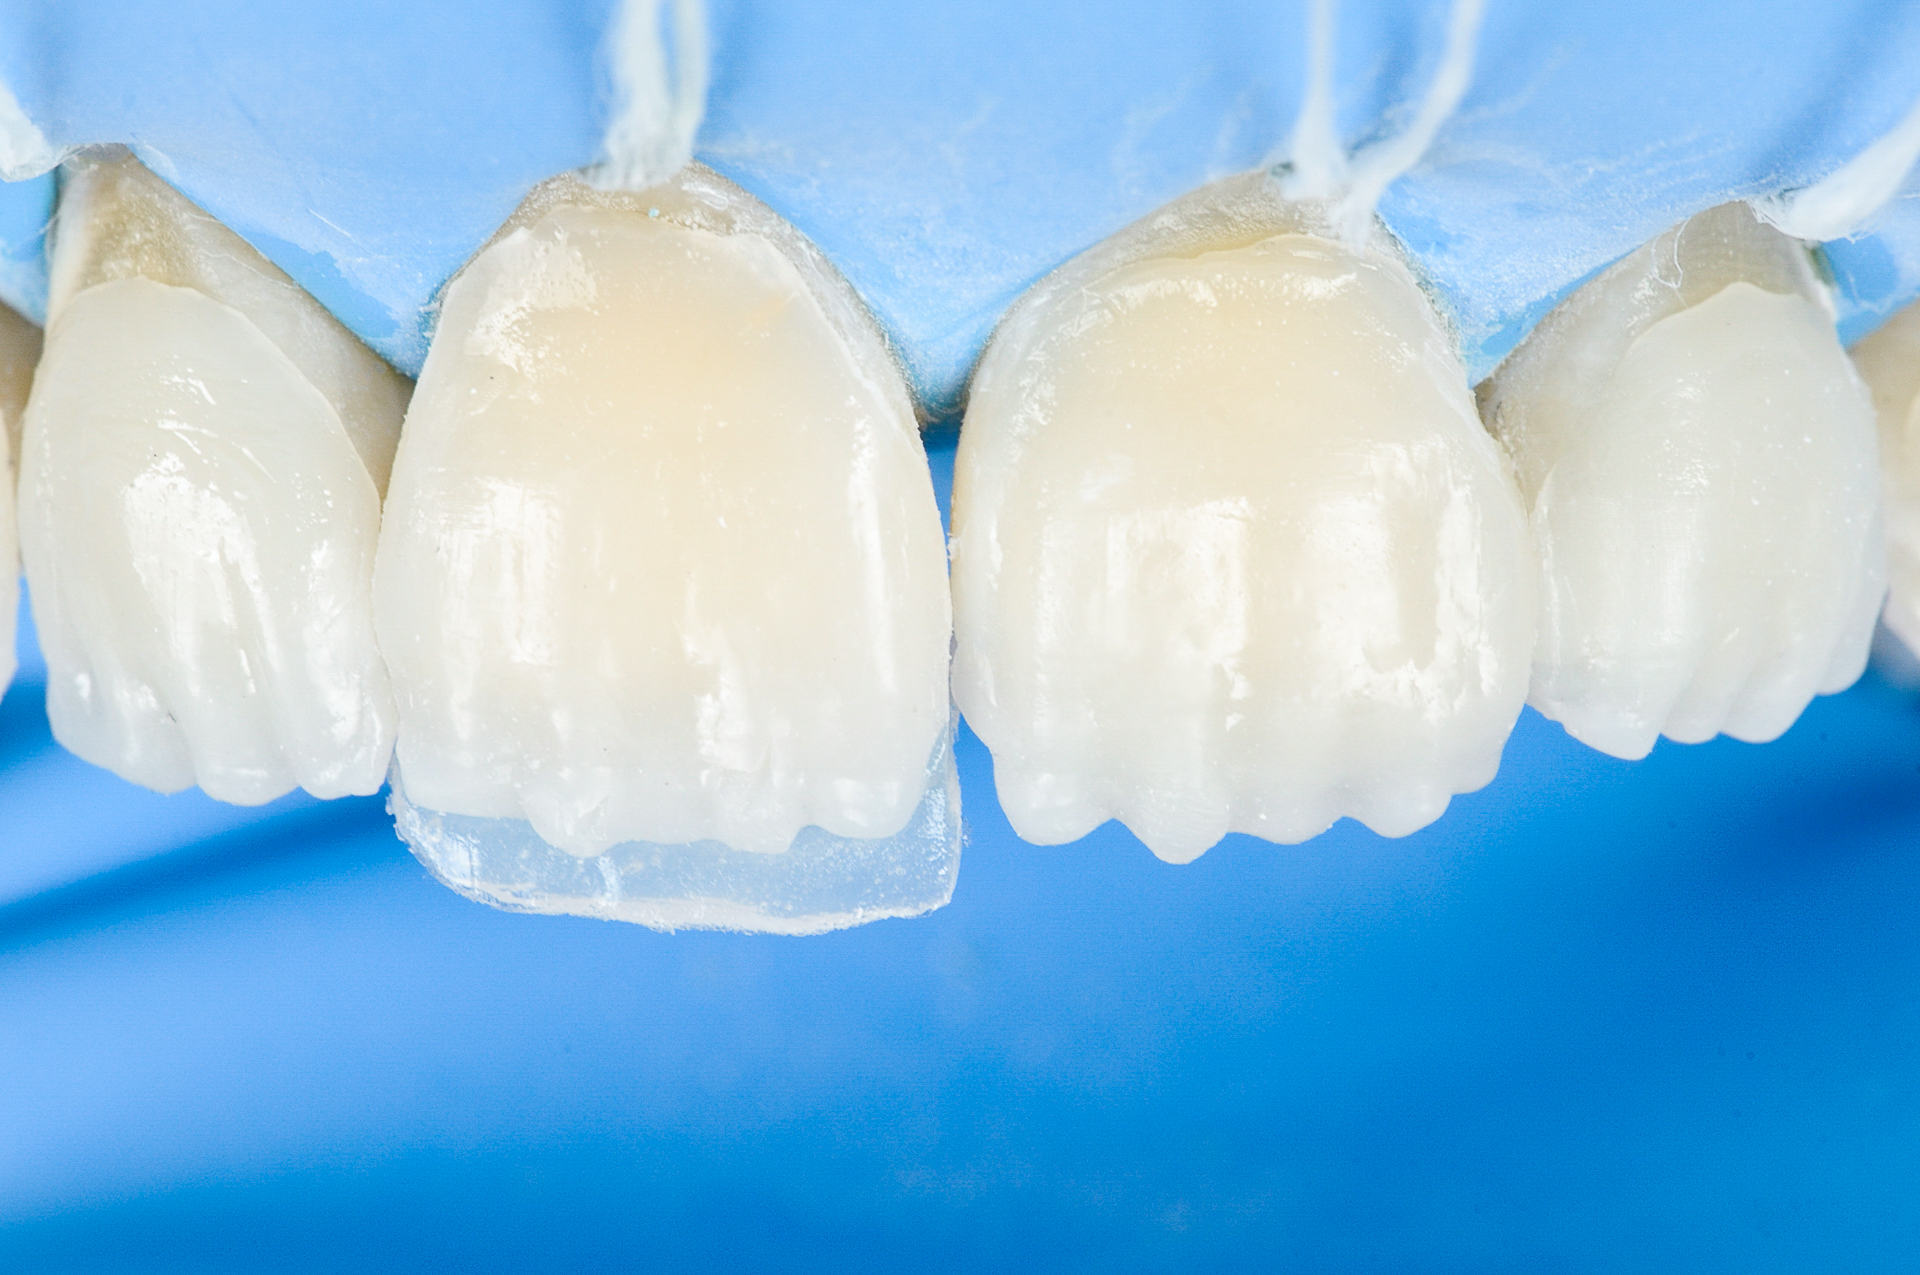
The result is an accurate morphology with exactly the same thickness and shape as planned. Most importantly, the shape, thickness and texture achieved is independent of the dentist’s manual skill.
Insertion of the A1B Z350 Xt 3M dentin composite resin
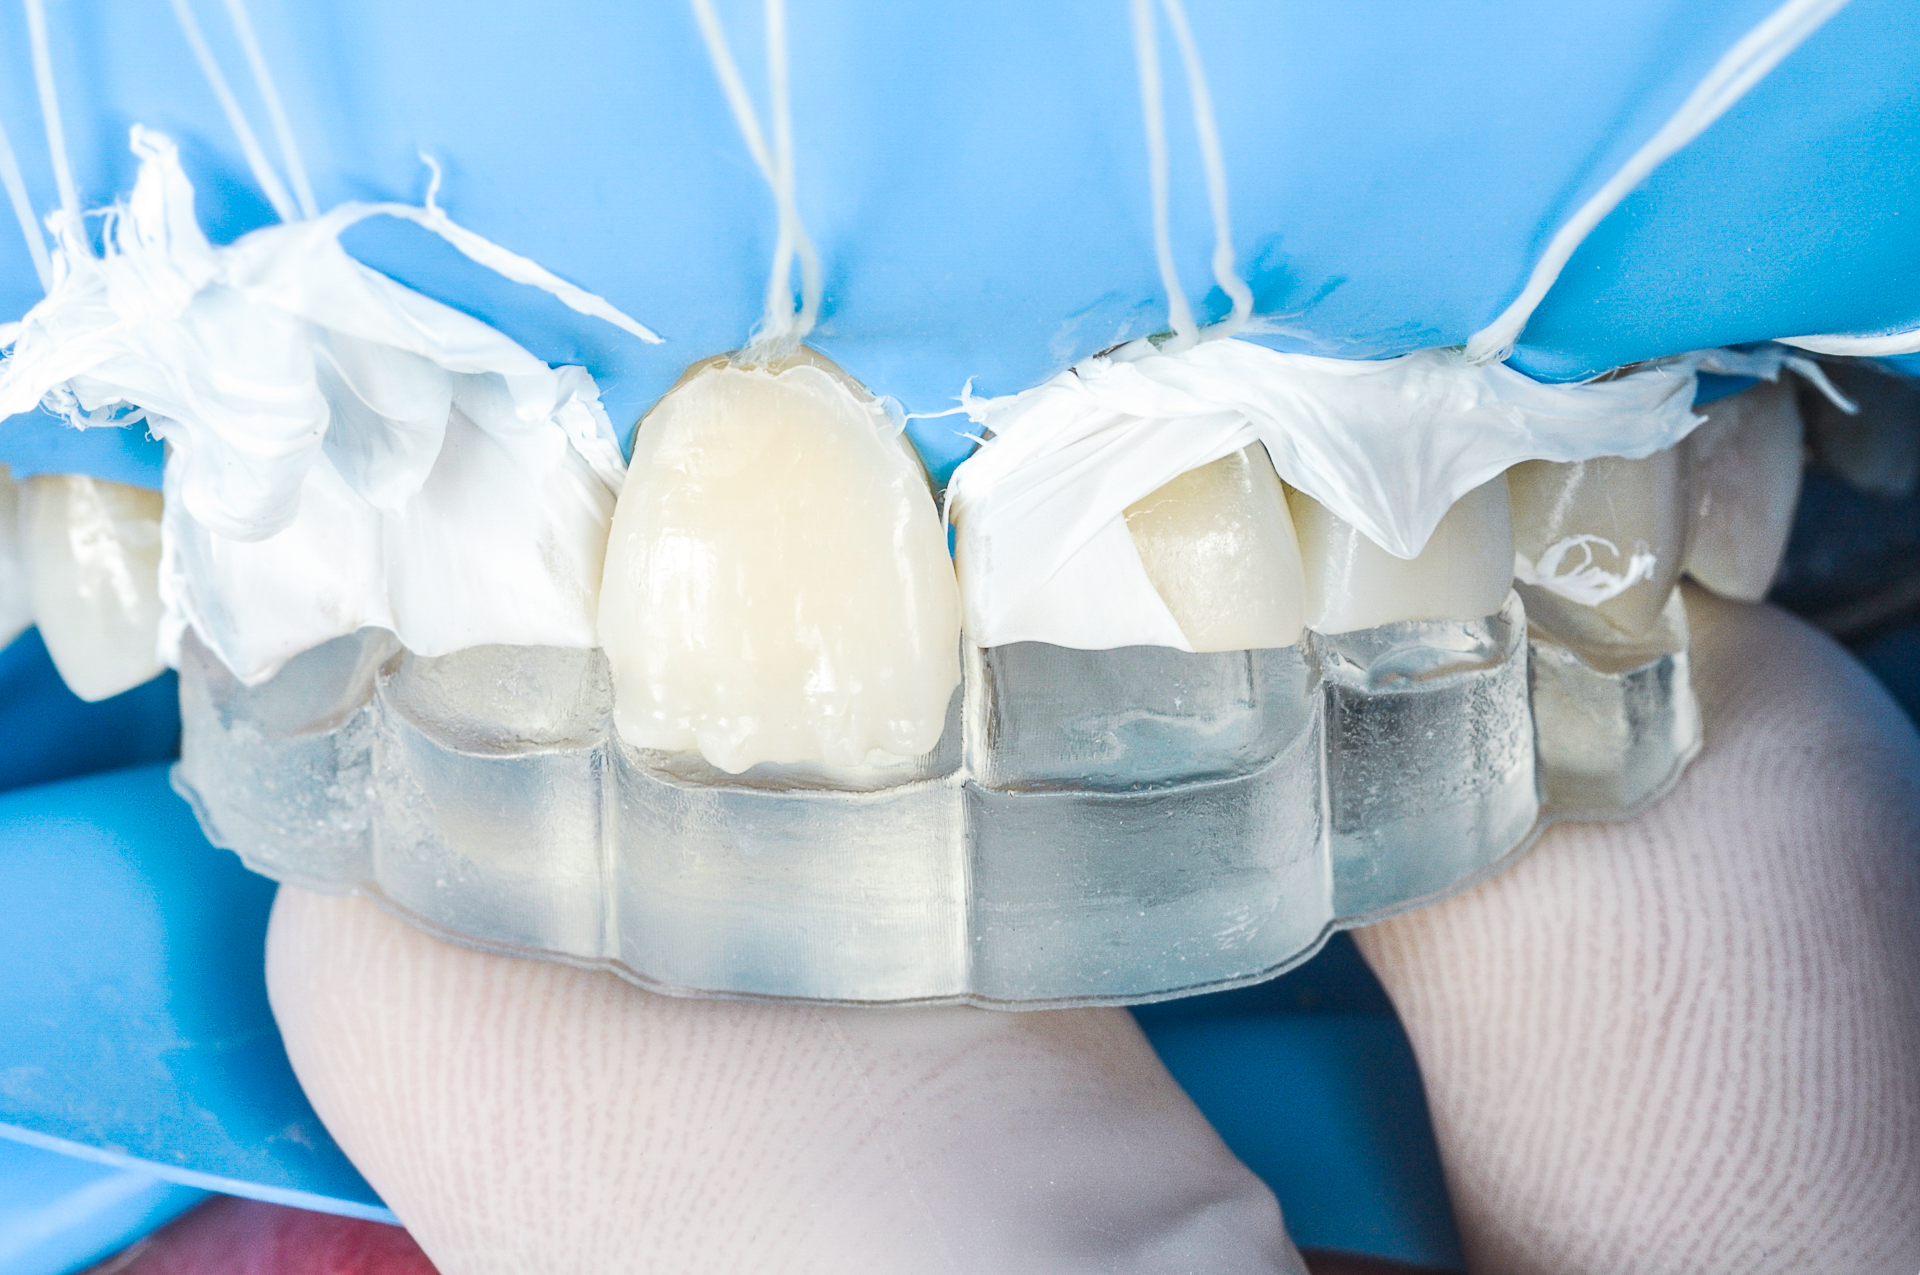
After 20-second polymerisation
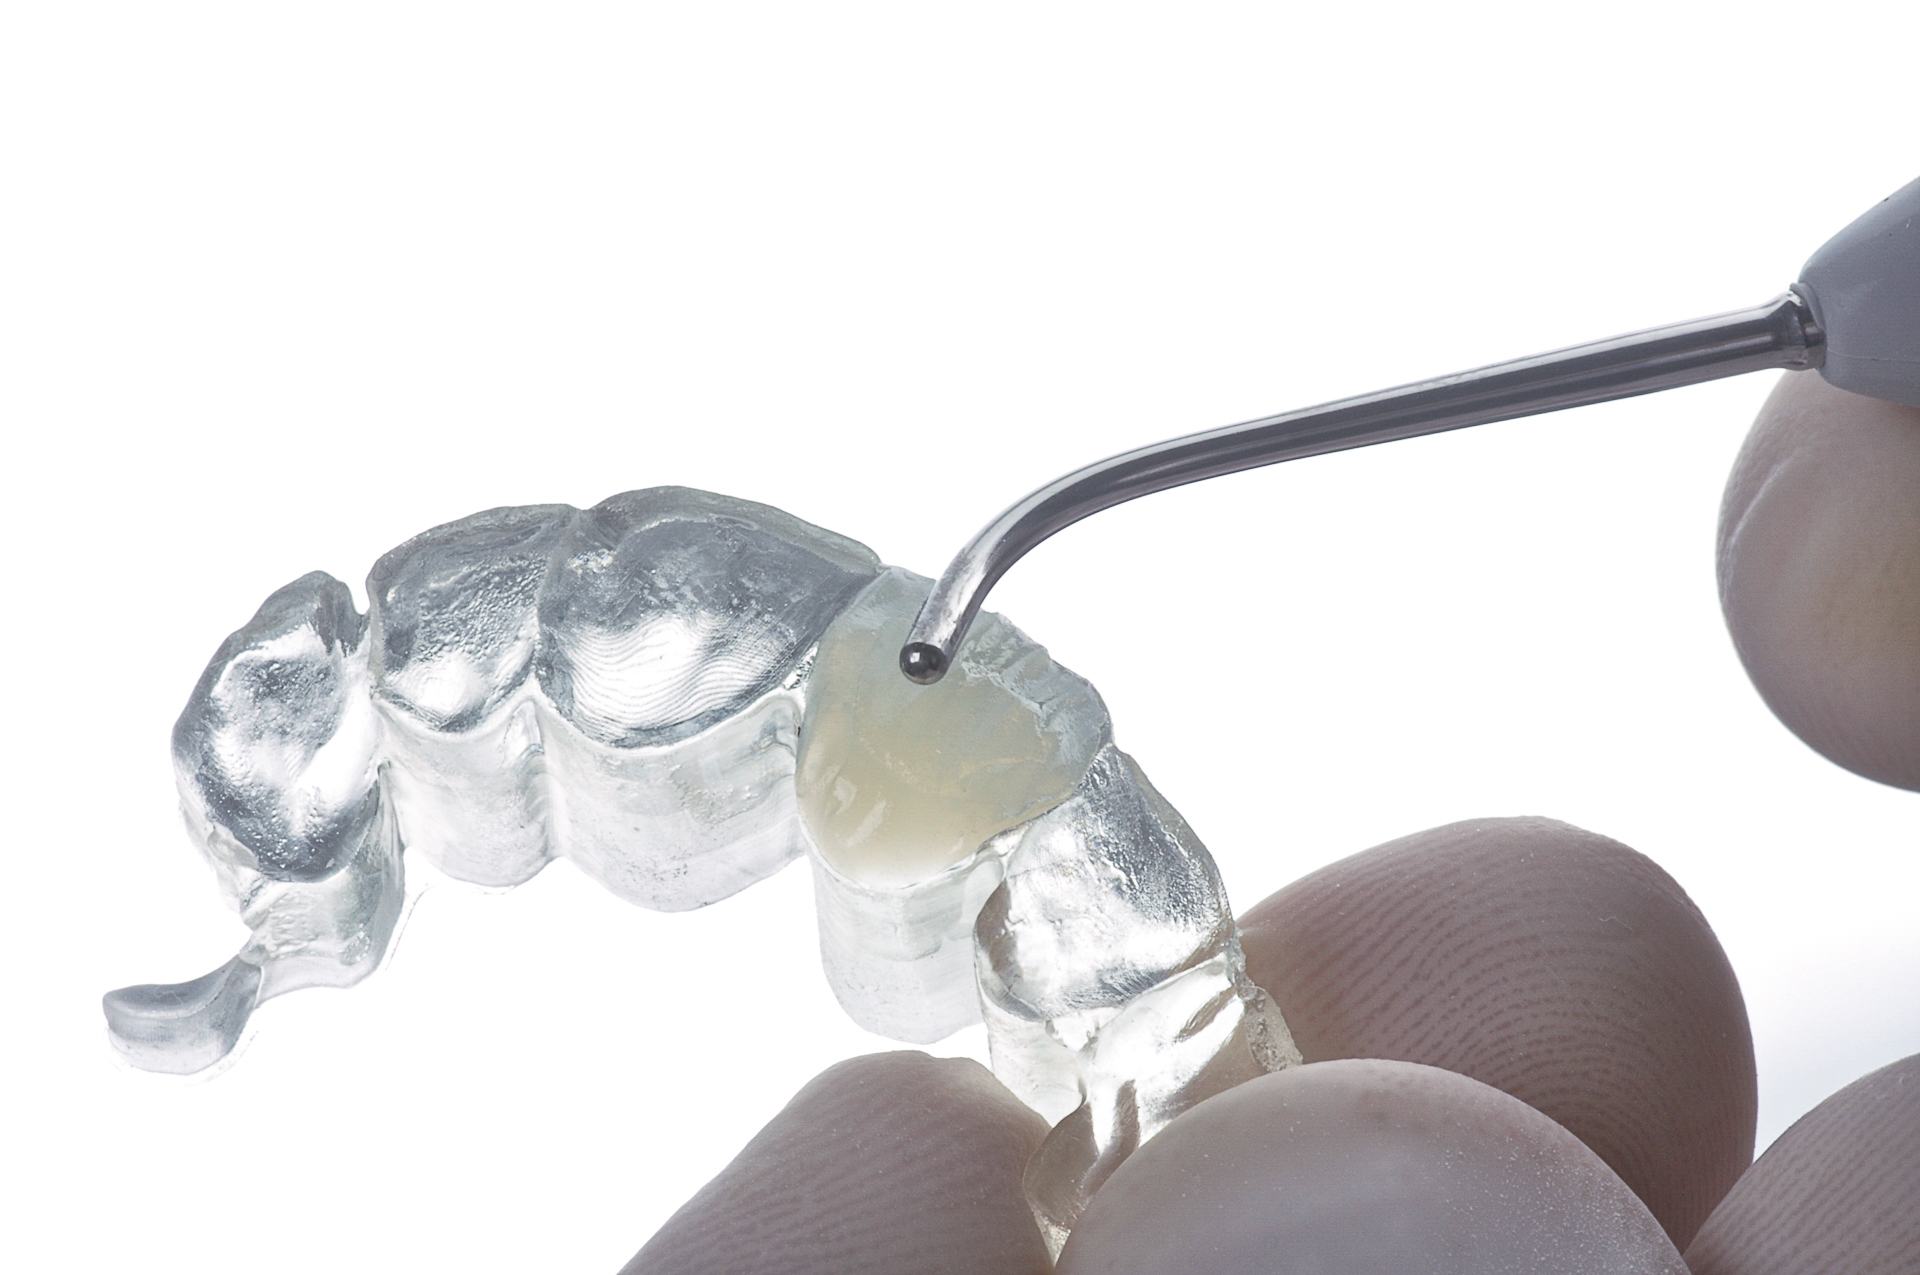
After the first layer of dentin was completed, we performed a check up of the palatal guide to assess the adaptation between layers and palatine space, thus proceeding with the planned sequence: applying the dentin of tooth 21, then simultaneously on tooth 12, 22 after which we applied dentin on the canines.
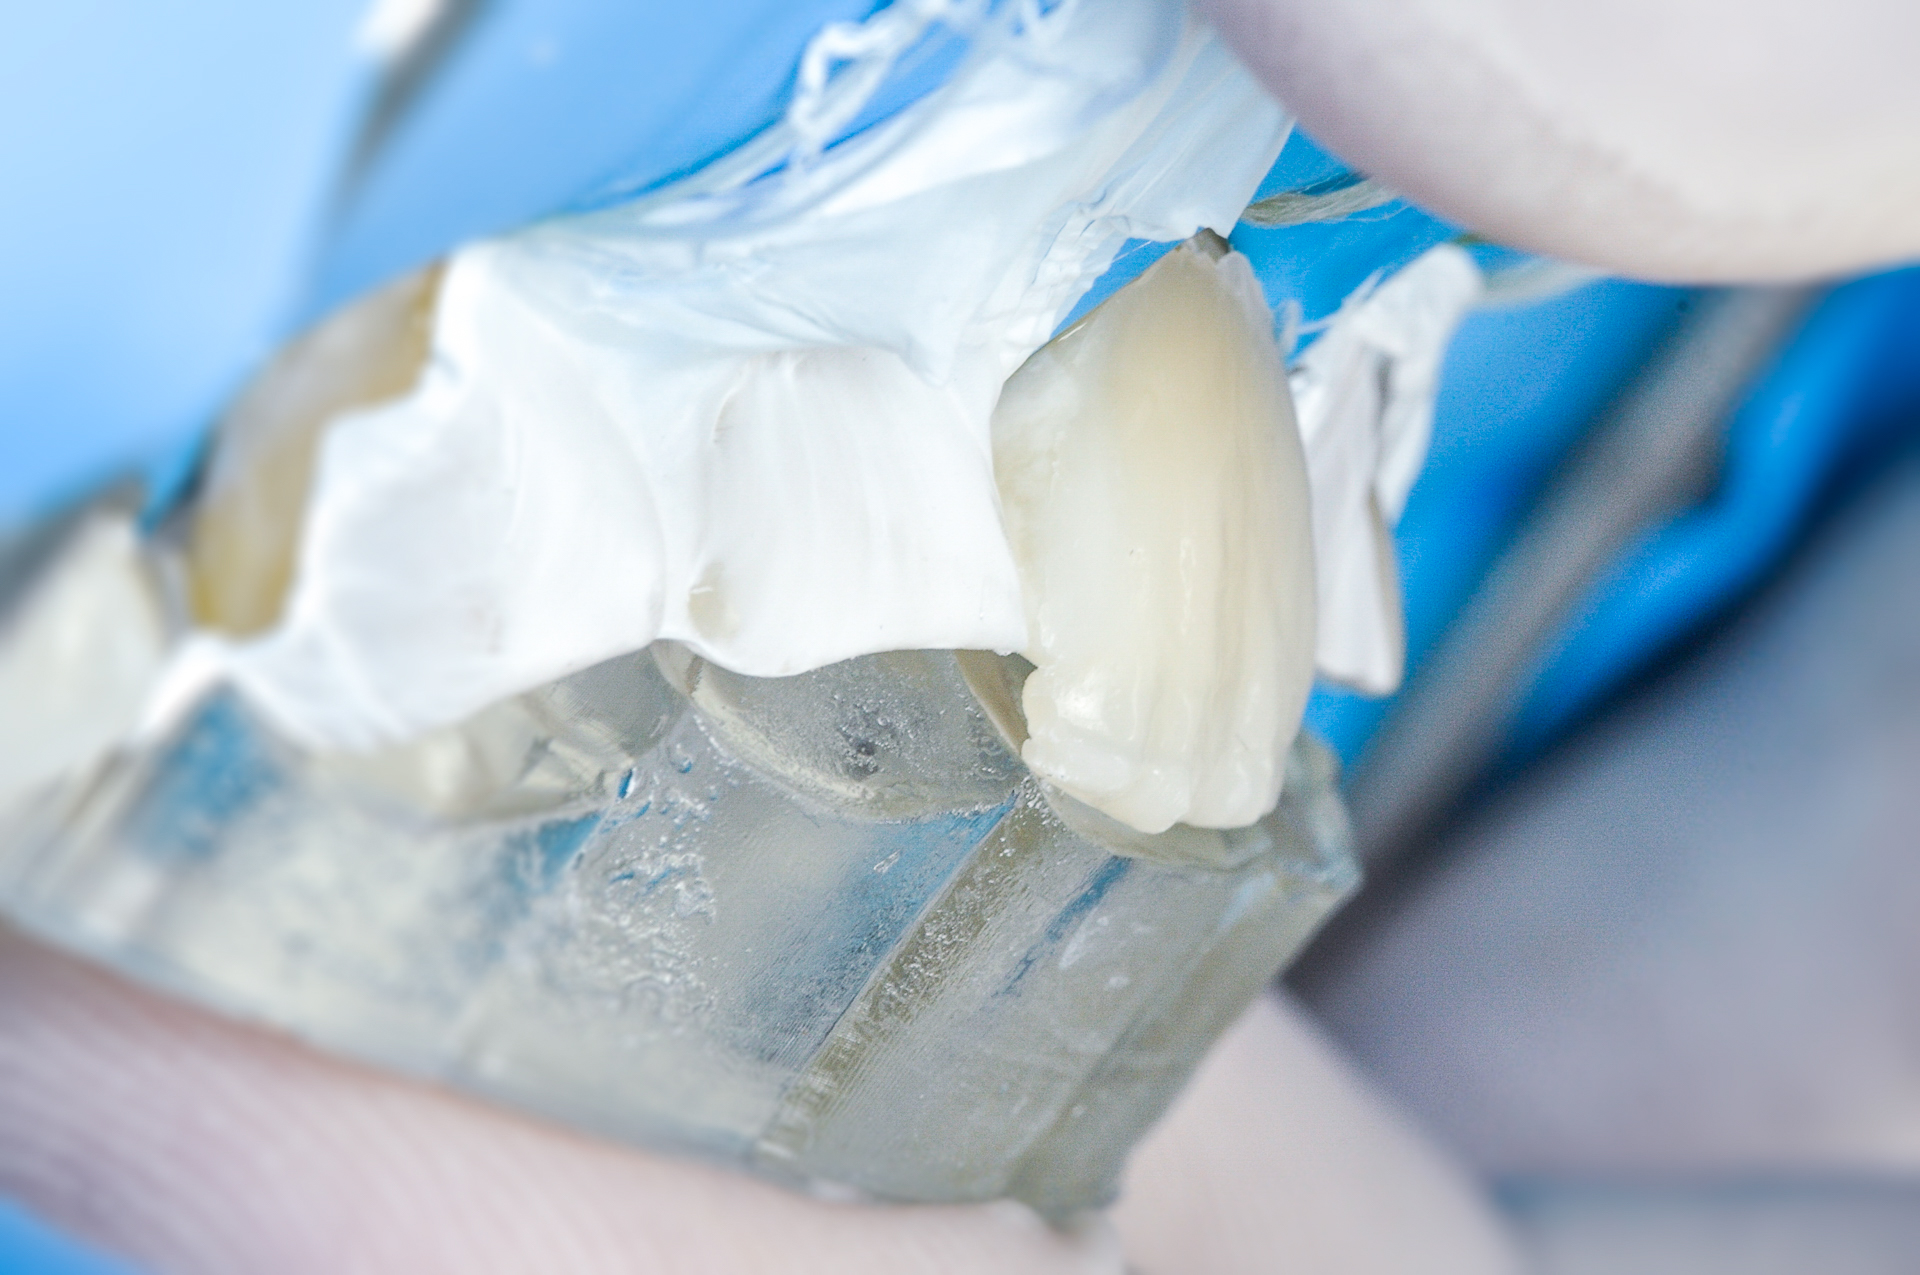
Palatal guide check of adaptation.
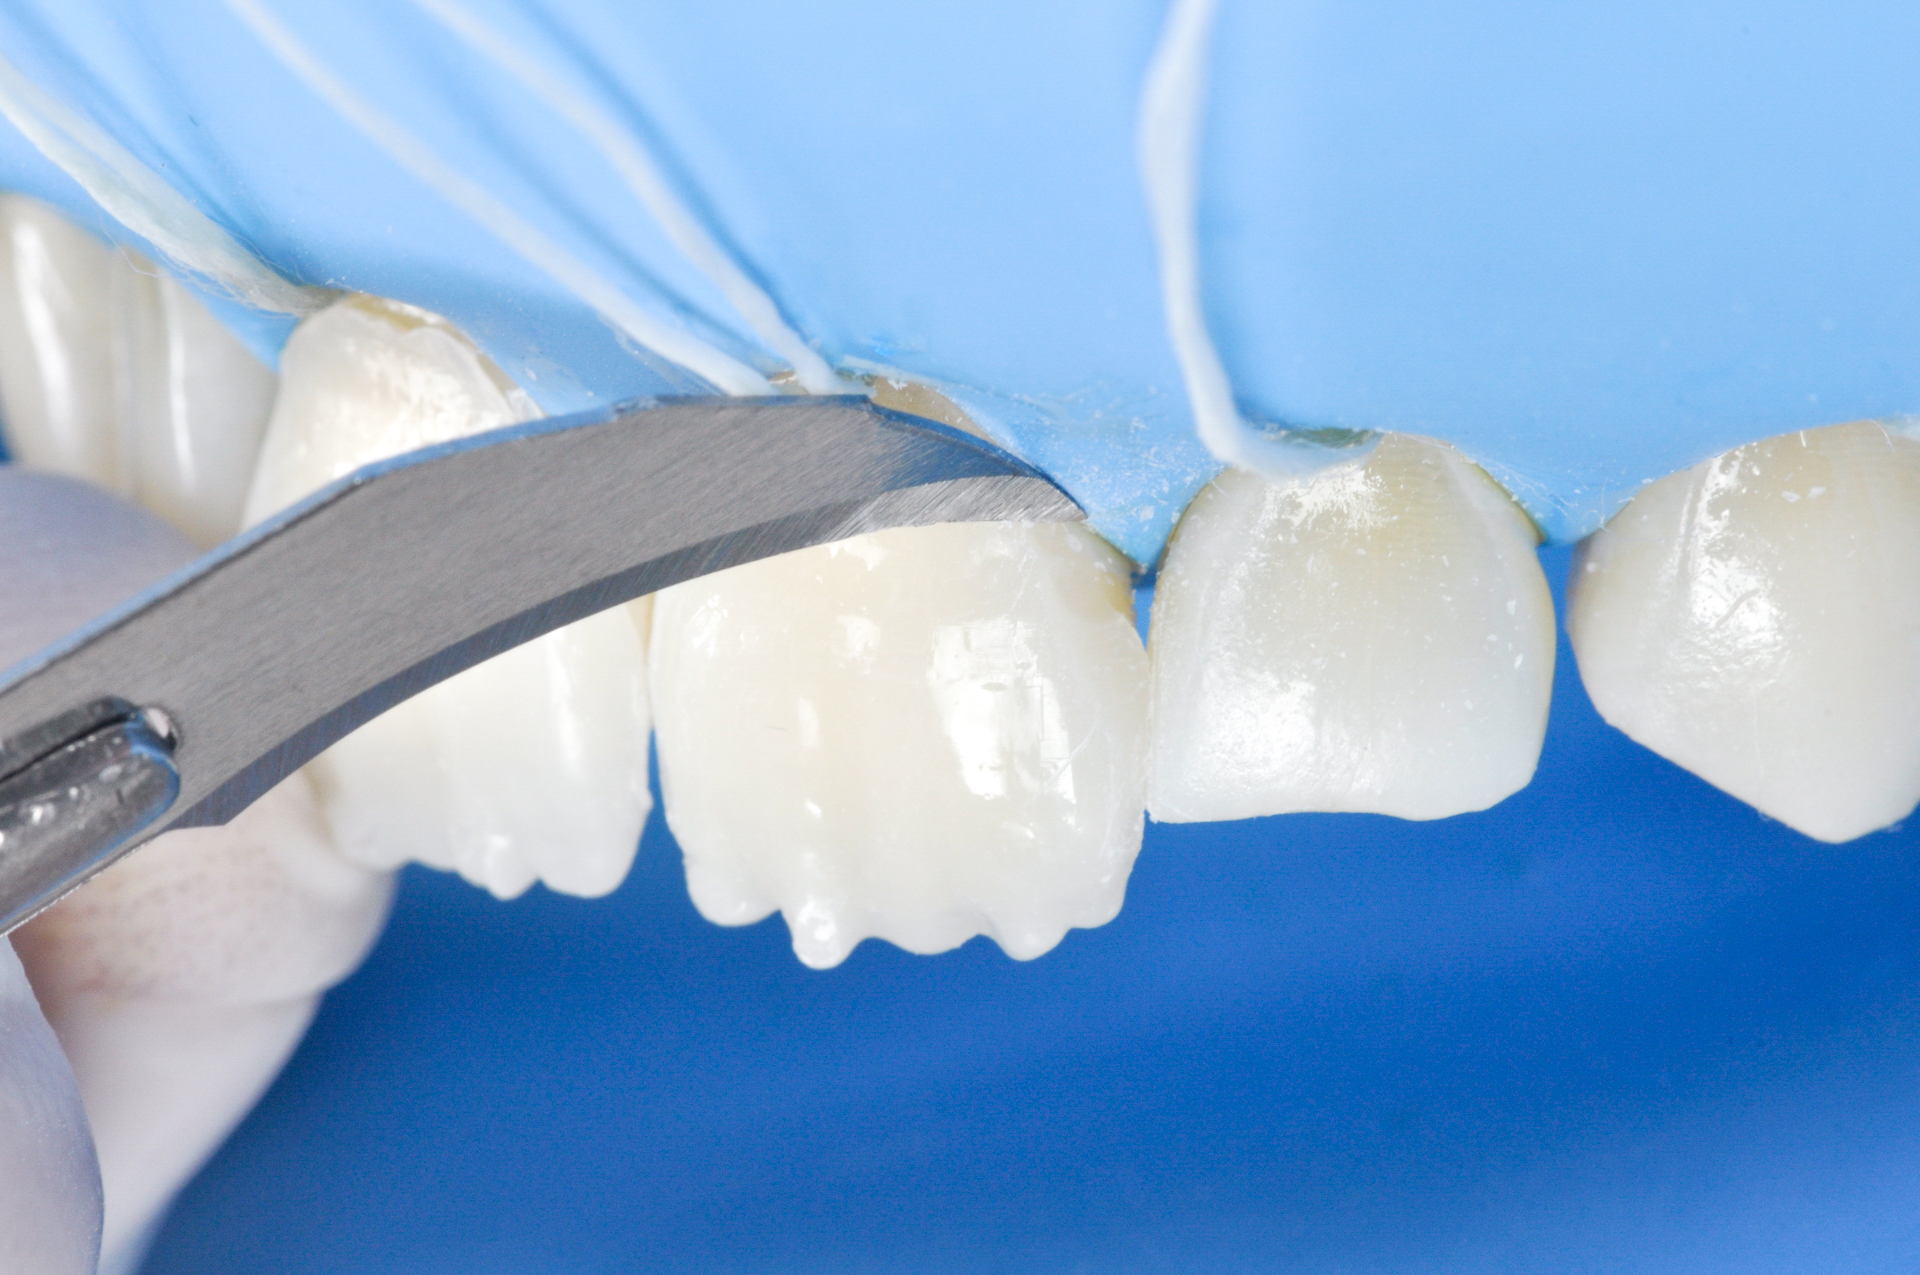
Refinement with a scalpel blade - no.12
Fit check of the palatal guide

Isolation of 11 and 21
Guided Application of dentin on 12 and 22
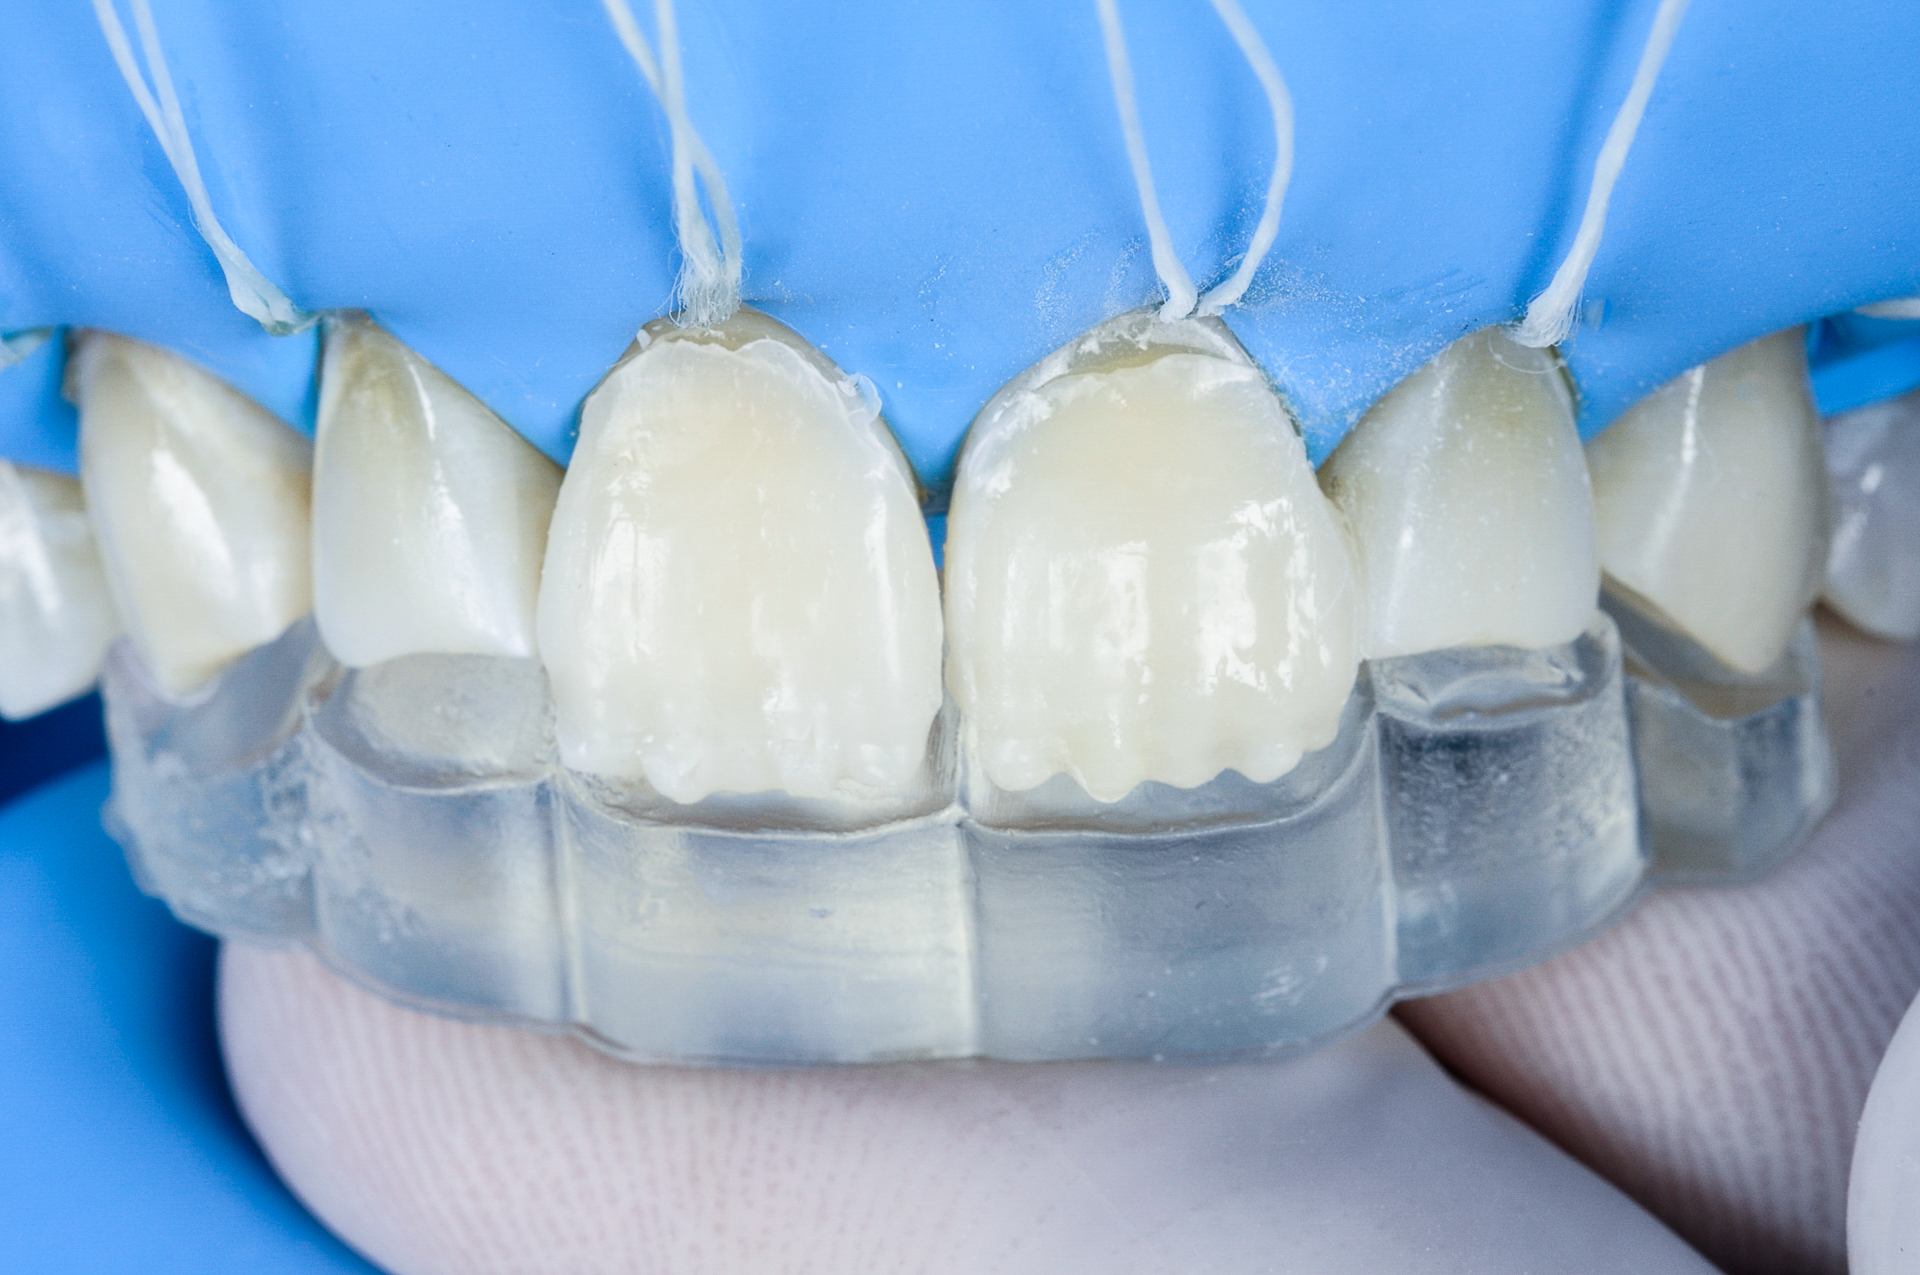
Palatal build-up
We repeated the process for 13 and 23 and after all dentins were added, we continued with the restoration of all palatal anatomy lost by corrosion. This not only improved the aesthetics but mainly restored the functional attributes, morphology and marginal ridges.
Palatal shell
Palatal layers restored the morphology and dental contour
Vestibular transfer of shape and texture
To create the vestibular layer we used the vestibular guide, restoring all external morphology: edges, angles and macro texture. We performed the test, isolated adjacent teeth and applied the resin to the guide, following the planned position and 20 second polymerisation.
After polymerisation and removal of the guide, we added proximal detail using a LMdental spatula following the sequence for the adjacent tooth.
Application of resin on the buccal surface

Proximal detailing using a LMdental spatula
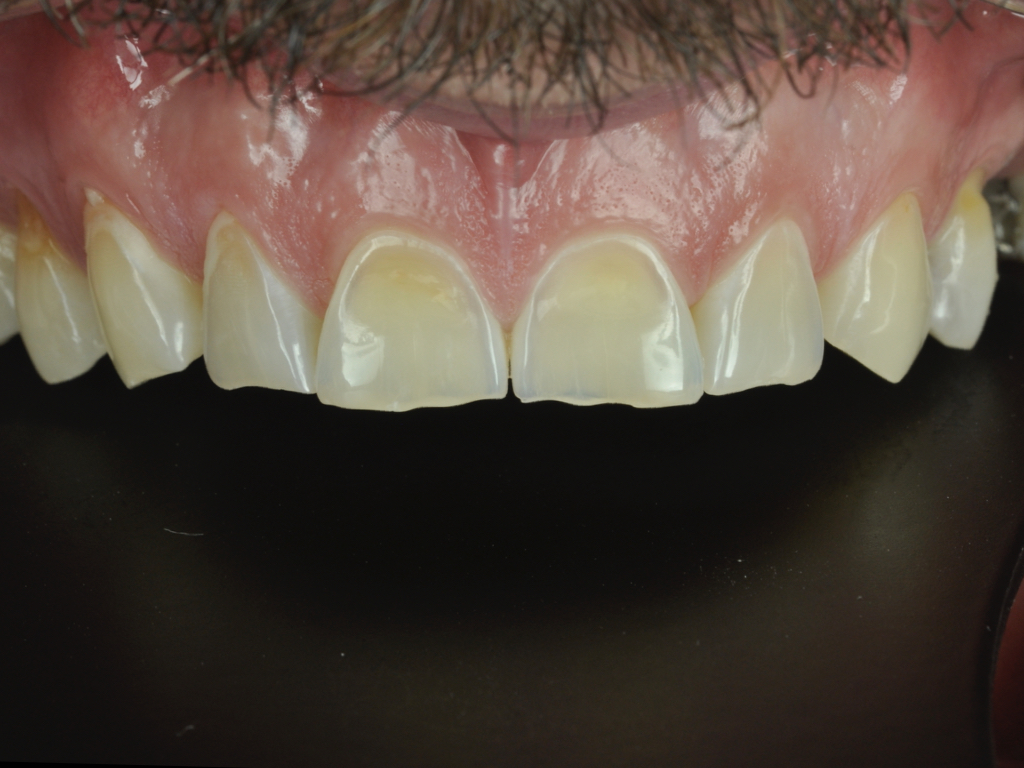
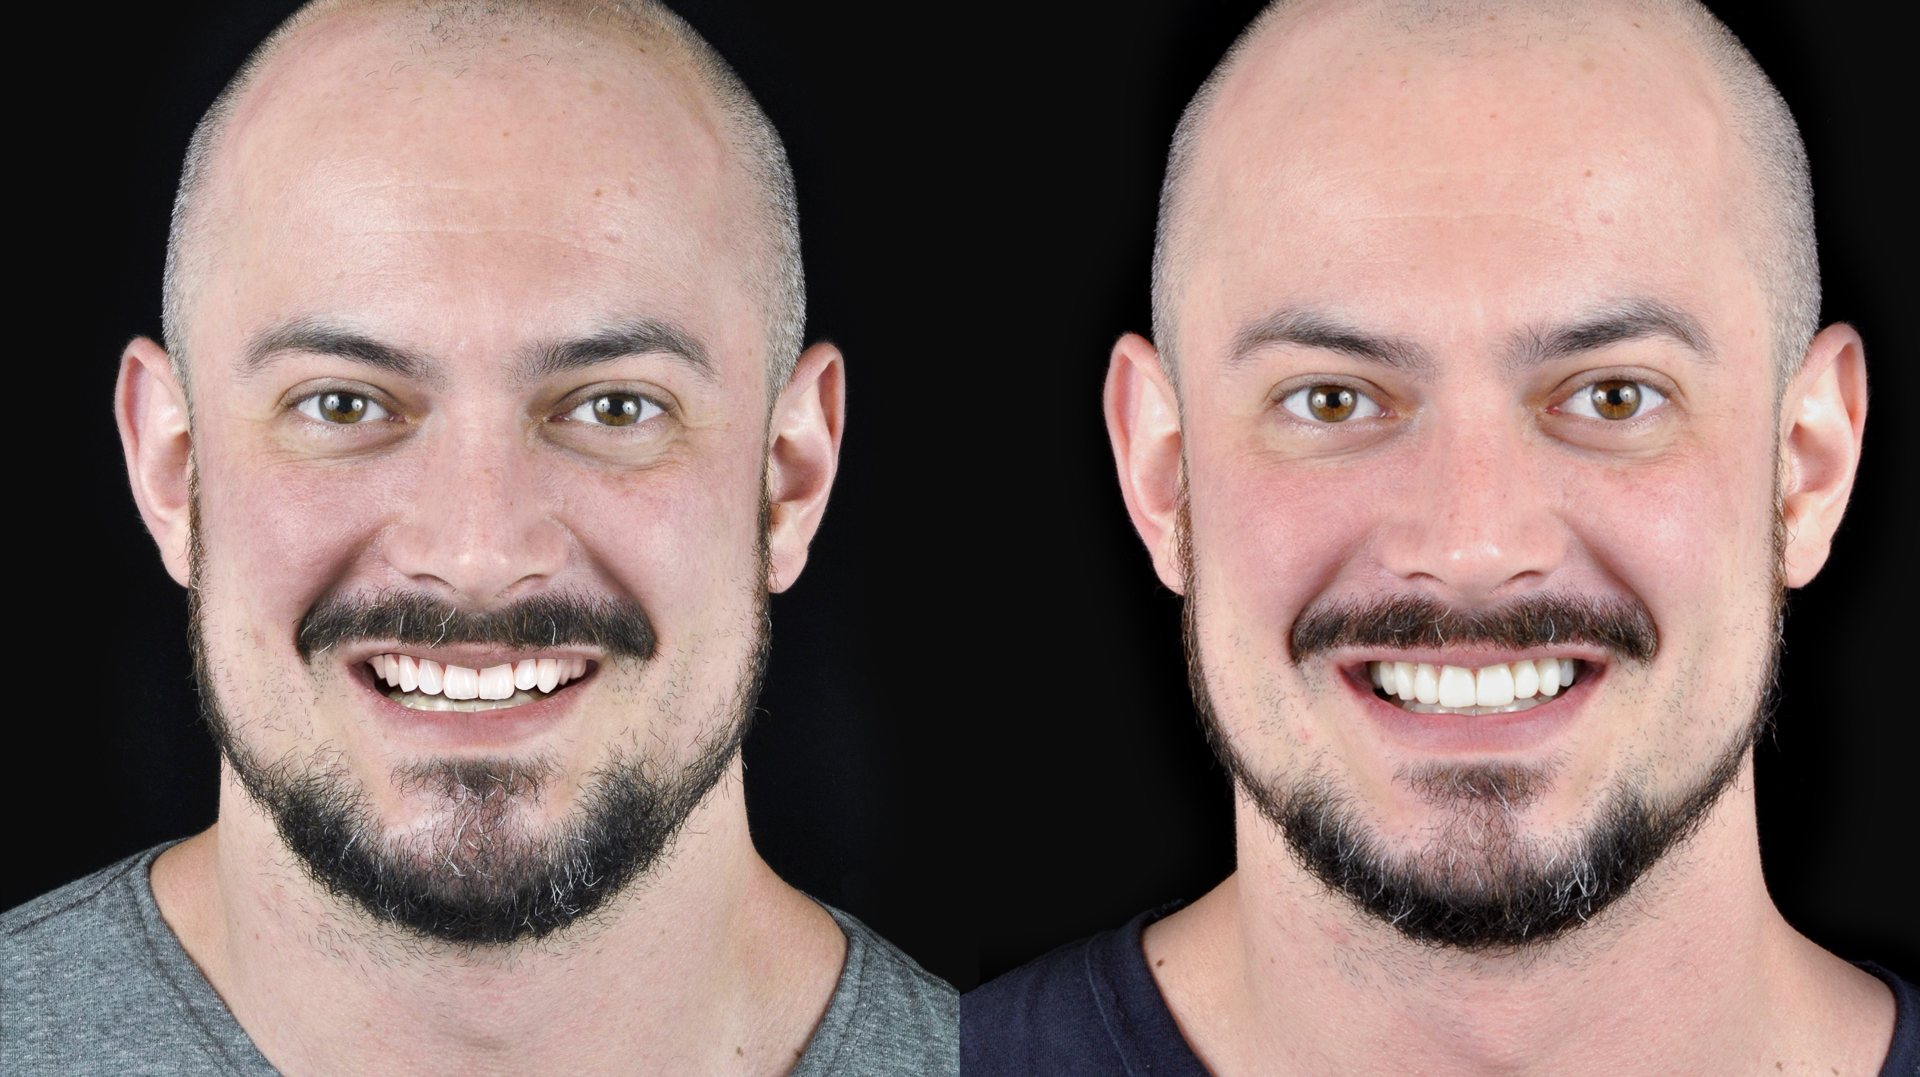
After finishing the removal of the excesses, finishing without touching the vestibular face and polishing, we arrived at this very natural final result, harmonious and extremely similar to that planned, without independent of the artistic skill of the operator in recreating the morphology and details of the restorations.
Before
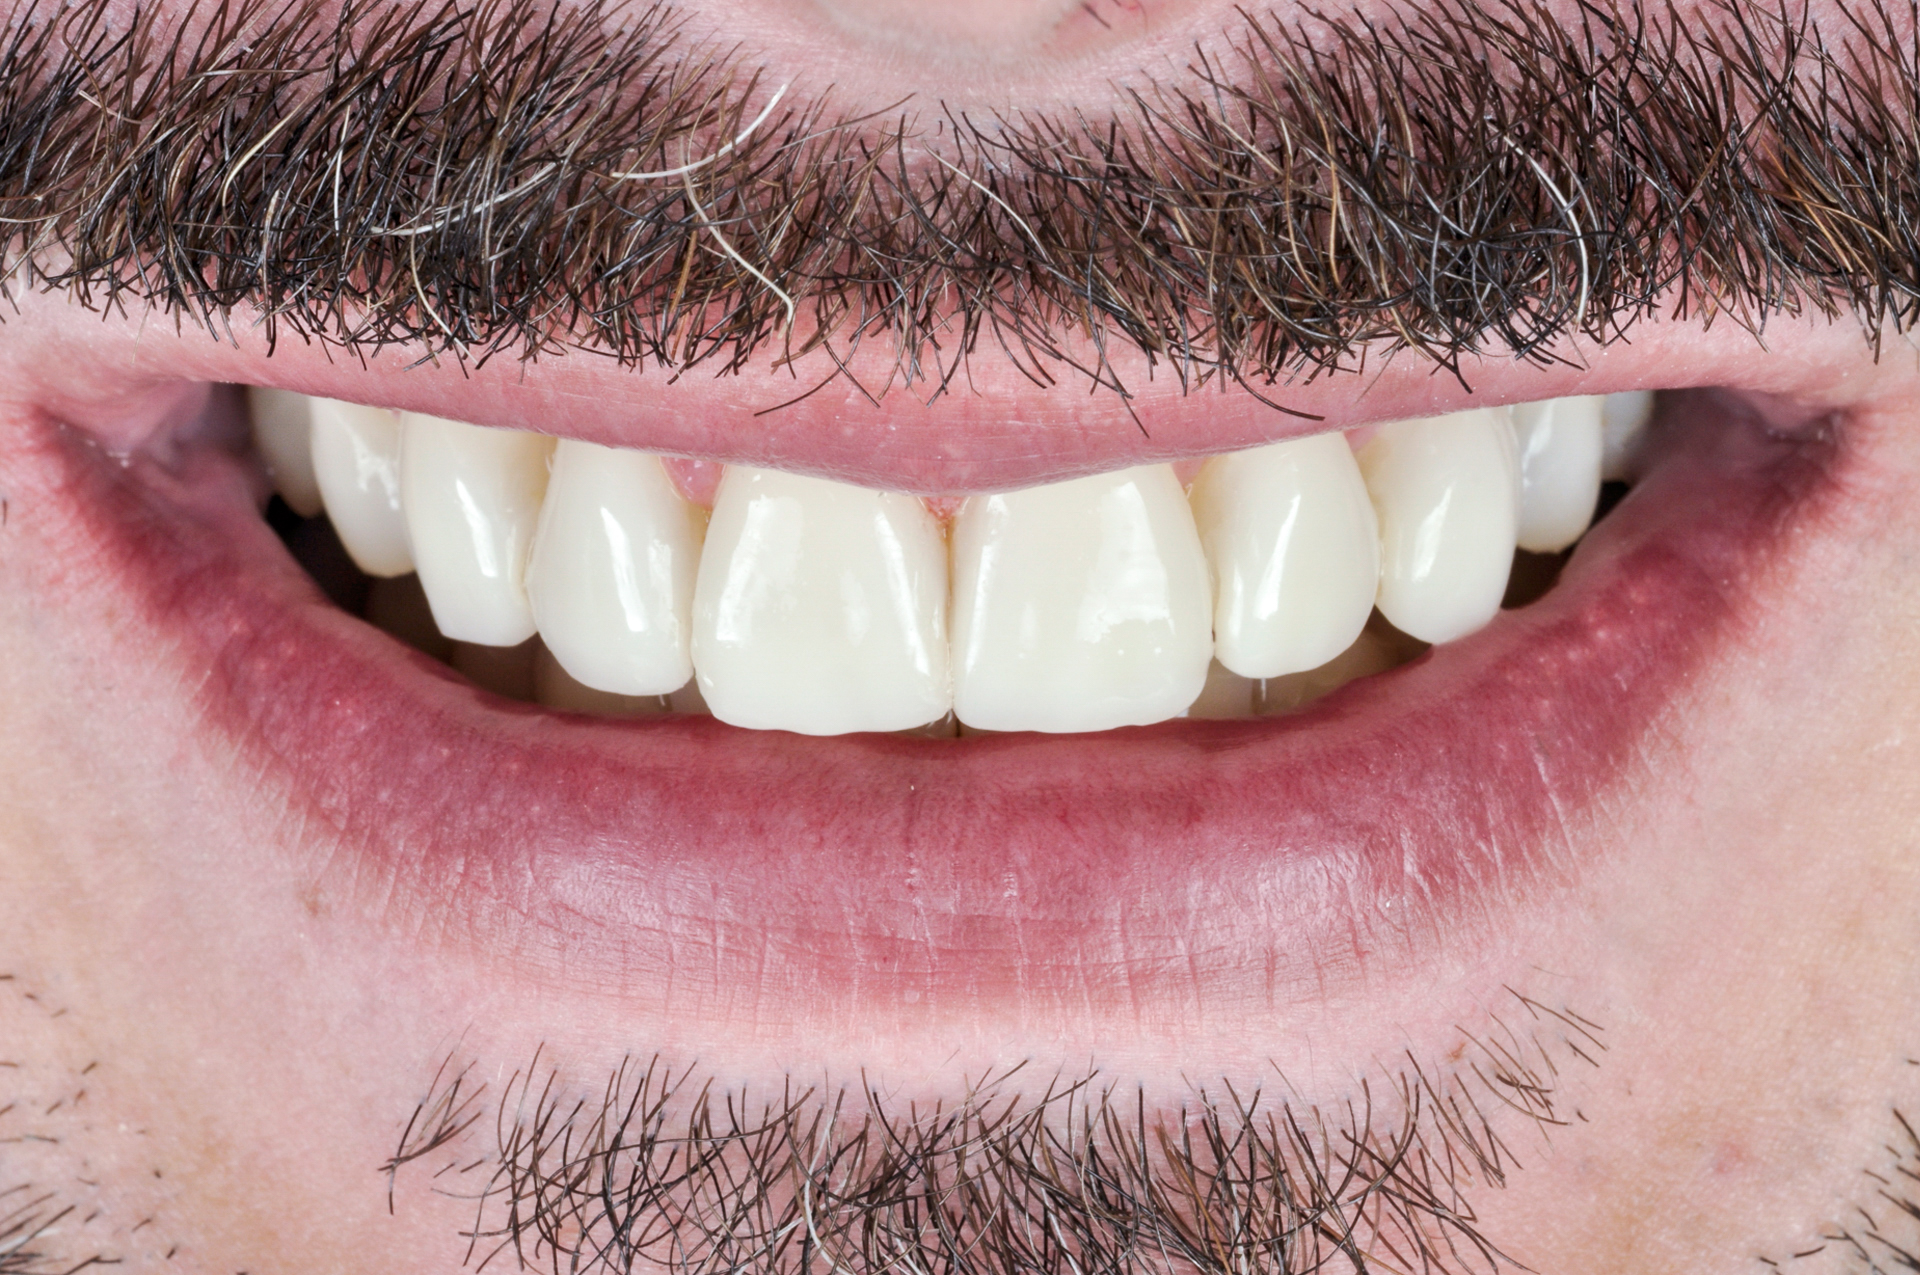
After

Restored canine to canine
Smilecloud 2D design vs. Final restorations
Thiago Ottoboni
Lincoln Queiros

- Master in Restorative Dentistry – UnG
- Specialist in Restorative Dentistry – UNOPAR
- Published author on restorative topics
- Styleitaliano Silver member
- Private practice in Blumenau and Campinas
- Contact for questions: thiotto@gmail.com

- DDS – Brasília University
- Post graduated in Operative Dentistry, Implantology and Dental Prosthodontics
- Founder and coordinator of Dental Telemetry group
- Contact for questions: lincoln.clickdent@gmail.com
Mauricio Campos
Hello, what is the value of these guides for guided restorations?