TOP

Shape my smile Additive approach using biometrics

Dario Novak specialises in minimally invasive aesthetic dentistry. In this article he documents step by step the “Shape my smile” workflow using biometric design combined with the injectable mould technique for direct restorations. Read his story below.


Is this going to damage my tooth? This is the second question I hear from almost each of my patients on a daily basis, regardless of the procedure in question. Whether it is changing a filling, sandblasting after tartar removal, or even bleaching. The “age of Information” revolutionised the way we think and work, but one side effect is also the fact that our patients are even more opinionated and all-knowing. The main fear they have is basically unnecessary prepping of the teeth, even when we have a clear clinical indication to do so. Basically we live in an era where information, curated or not, permanently distorts the patient’s ability to trust his doctor and his indications. “Non-invasive” is a blessing from our point of view, but a well established curse as well.

Mittigating modern curses with modern tools

As technology today gives us the possibility to be non-invasive or minimally invasive, we still lack a common language to better explain our process to the patient. I say a common language because in order for me to explain a treatment plan I must create a story that my patient can visualise, understand its implications and the reason why it is necessary. This can be challenging to achieve using traditional communication tools in telling a modern story.
Smilecloud as a tool comes in handy especially for converting our “all-knowing” patient into an understanding and trusting patient. Photography and design tools help us introduce patients to what is possible and what is not, using a visual language that is much easier to understand. 

Shape my smile is a completely digitalised, minimally invasive additive approach for restoring esthetics and function using natural teeth libraries in the design process and transferring it using an injectable mould technique.

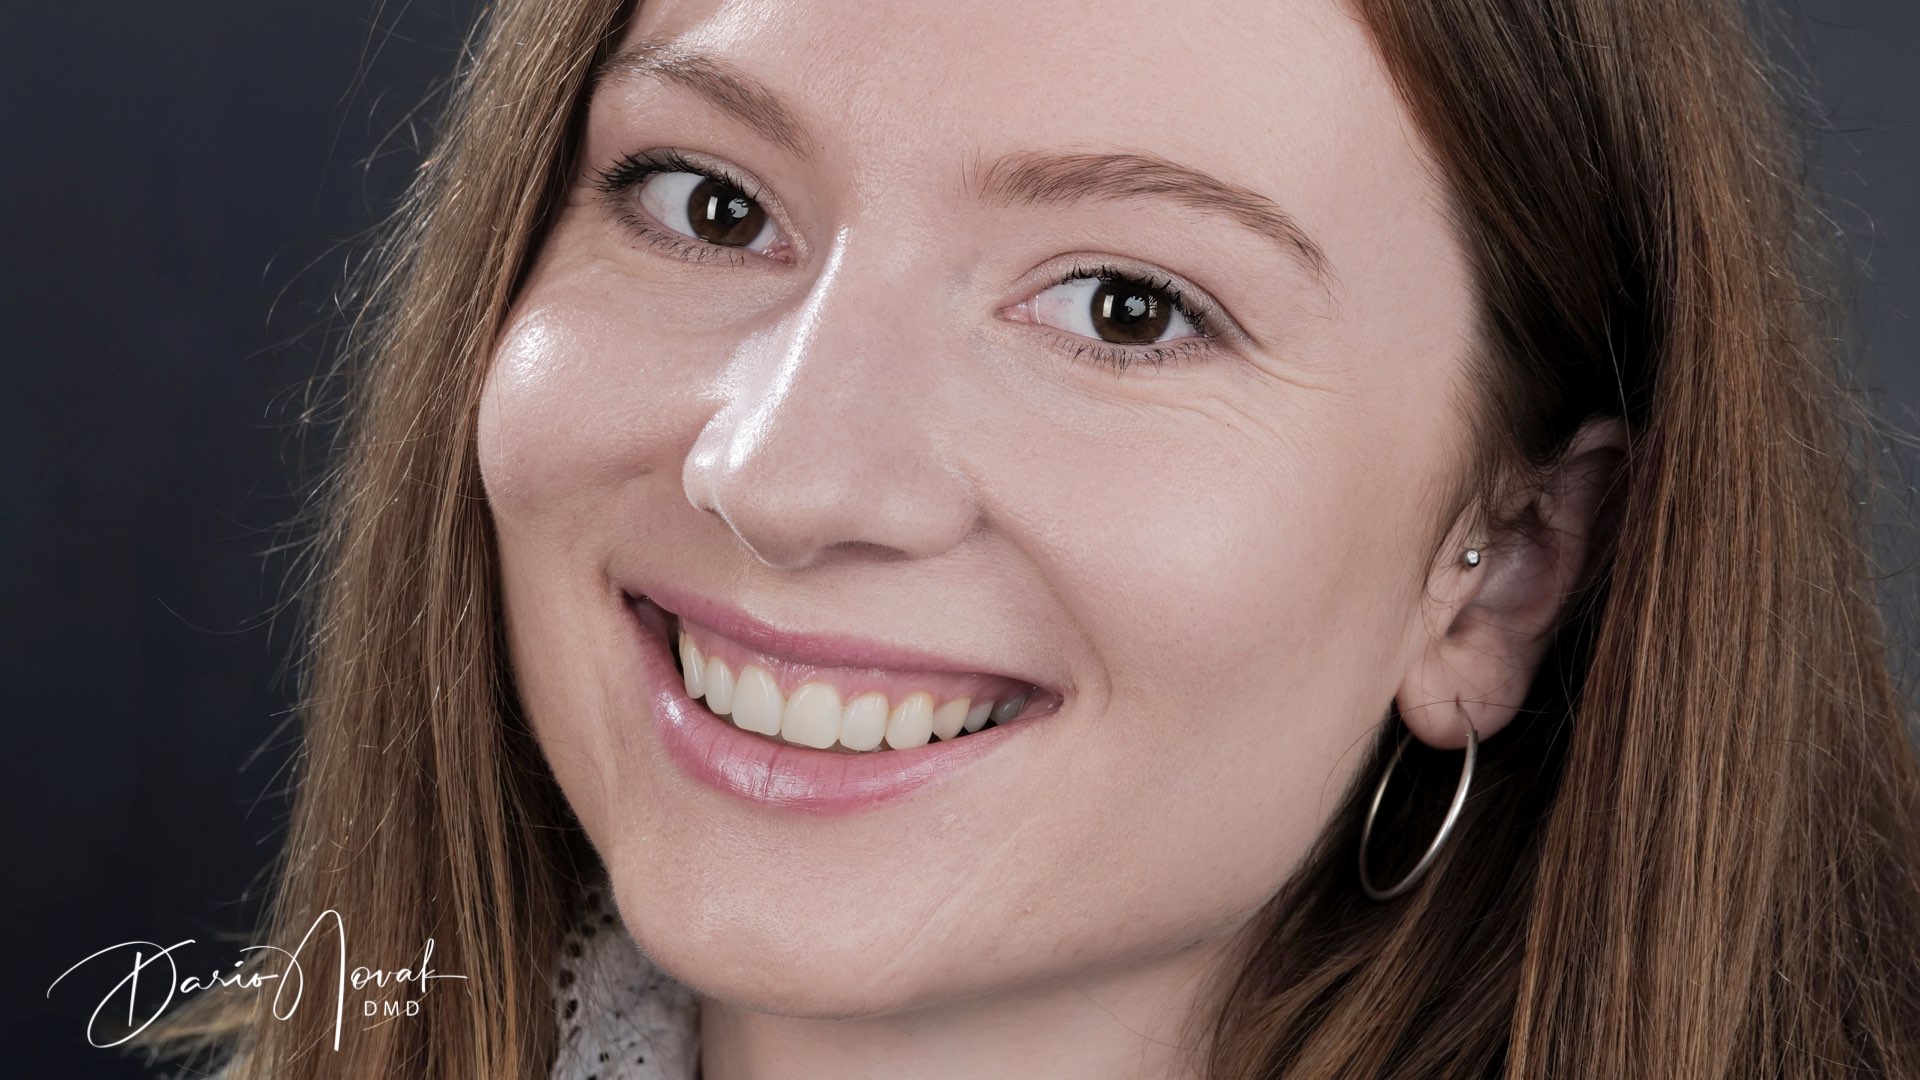
Meet Dina.
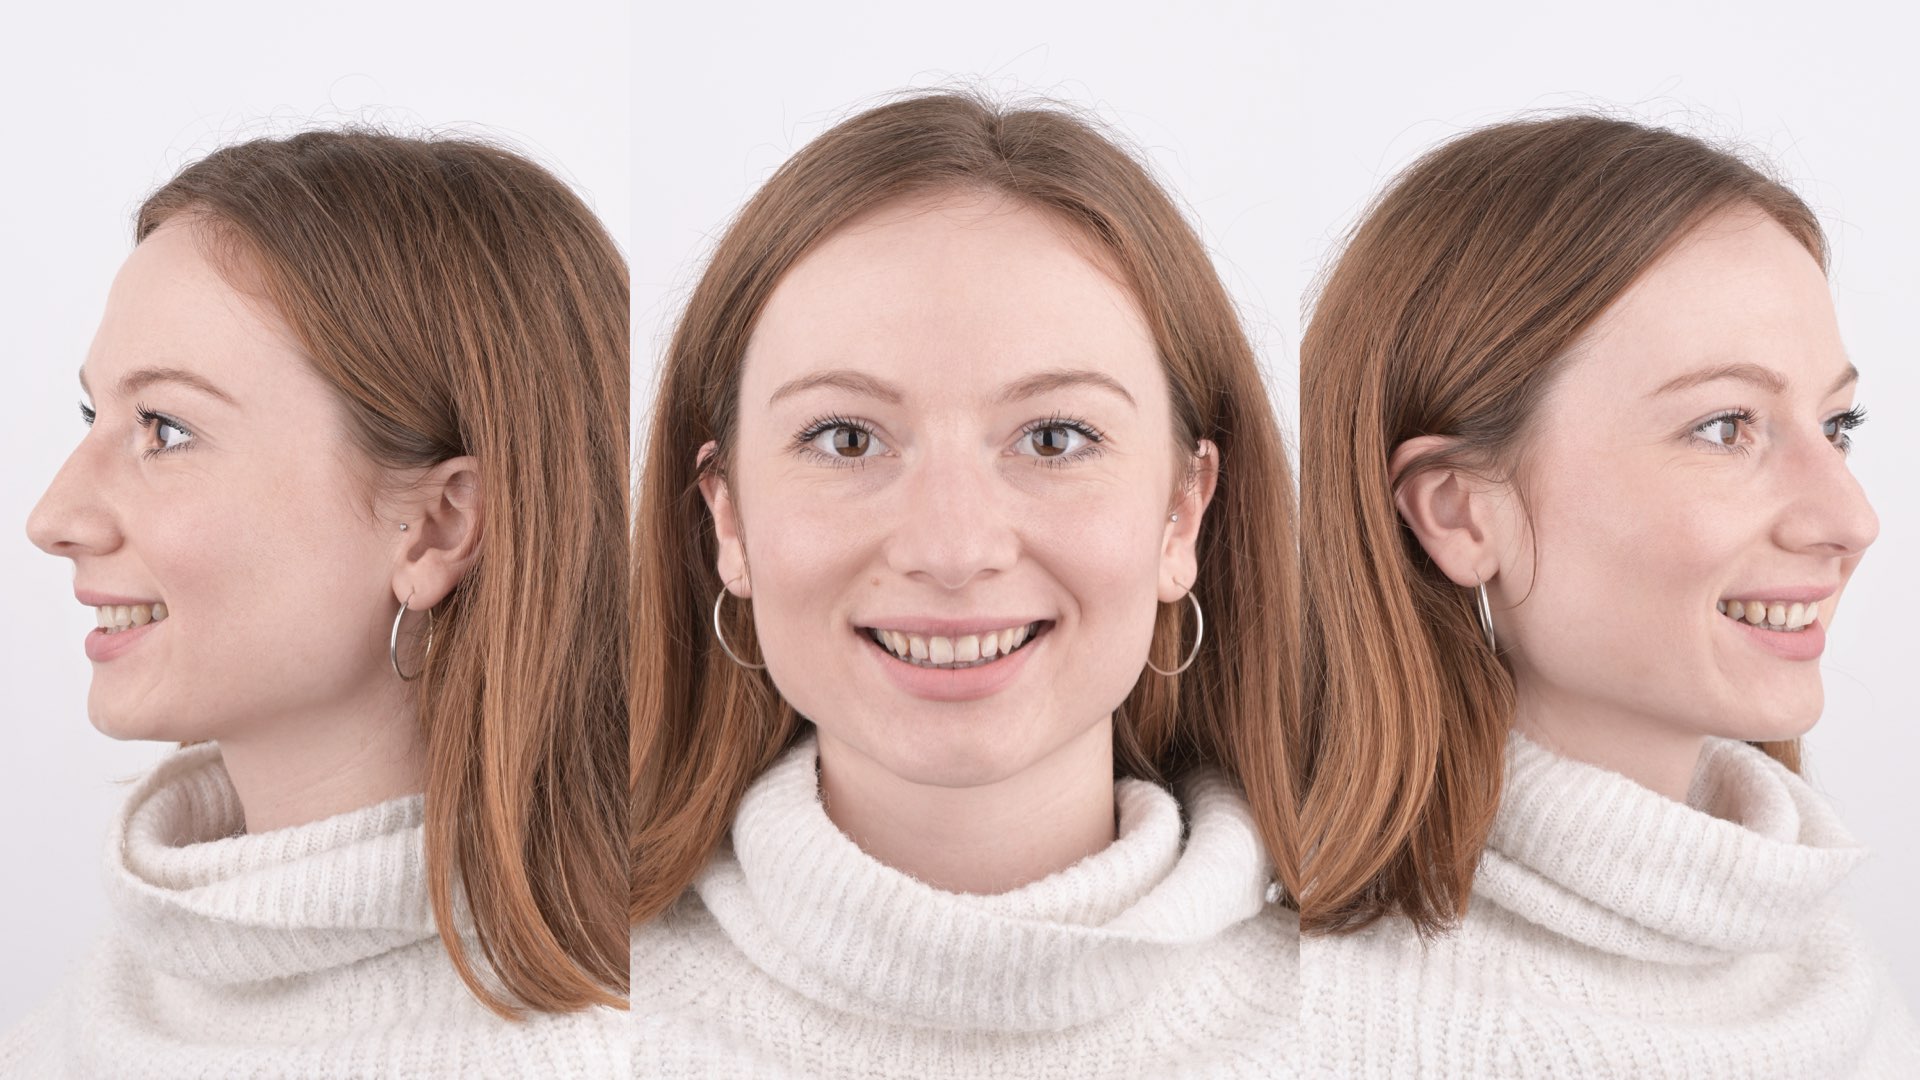
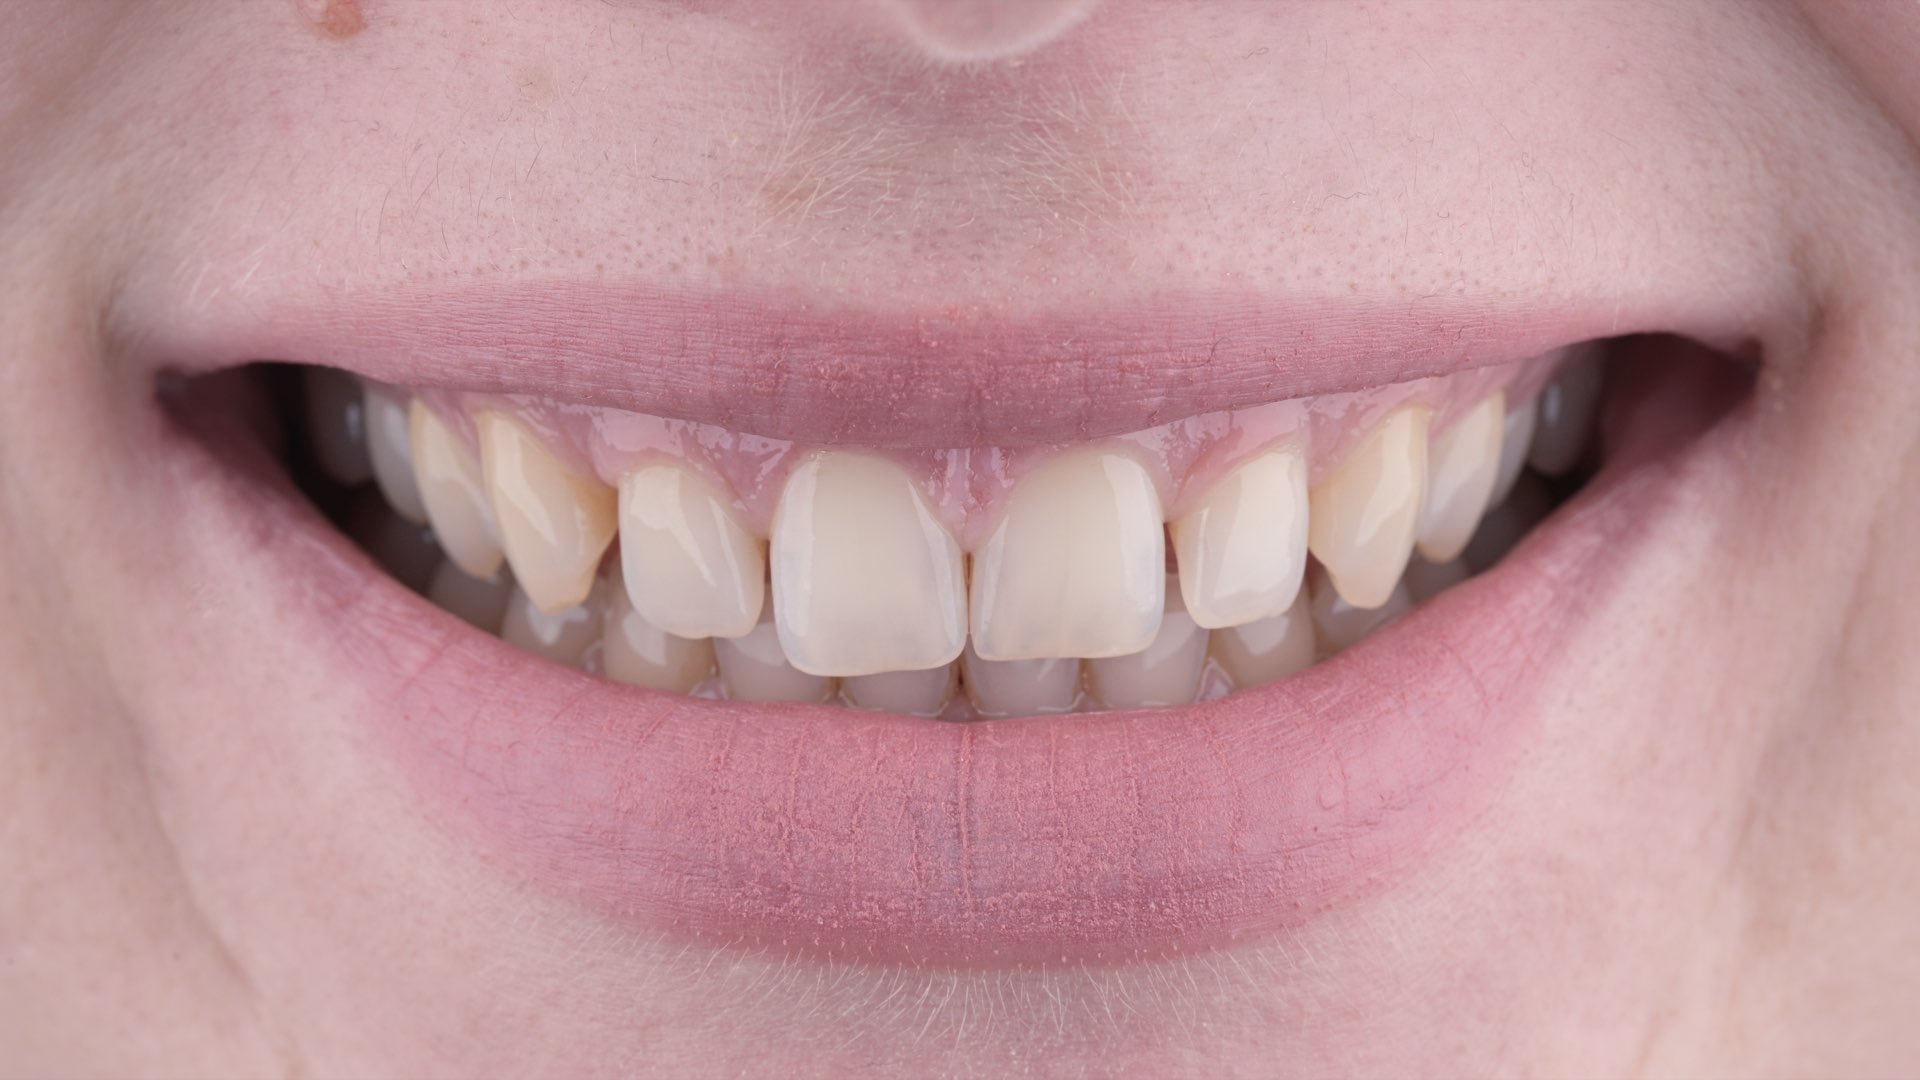
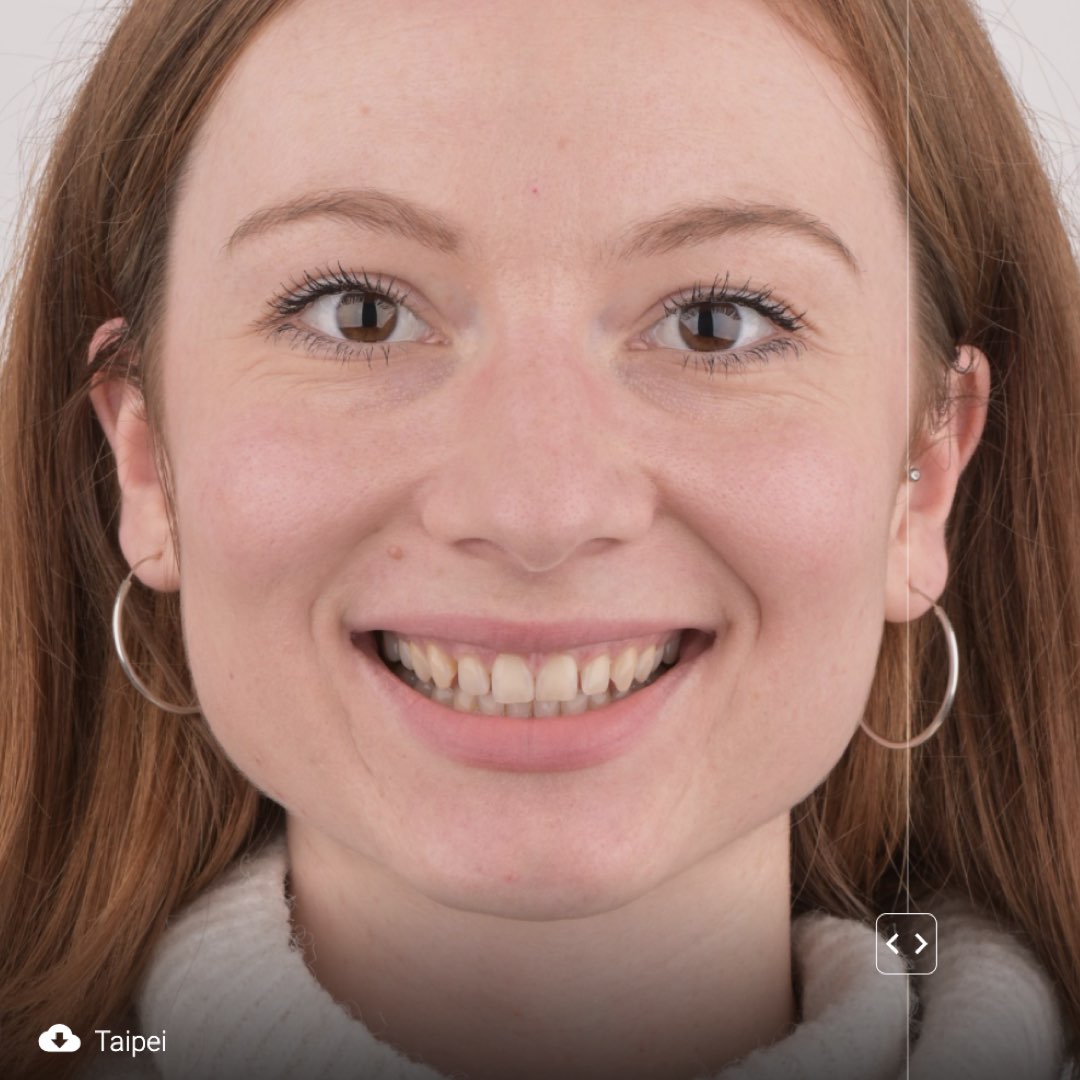
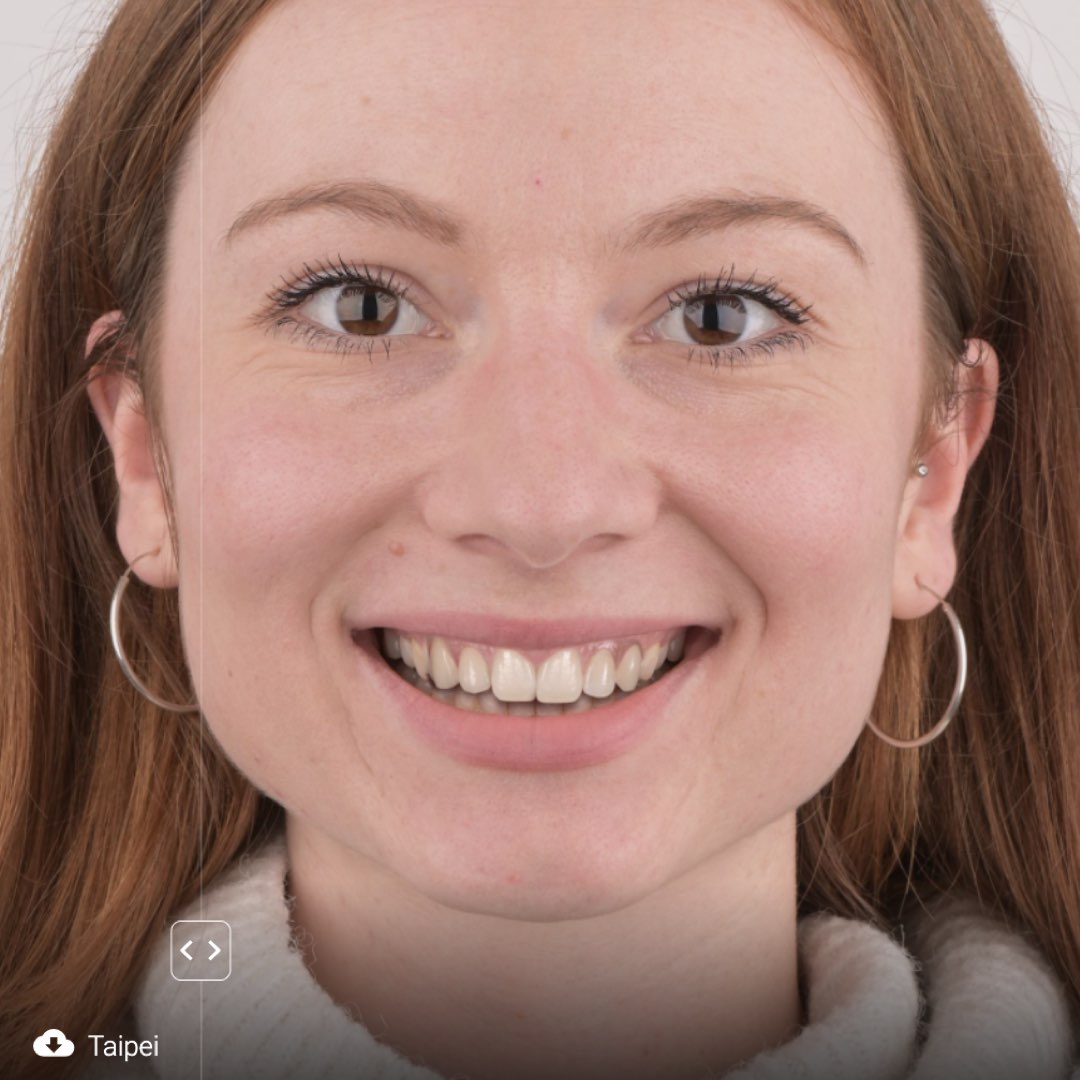
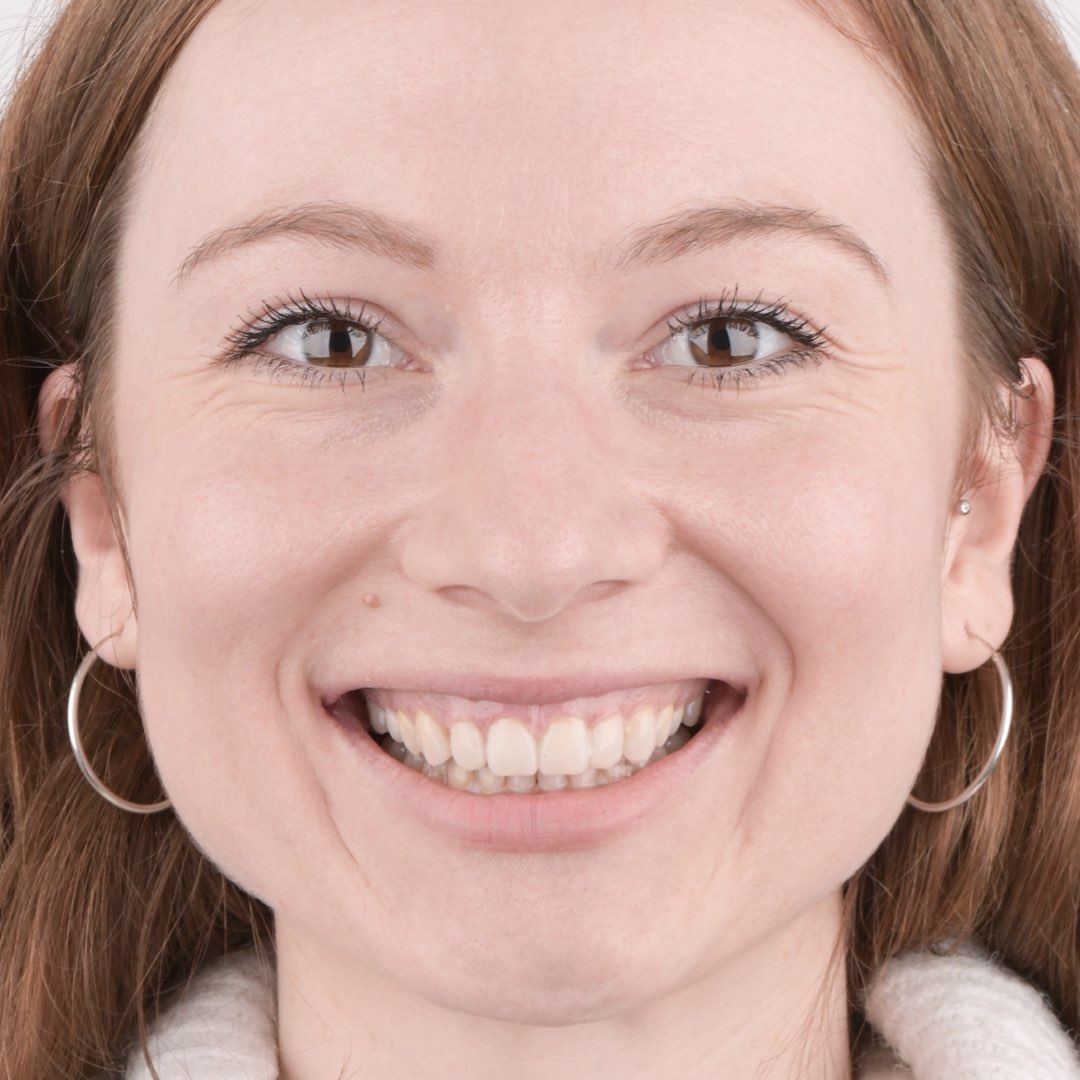
Dina came into our office with a specific idea to improve her smile. Her request was to stay minimally invasive and have a natural shape at the end. Here is how the Shape my smile protocol made her wish come true.  
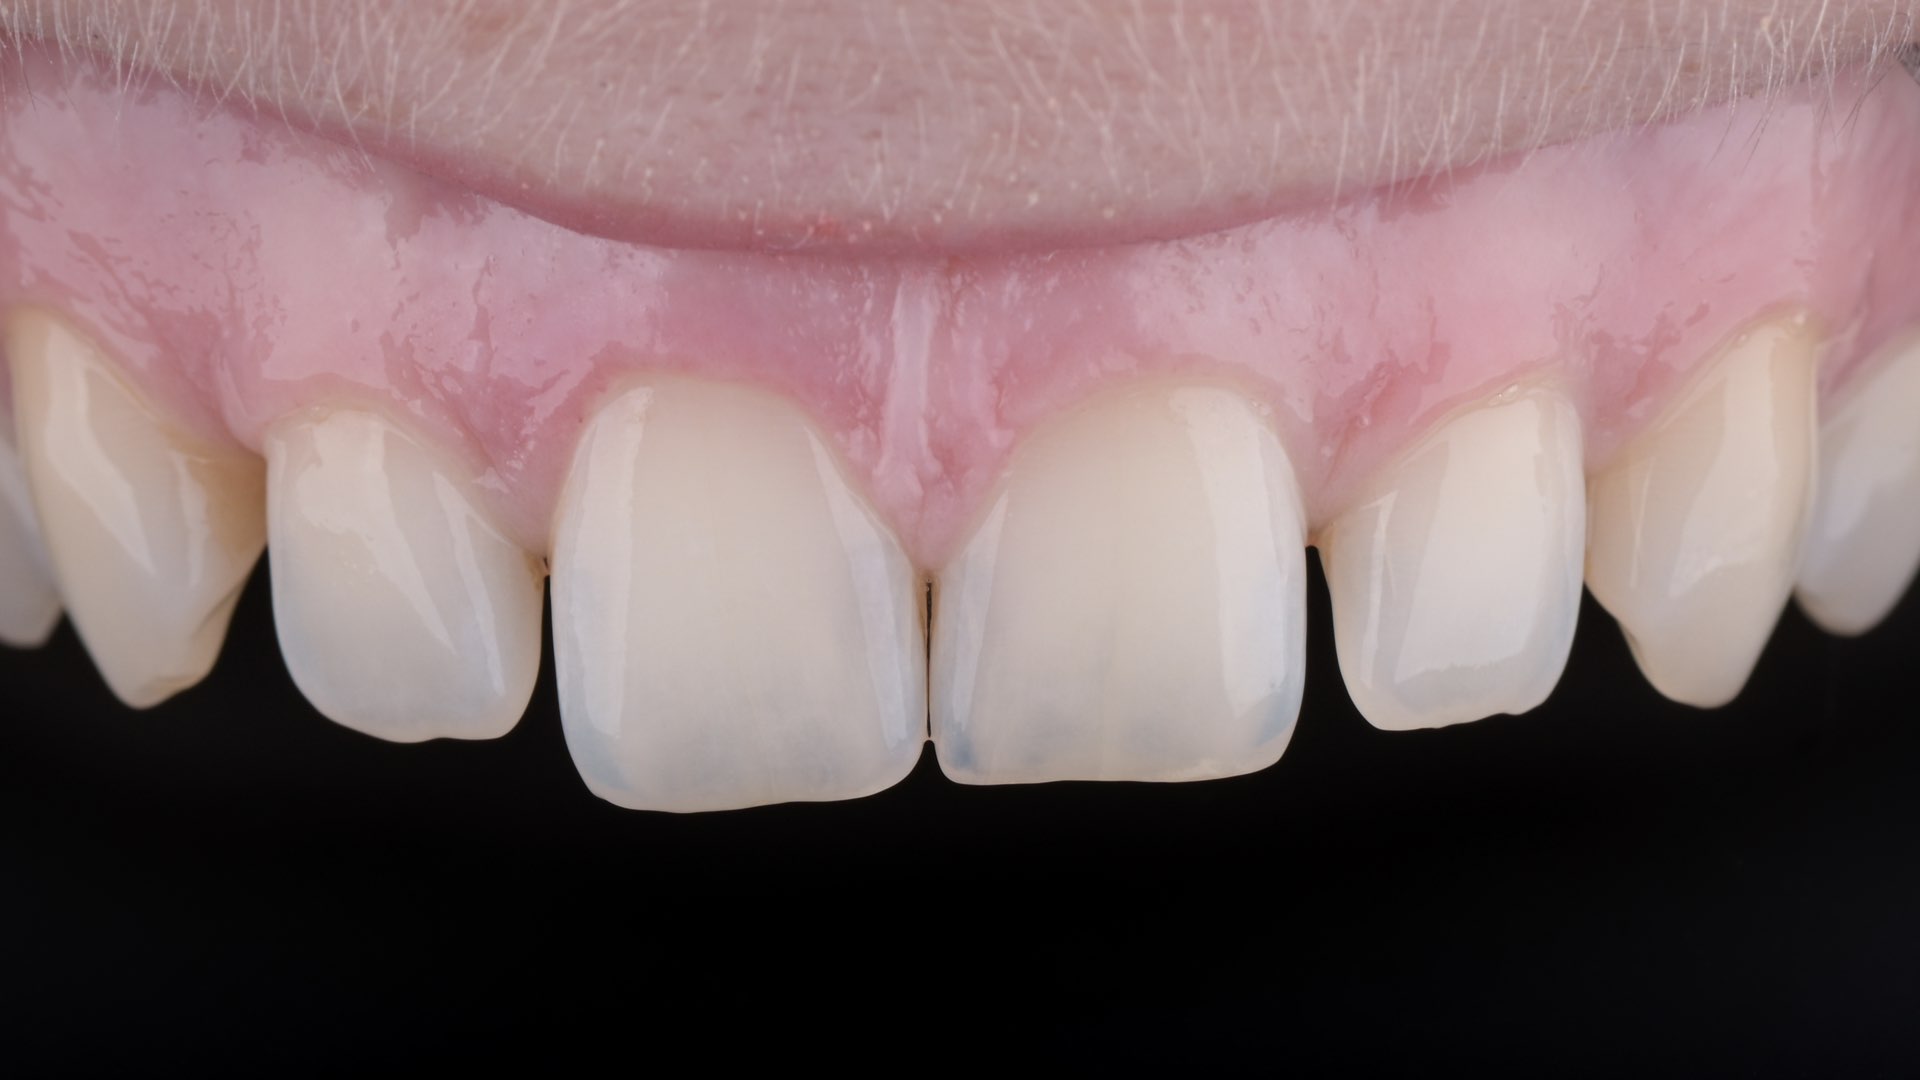
Dina is a perfect indication for the Shape my smile protocol. Great hygiene, no fillings, no ortho problems. In this type of cases I will always consider and recommend a minimally invasive approach as the way to go. Especially when the patient is looking to achieve a natural improved smile, without a huge difference in color. The plan is to use composite veneers as permanent restorations.

Design process

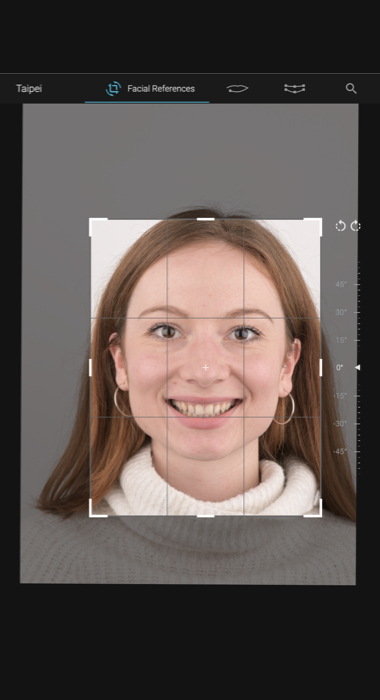
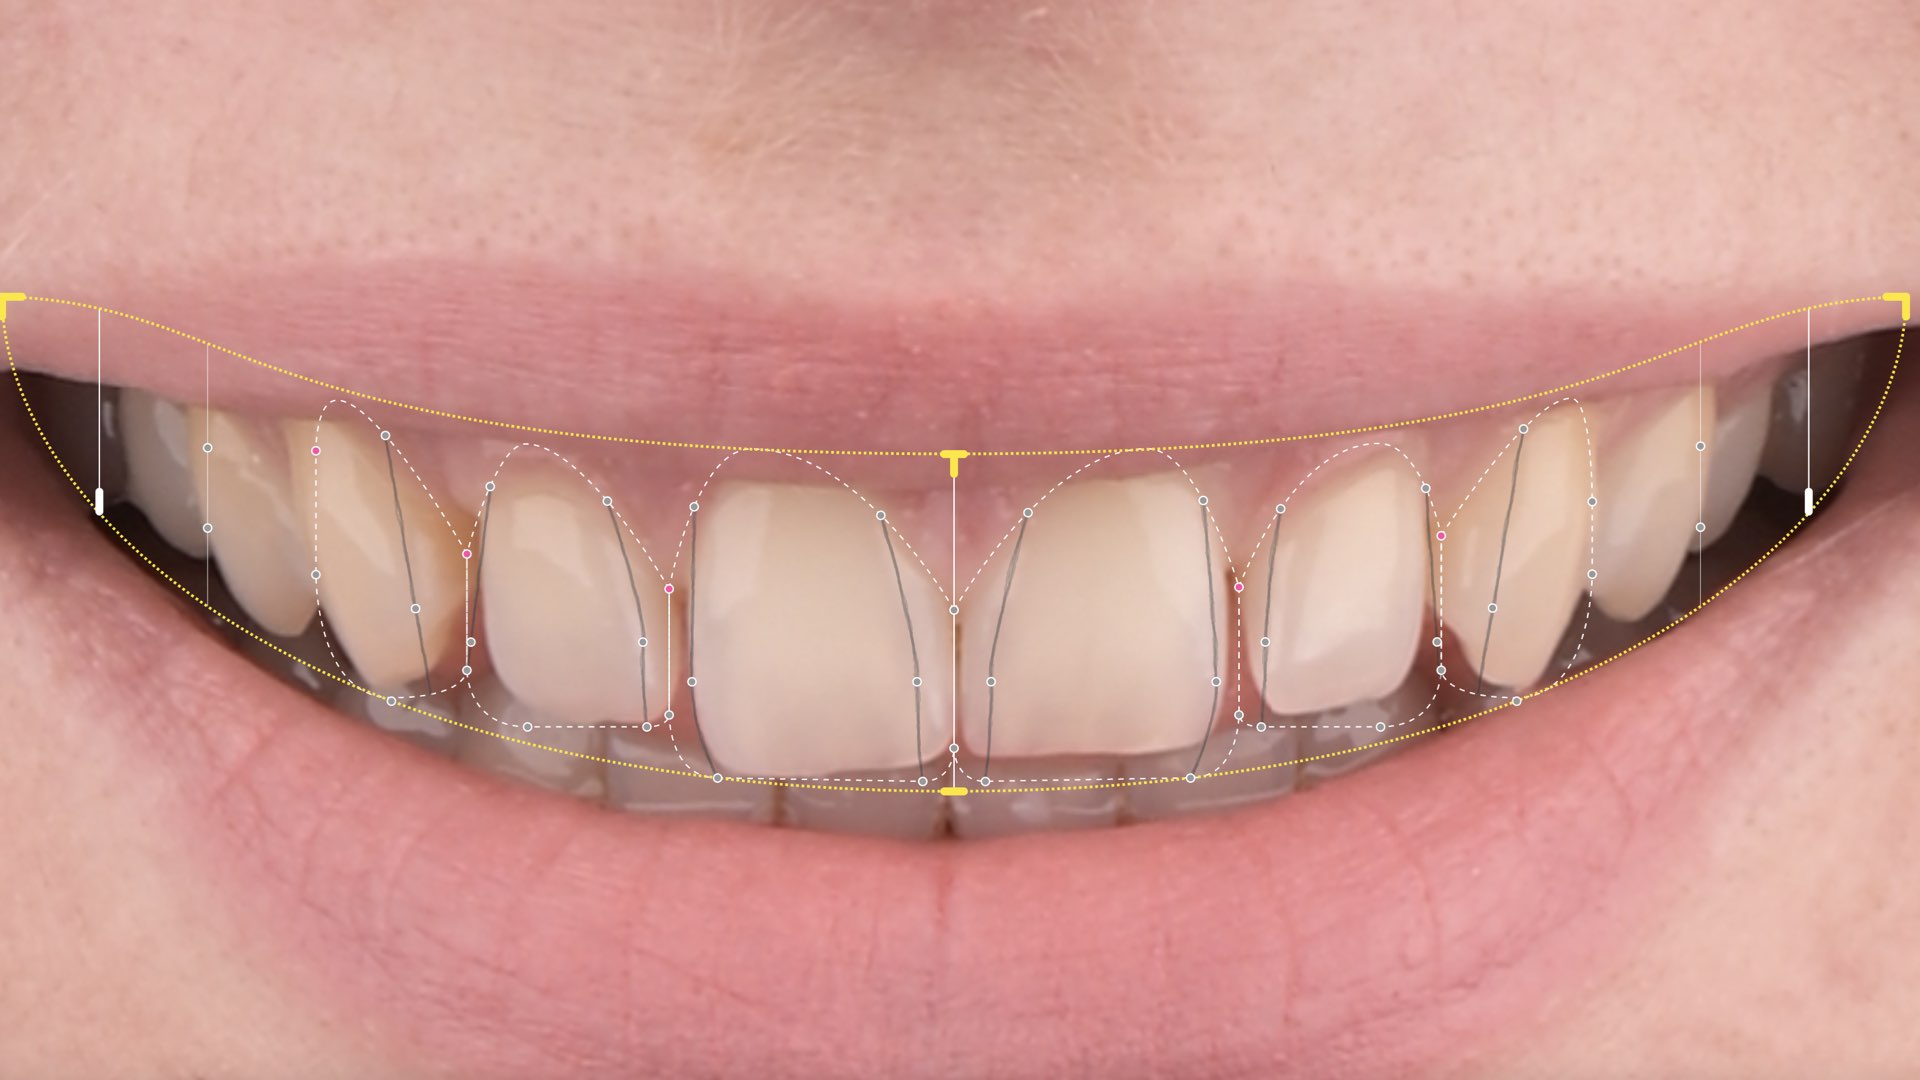
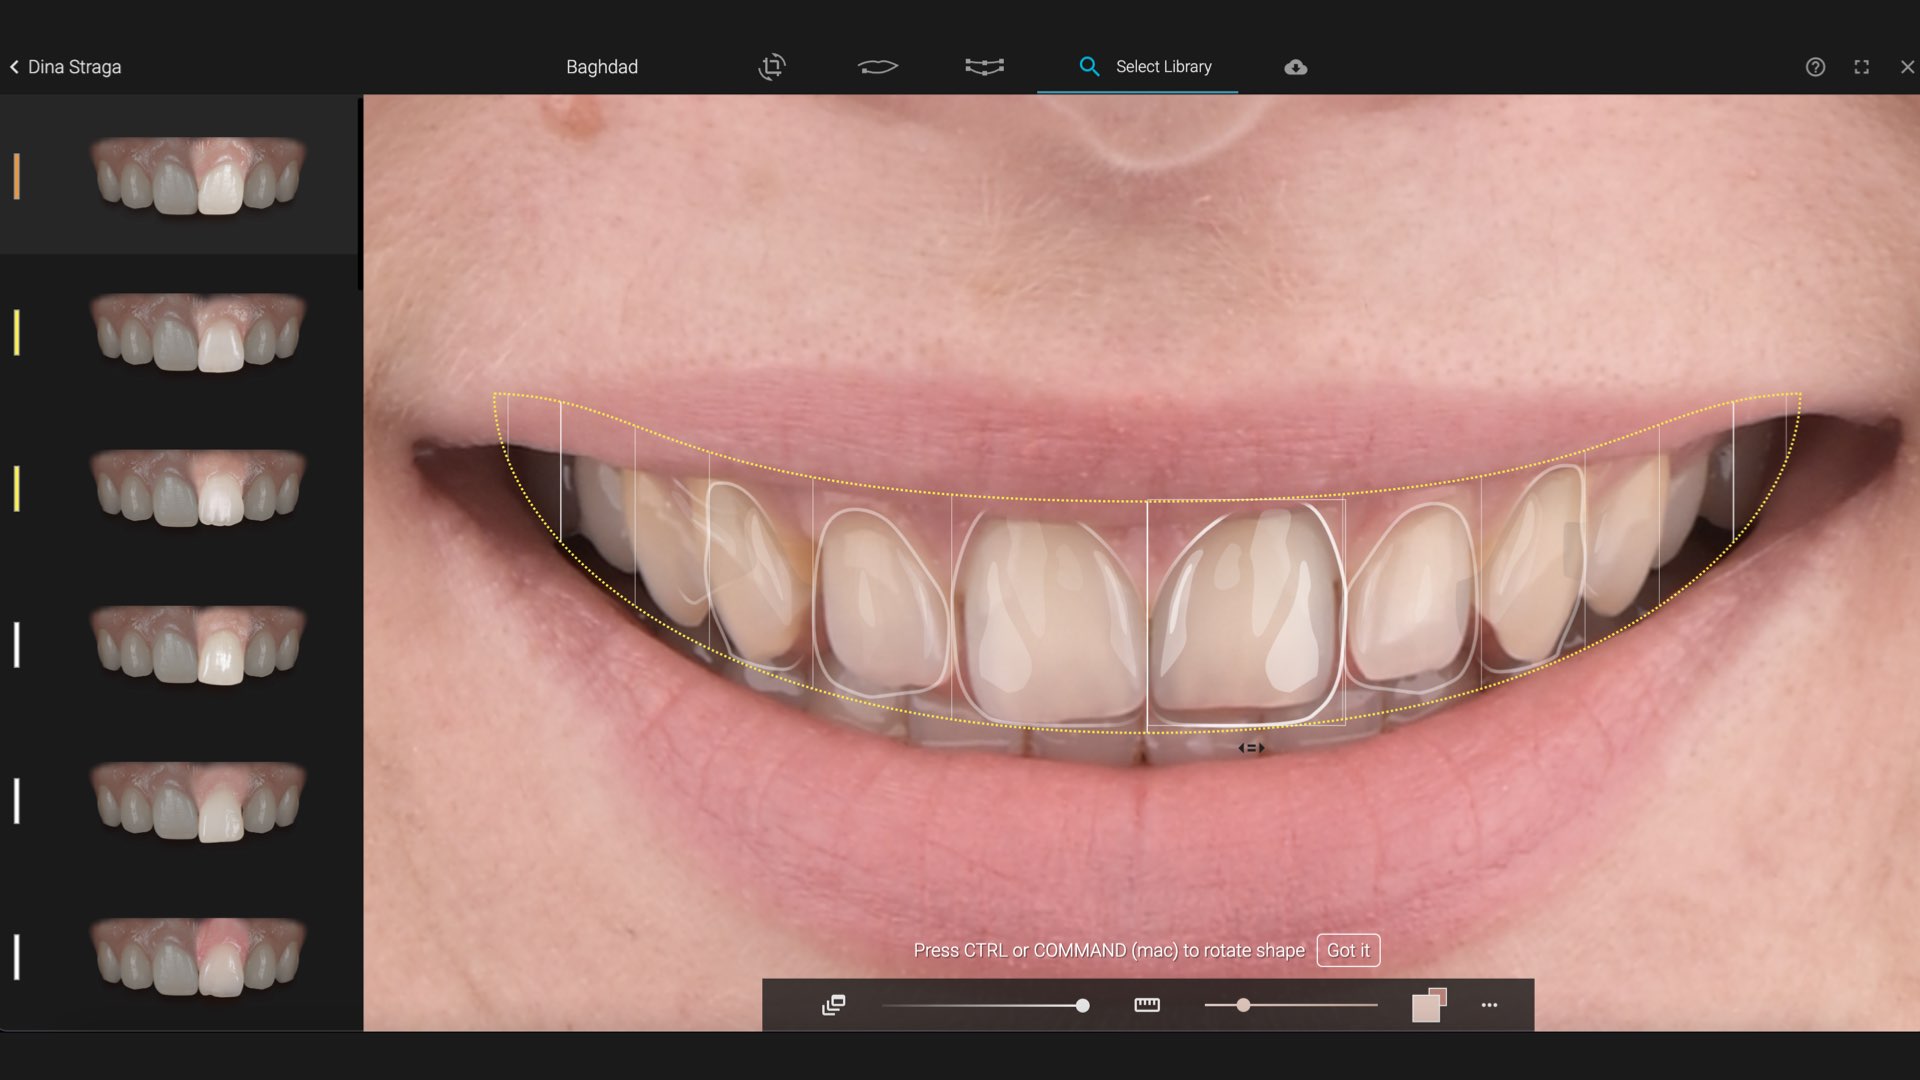
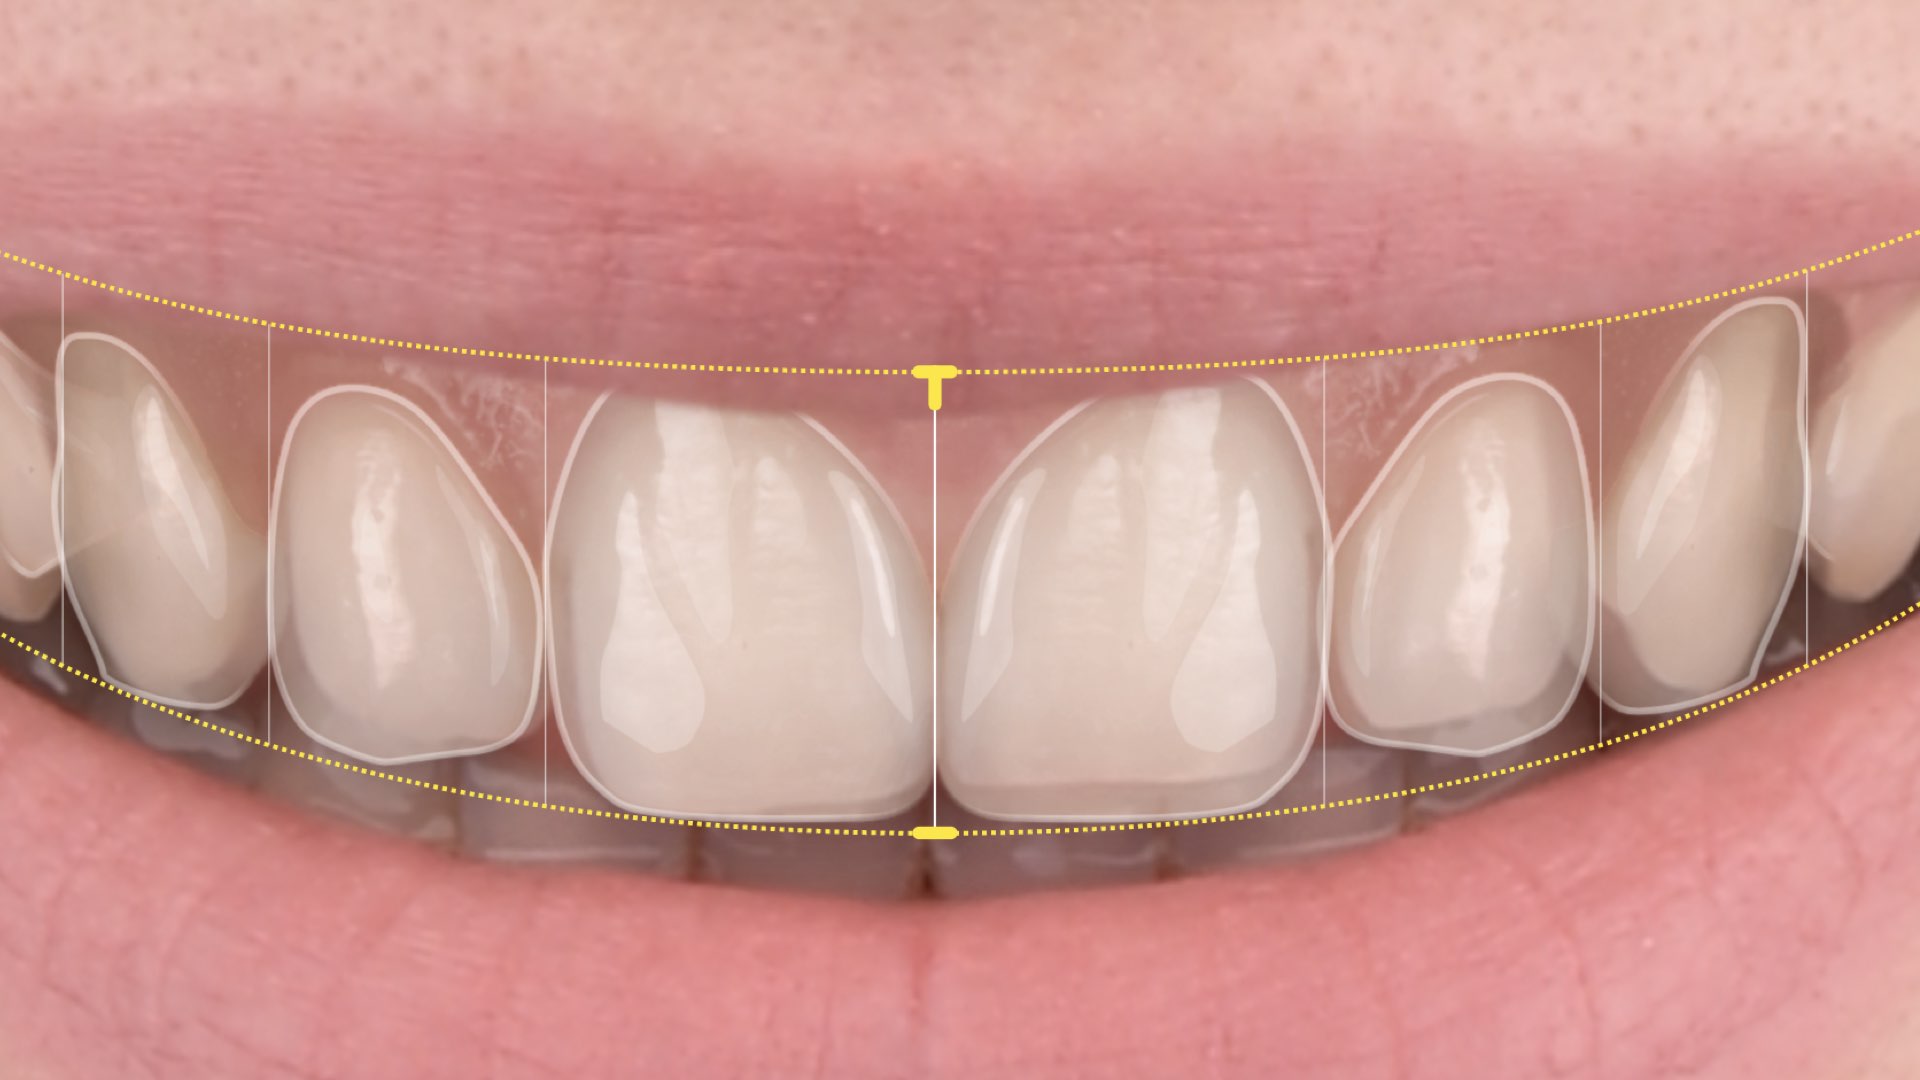
My in-office protocol, after the initial documentation was collected, includes the smile design. I like to involve our patients in this process as they have the opportunity to understand our thought process and even suggest ideas for their new smiles. Following the given biology such as papillae levels, line angles, embrasures and tooth position, we plan our design first in 2D to map out the plan and to select the biometry.
Although it is a very easy tool, Smile Design should be used with a high dose of responsibility as what we plan, we must be able to deliver. Basically, our plan becomes the promise we make to our patient, and that promise should be kept. 
During the design process our responsibility lies not only in meeting the patient’s expectations, but in achieving the balance between aesthetics and function. The indications for this protocol is limited to cases with a stable function. Lateral movements and protrusion checks are pretty important and can be tested during the mock-up.

Recognising the indication

Multiple diastema cases could be considered ortho or prosthetic cases so it’s essential to differentiate and choose the perfect treatment. By designing the possible tooth shape, the “grid” offers you a proper ratio to follow, which considers the length-width ratio of the single tooth and the overall proportion of neighbouring teeth. Simply speaking, it doesn’t allow you to break the rules of the aesthetic proportion of front teeth. A quick design can help to better understand if the indications are orthodontic or prosthetic.

What makes a case purely additive?

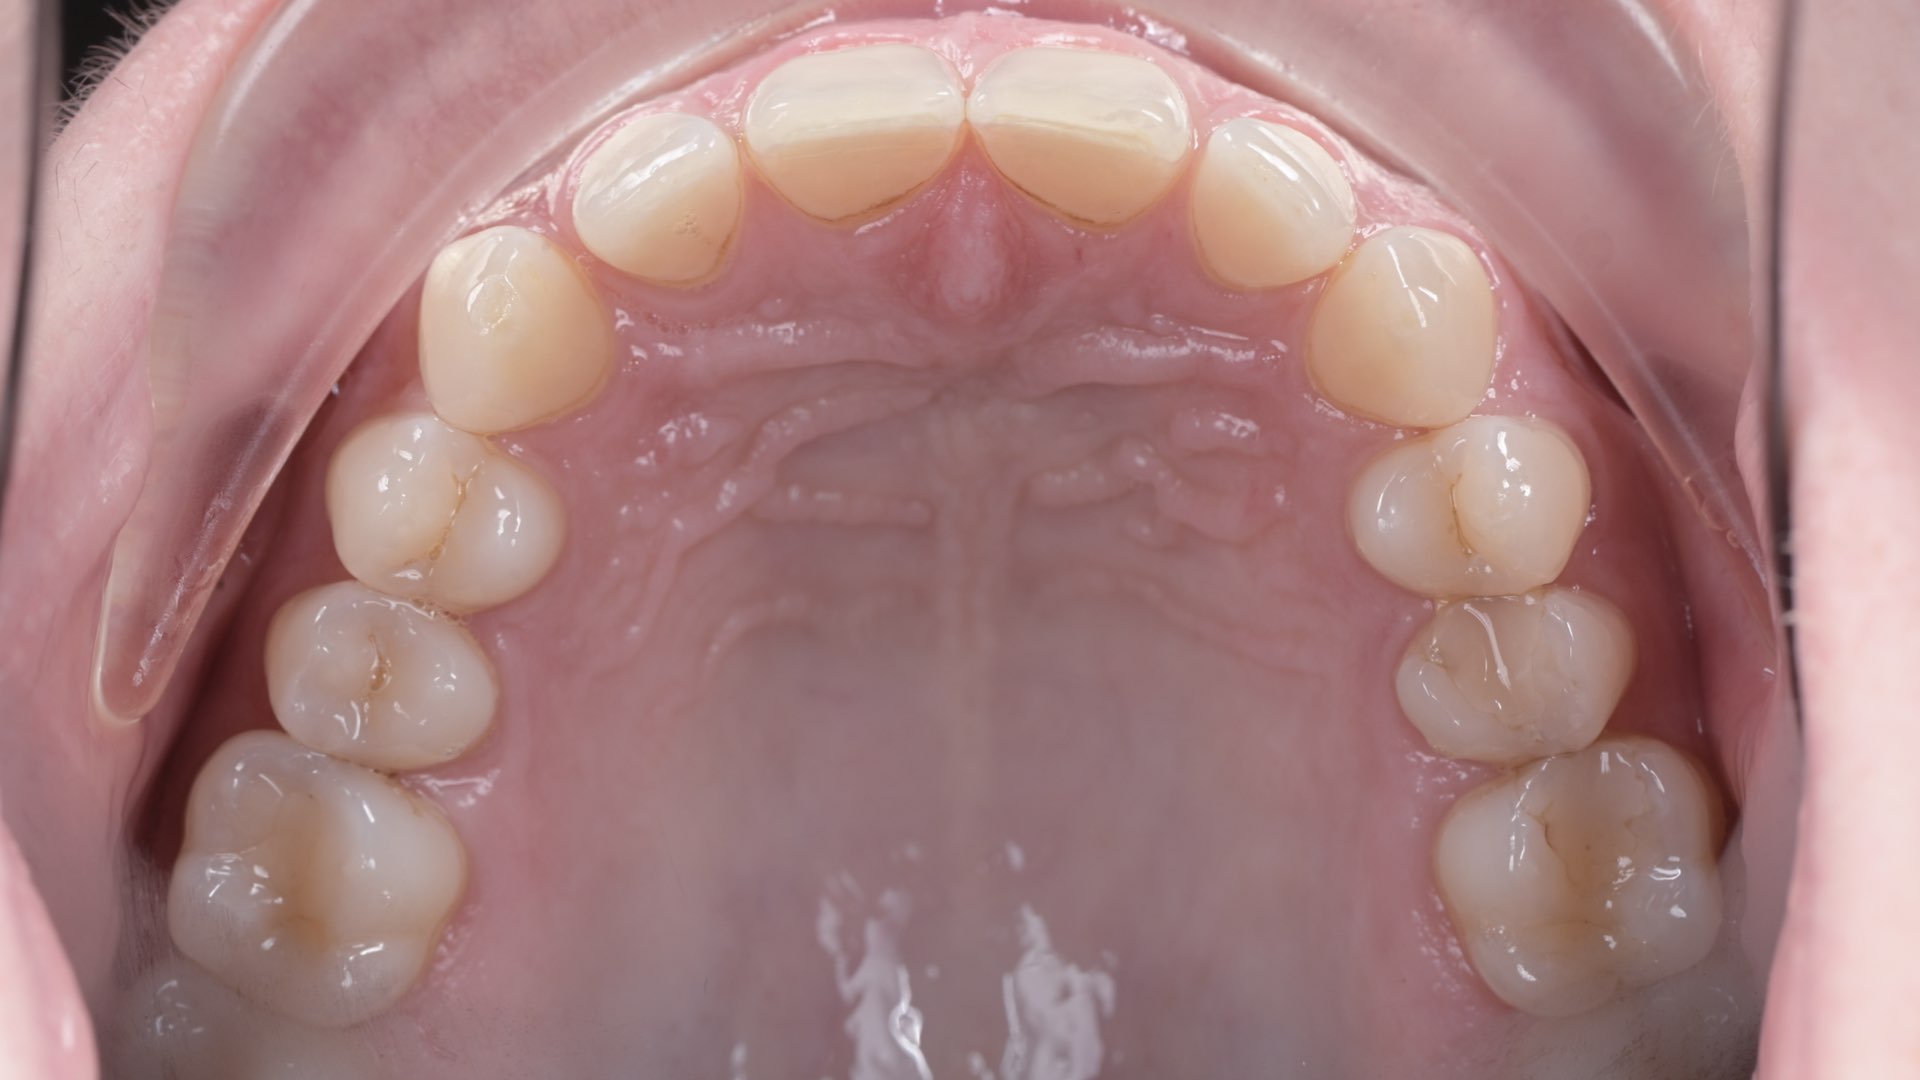
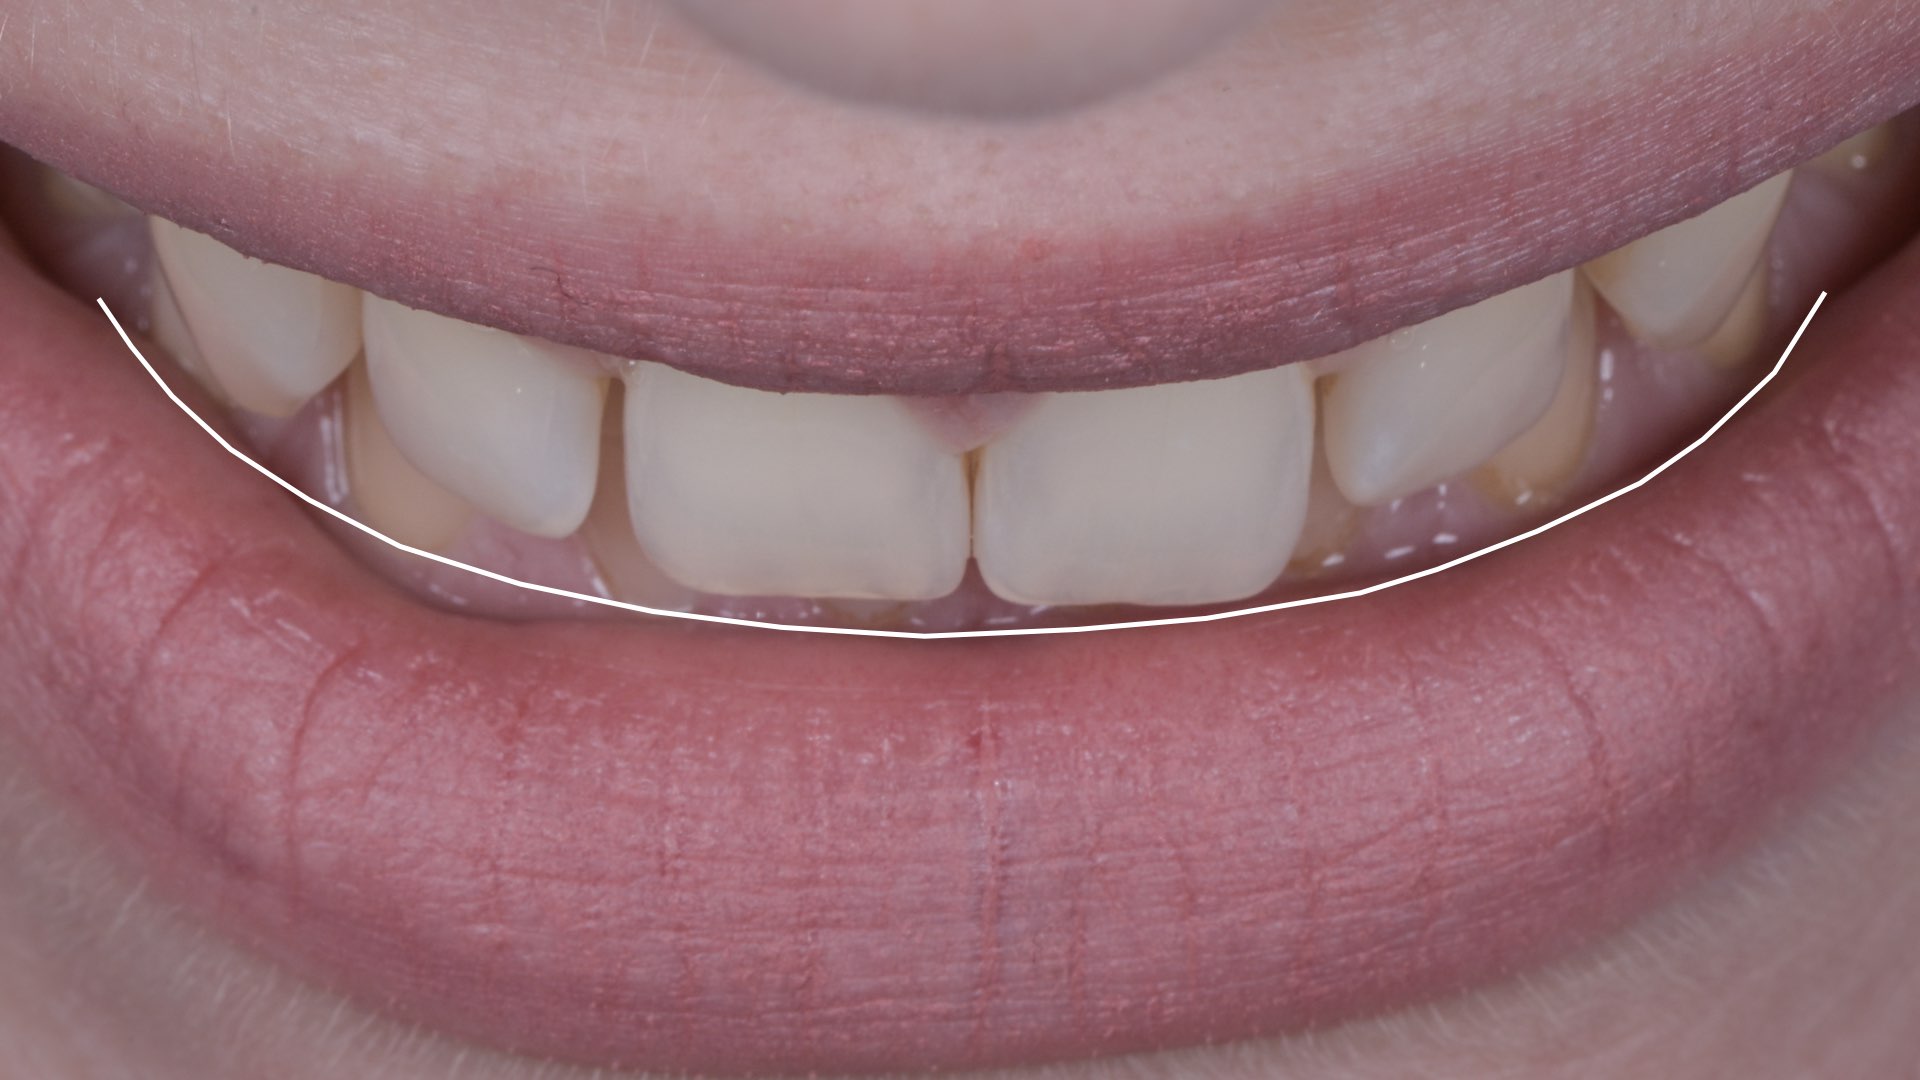
The 12 o’clock photo is a simple piece of data to quickly distinguish additive from non-additive cases. Teeth should not be too divergent and all of them should have the space for additional material. If one or more teeth are protruding or even too retruding, the indications should be first orthodontic. Indications for composite veneers are one or more of the following:
  • Multiple diastemas
  • Post-ortho patients
  • Missing tooth structure (if the function is preserved)
  • Lack of aesthetic tooth display
  • Overall correction of anterior tooth display
Contraindications

Any case in which there would be a great difference in thickness of veneers on neighbouring teeth should be reconsidered and other treatment plans suggested. To avoid any unnecessary complications try to avoid this technique for cases such as:
  • Color changing indication (one or all of the teeth have unpleasant color for the patient and his main complaint is to change the color of the teeth)
  • Crowding
  • Cases that would need reduction of tooth structure

Transforming 2D into 3D

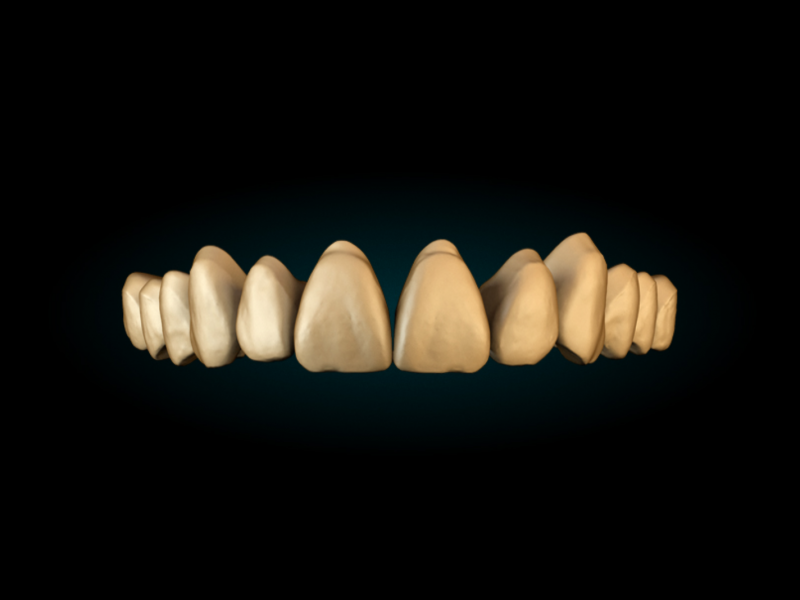
Moving forward we need to transfer the 2D design into a printable 3D model. We do this by downloading the Smilecloud library. These are basically the individual stl files of the shapes we used to plan our 2D. Our technician imports this specific library into Exocad, 3Shape, or Meshmixer, positions and scales the library onto the intial scan resulting into a 3D printable model. 
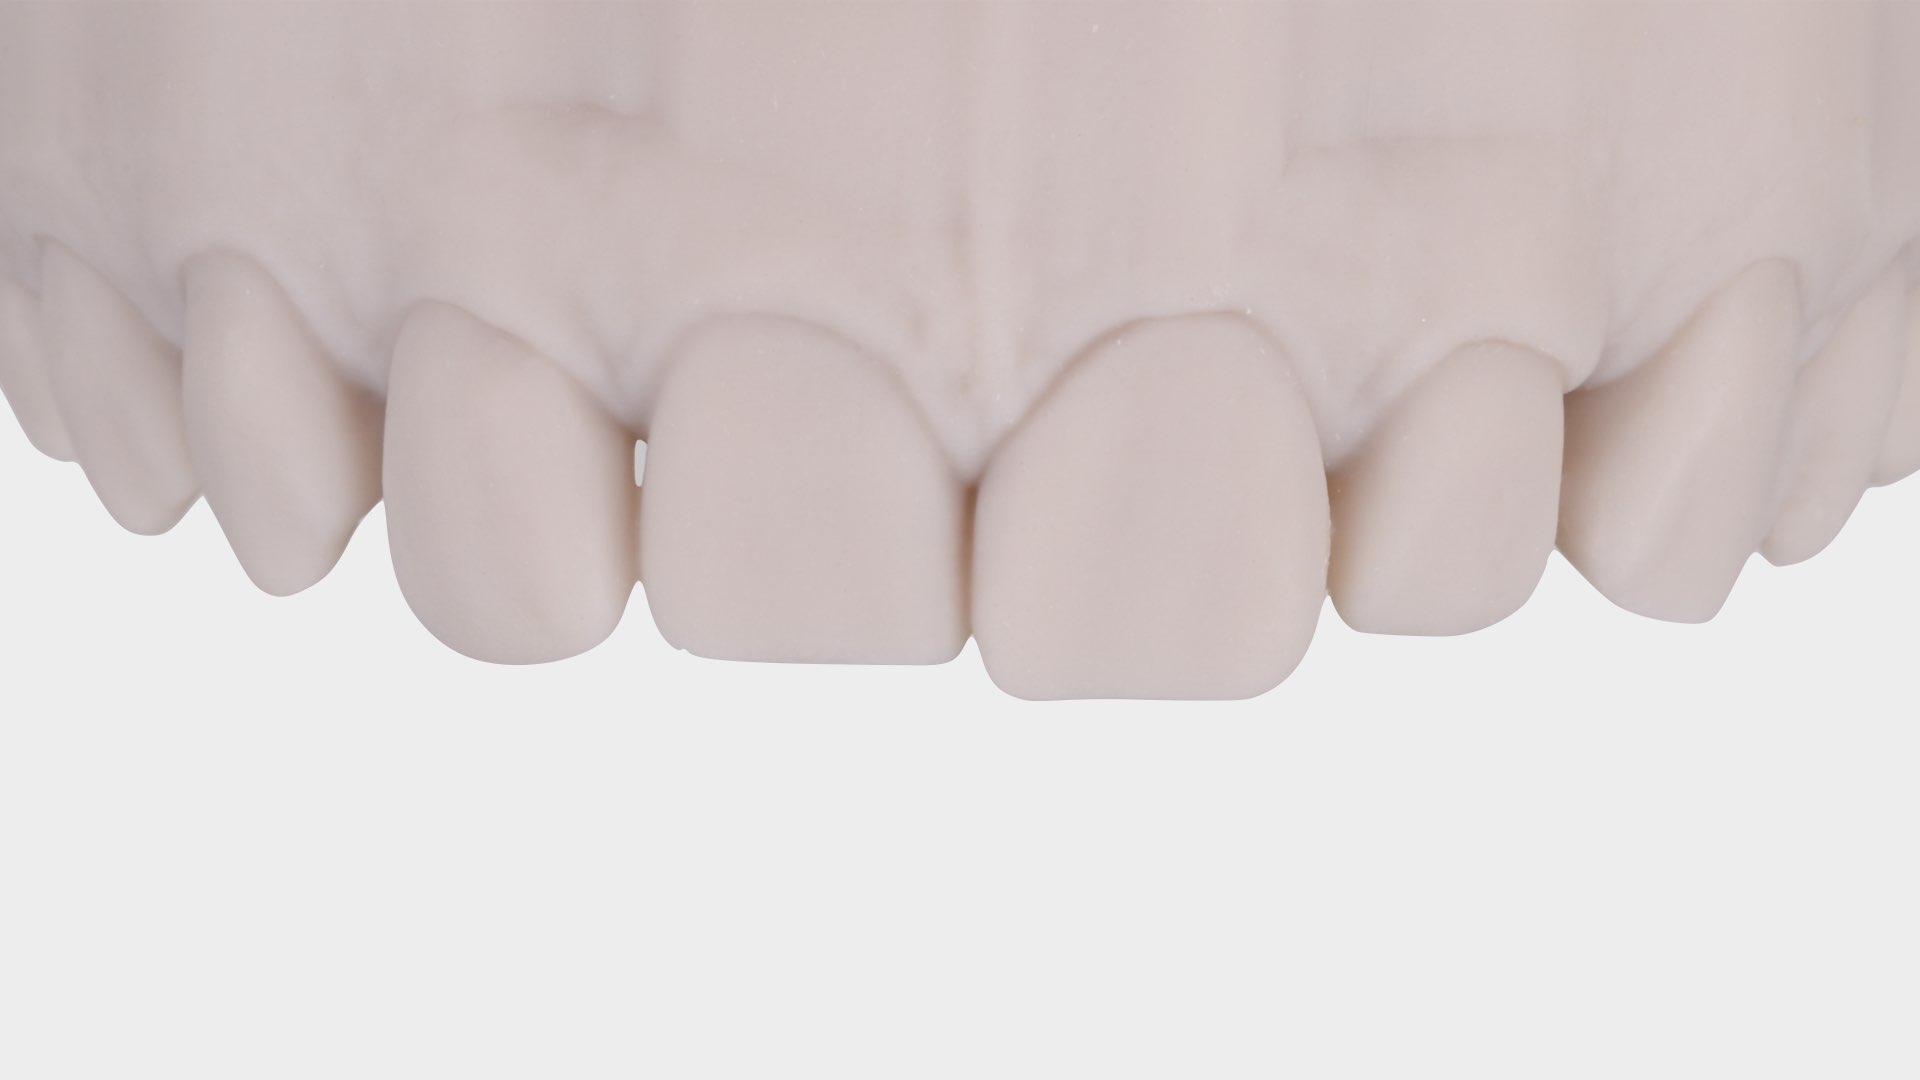
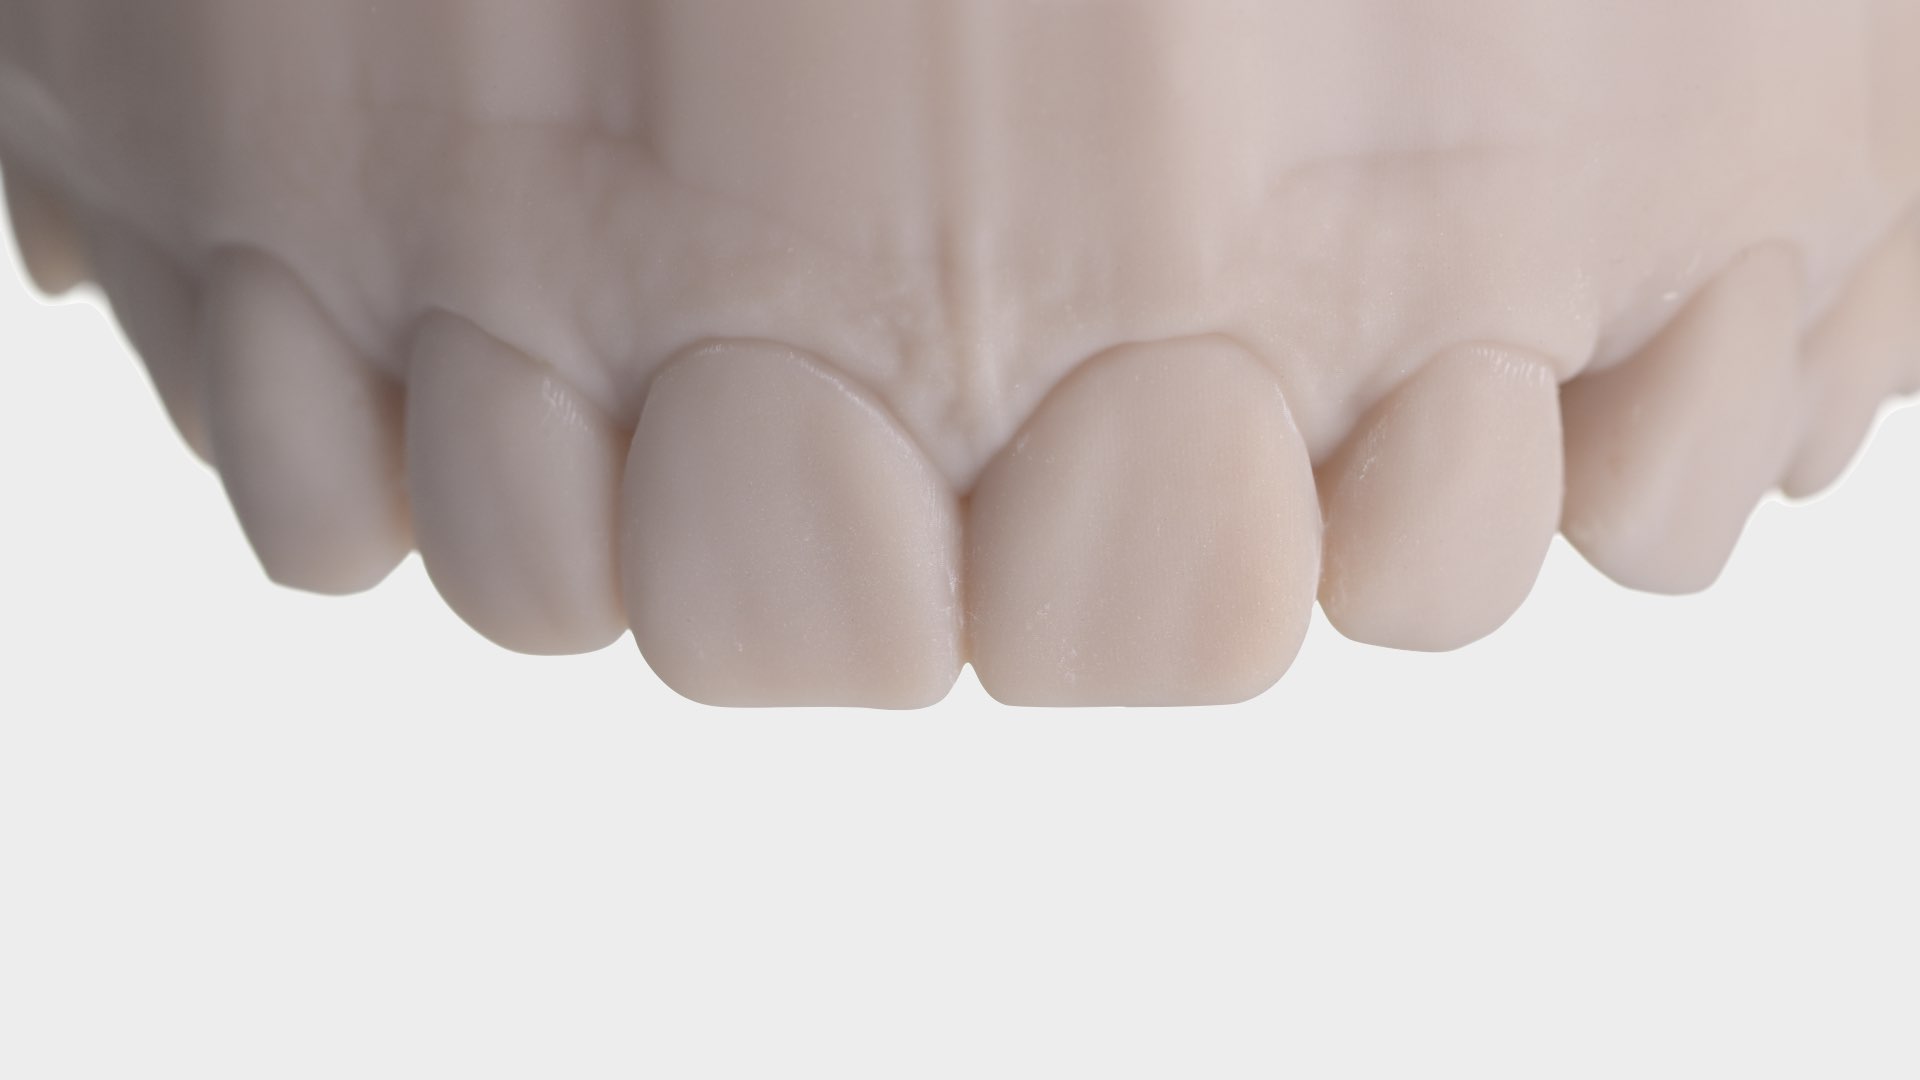
For Shape my smile protocol, it’s important to create two separate wax-up models. One with an every-second new tooth in place, and one with all of the designed teeth in place . It’s extremely important for the Injection technique to keep the teeth separate and completely transfer their shape.
3D Final mockup
Alternative model
Full model

Technical bottlenecks

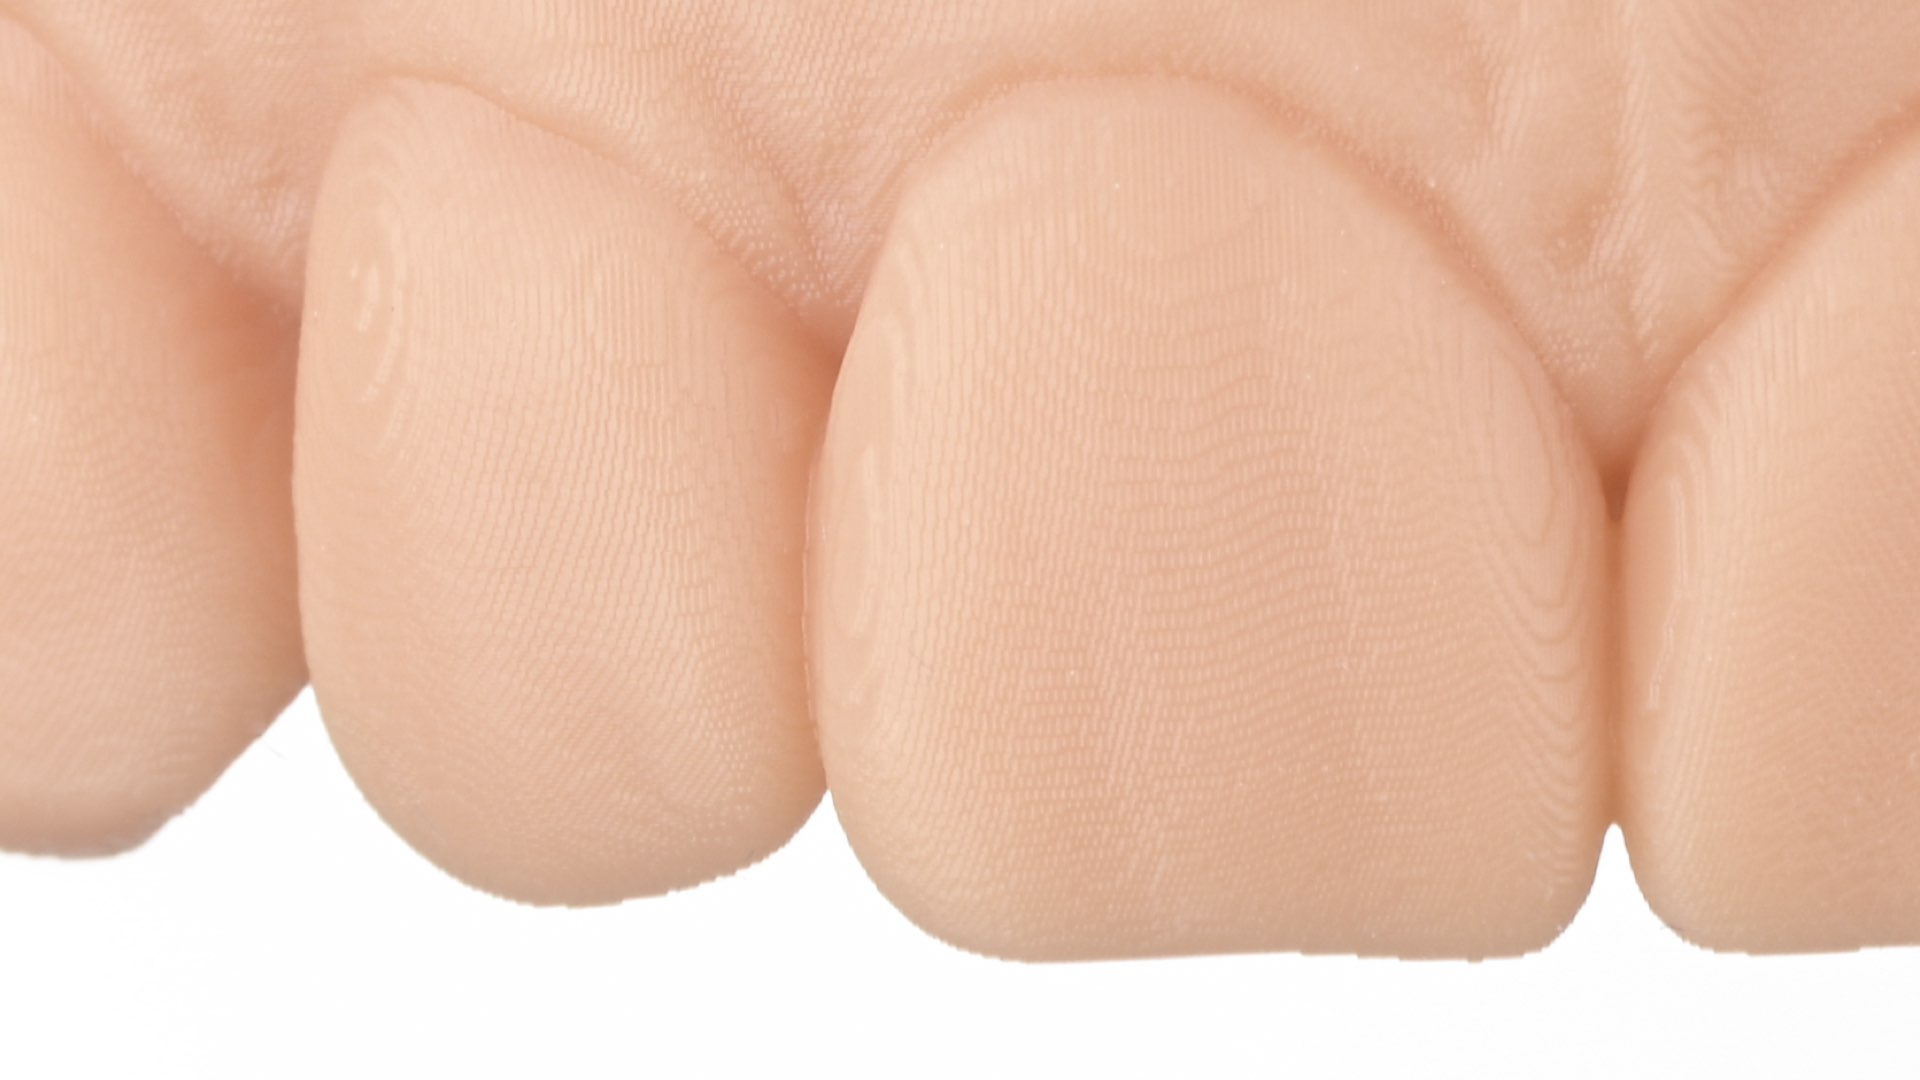
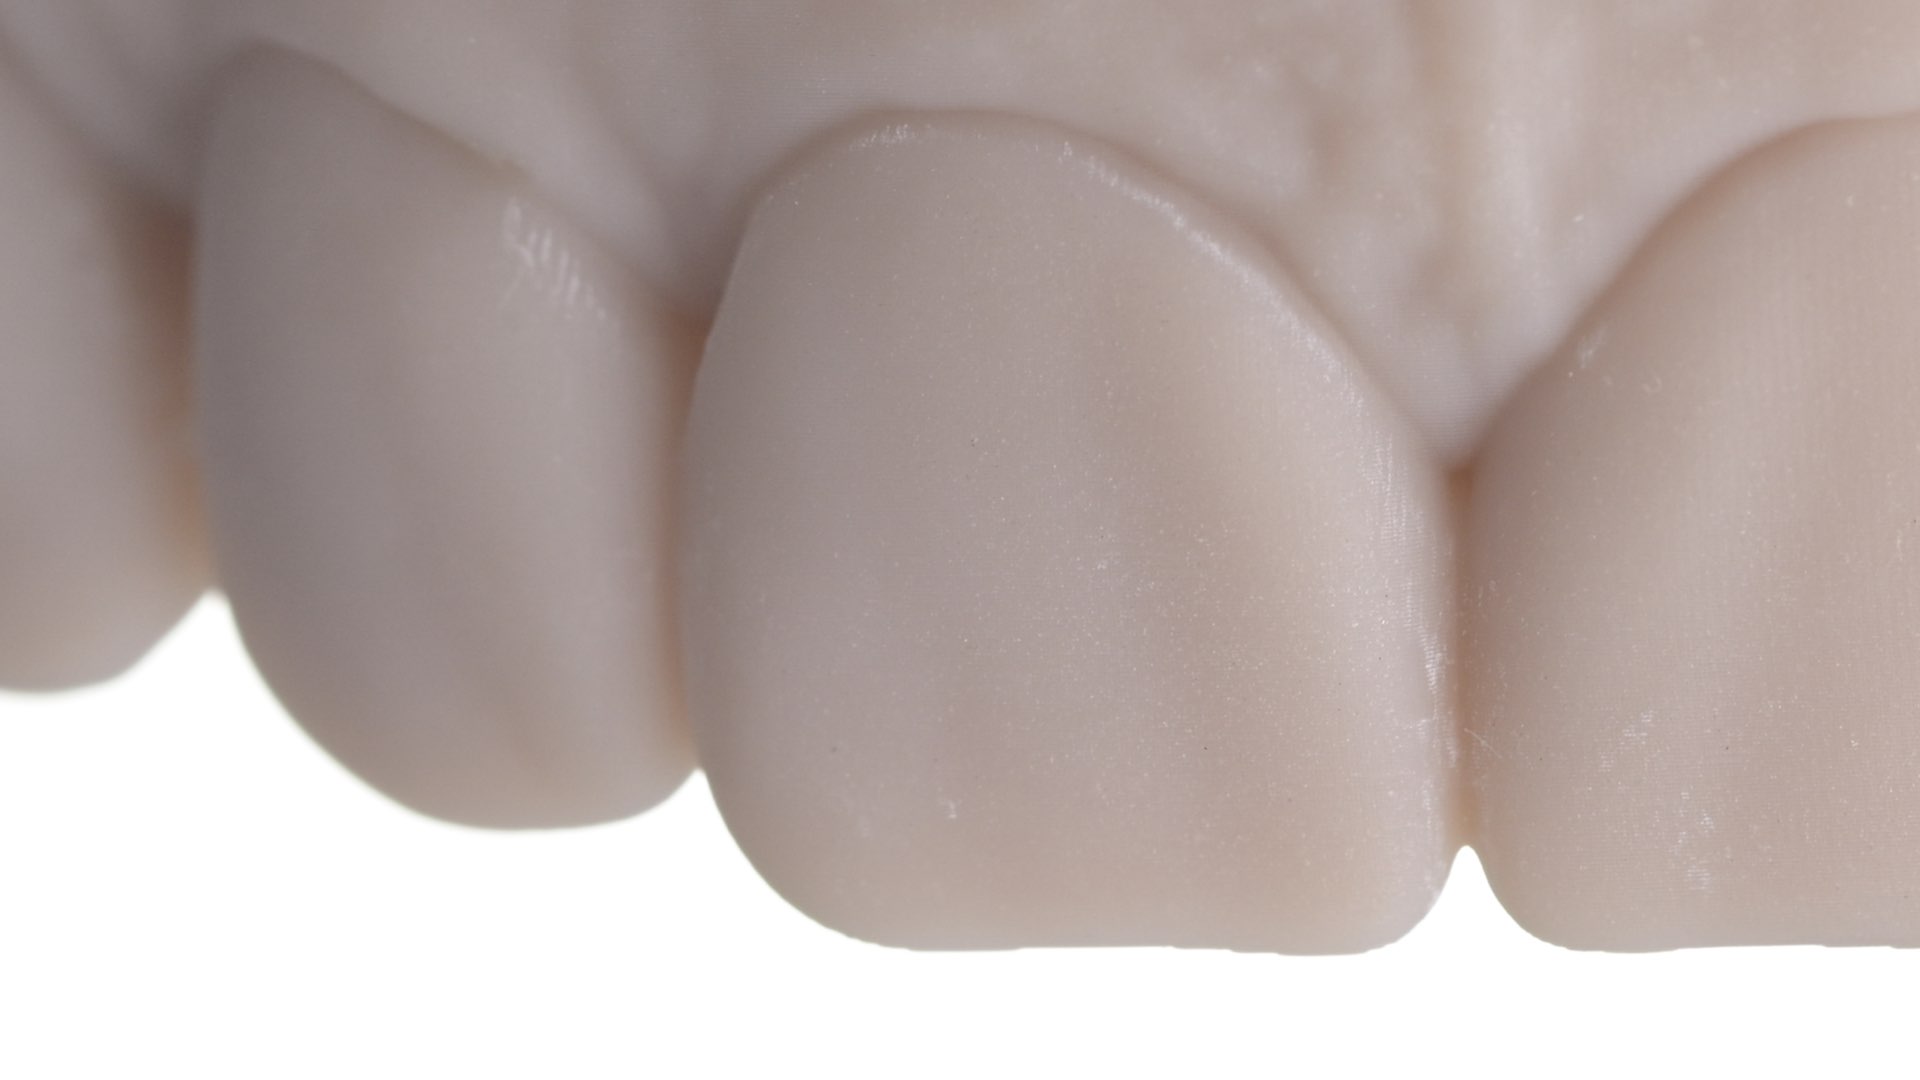
Printing quality can make or break your direct restorations. Some printers and resins have a specific surface structure that might affect the texture quality copied by the mould. Especially if it has a coarse or matte surface – it can trap air bubbles that won’t be able to escape and therefore create air inclusions in the transparent silicone mould.
 
As the silicone material is extremely precise – in this case Exaclear GC transparent silicone – it’s important that the quality of the resin is as well. Here is a comparison between two different resin materials printed with two different 3D printers using a different layer thickness.
As you can see – the first model has a printing pattern – connections of layers from printing resin. The second one has a much smoother surface. The more precise the model is – the more accurate is the transparent silicone index – the less post-processing of composite. It’s pretty easy to understand that the better quality of the print will save time more importantly, it will transfer the shape and texture of the tooth more precisely.

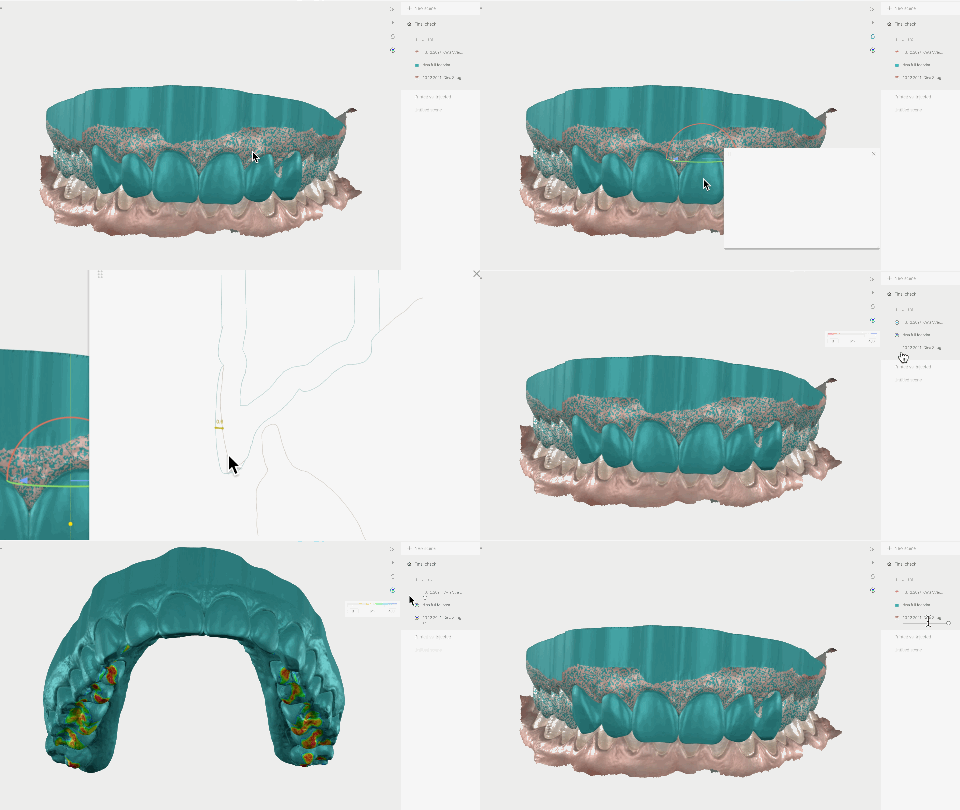
Assessing thickness

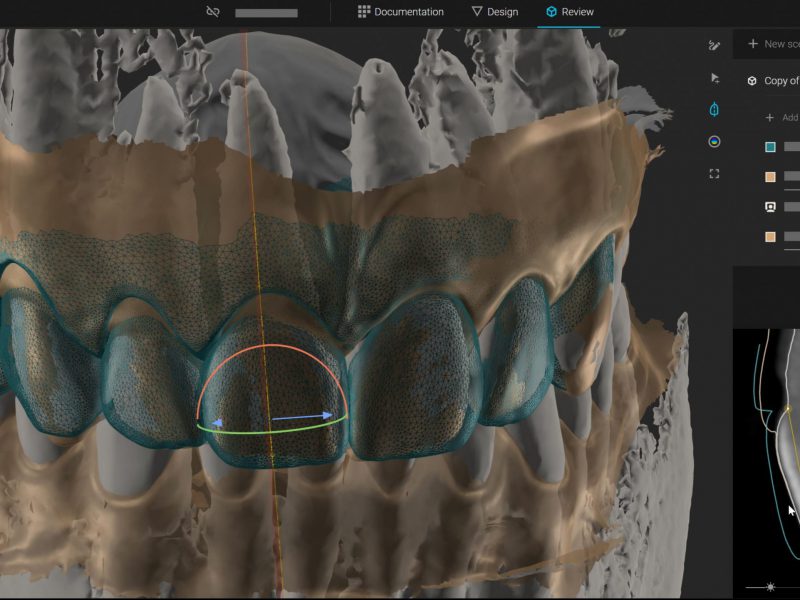
Superimpose your initial and 3D design in a review scene. Double click and measure. You can mitigate any changes needed or simply check thickness and even contacts before starting out.

Final mockup

Now that our treatment was fully planned digitally, it’s time for the chair. We start with transferring the design to the patient’s mouth with the final mock-up. I even have the tradition of leaving the mock-up for a day just so the patients could have the chance to feel the new restoration better.

Transparent mould

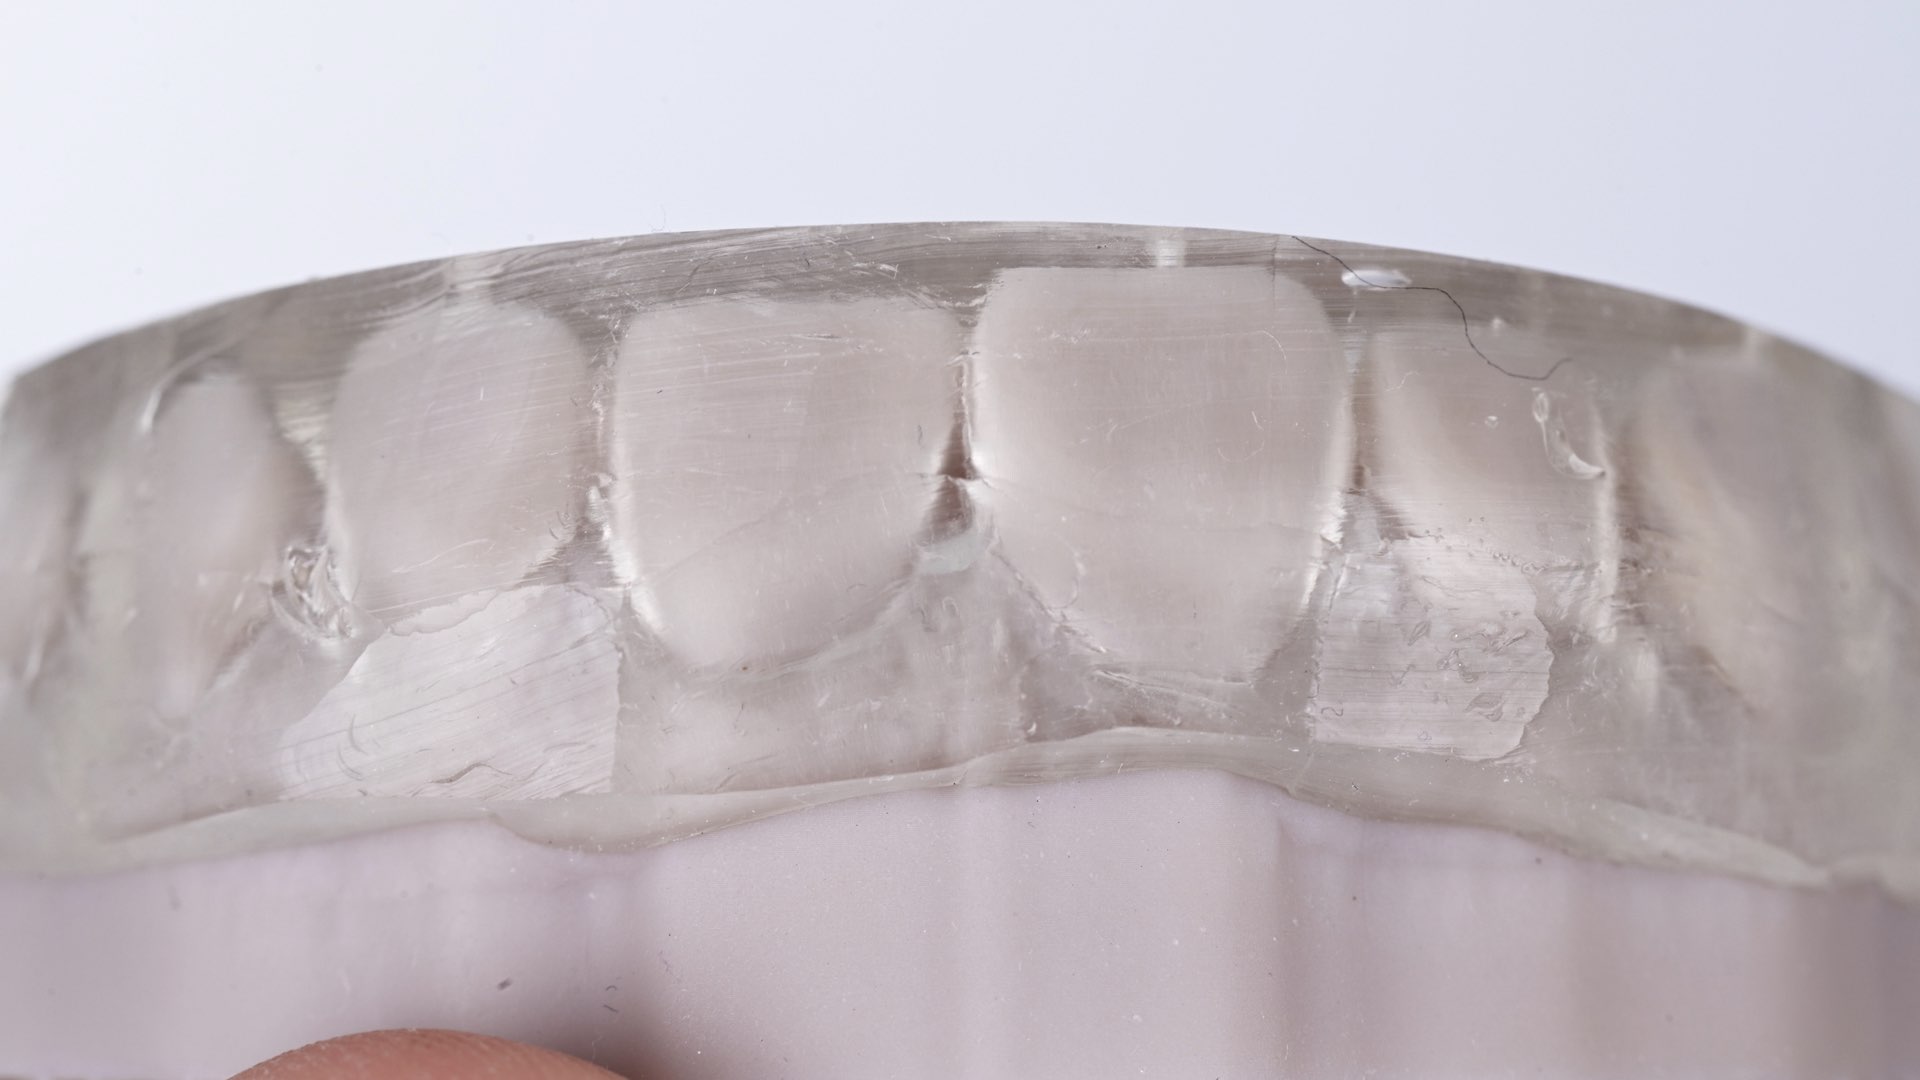
A transparent silicone index was made using a GC Exaclear material. The material should be put evenly on the model at the same time, paying attention there are no big air bubbles left inside. Metal impression tray or customised tray should be placed on top of the model and set in warm water in a high-pressure bowl for at least 5 minutes. Warm water and pressure should evacuate any residual air bubbles left inside the silicone and nicely form a silicone index for mould.
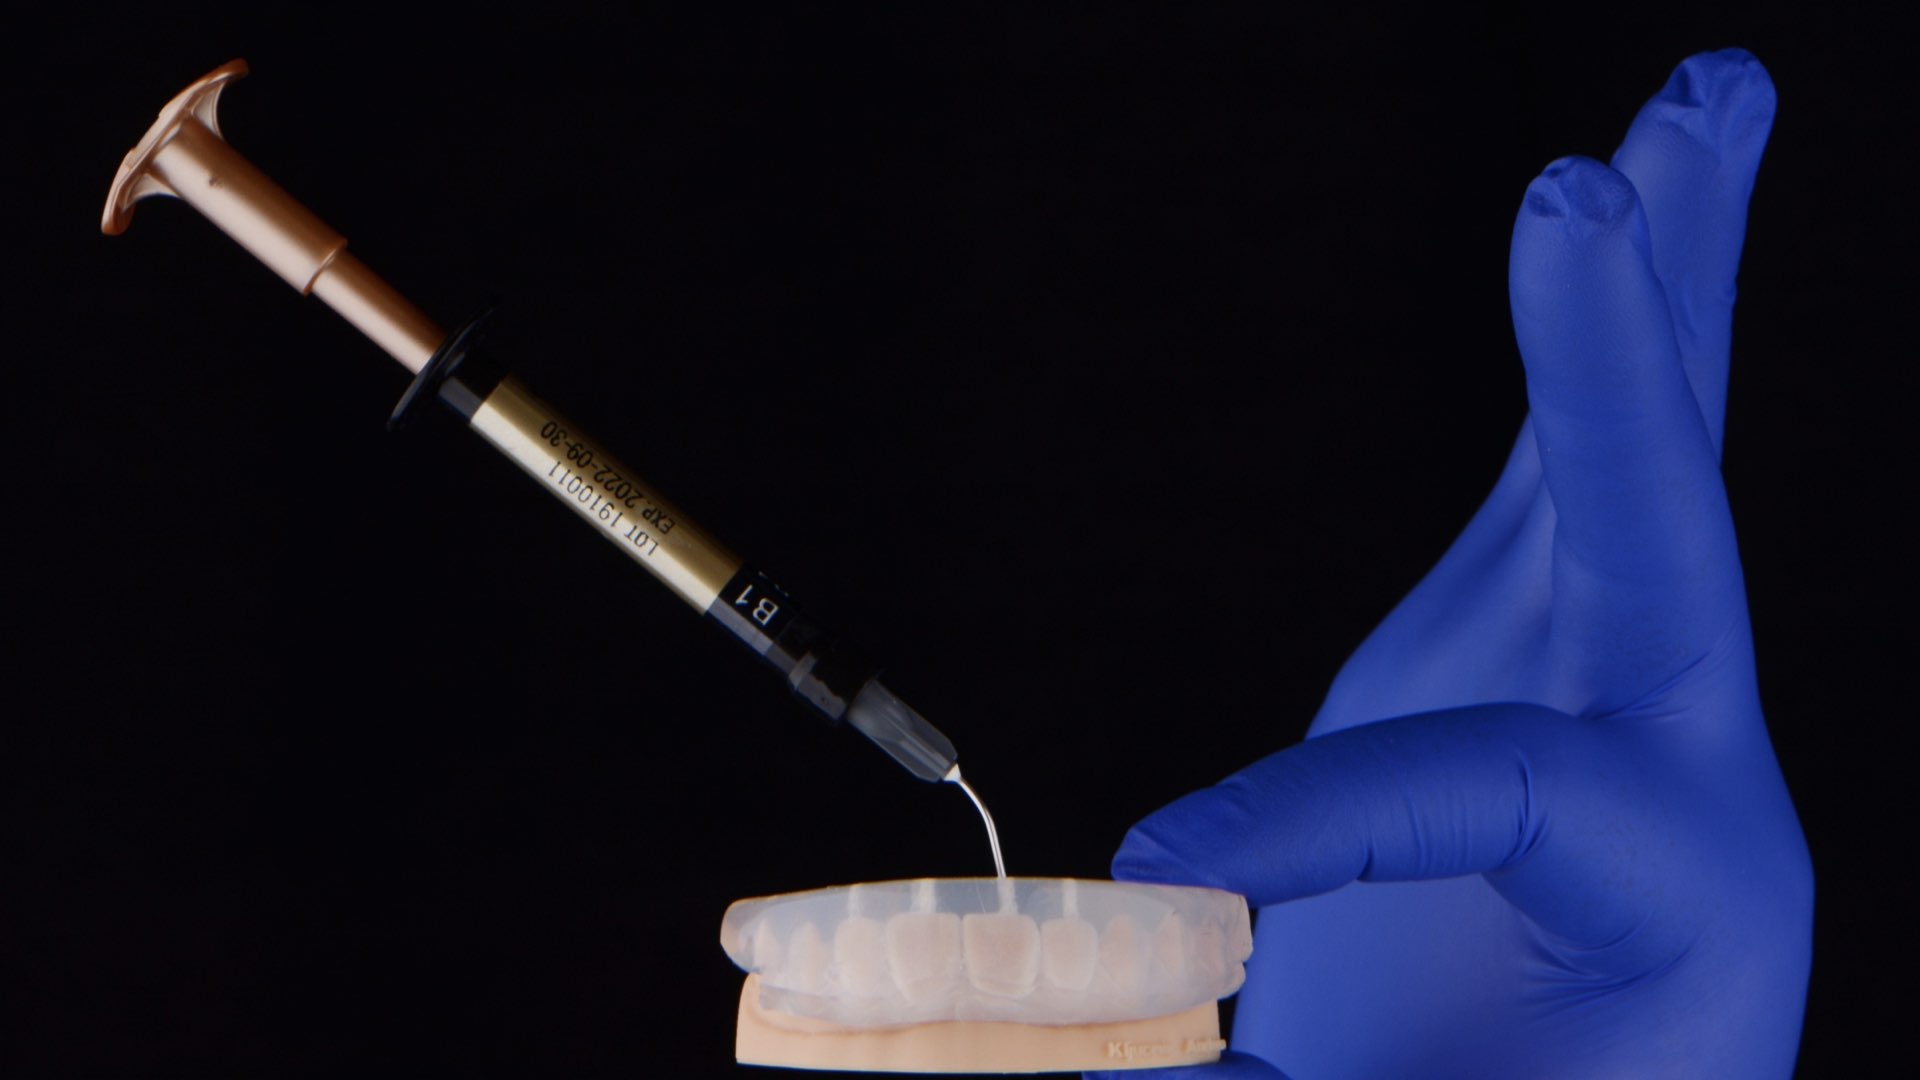
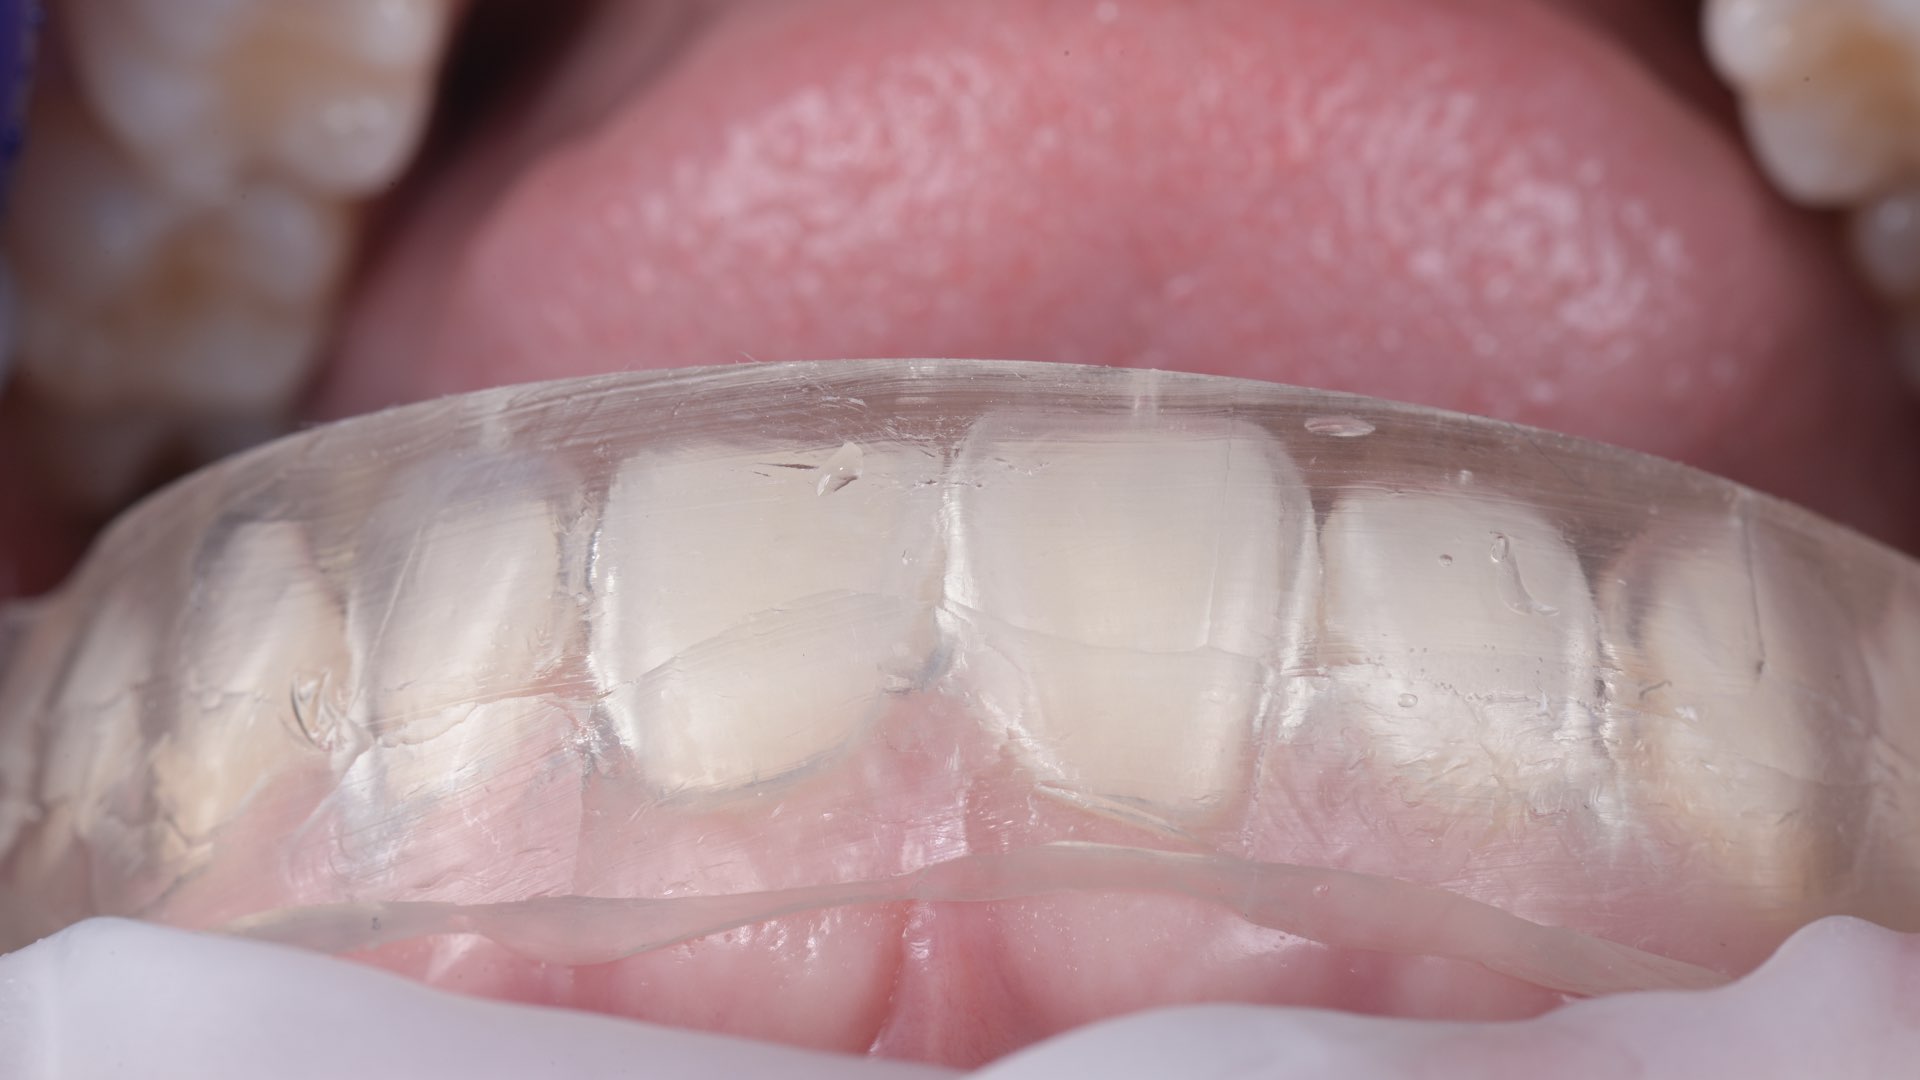
Once the polymerisation is finished, small access canals have to be drilled in silicone for injecting the composite. We used GC Universal Injectable composite – B1.

Composite injection protocol
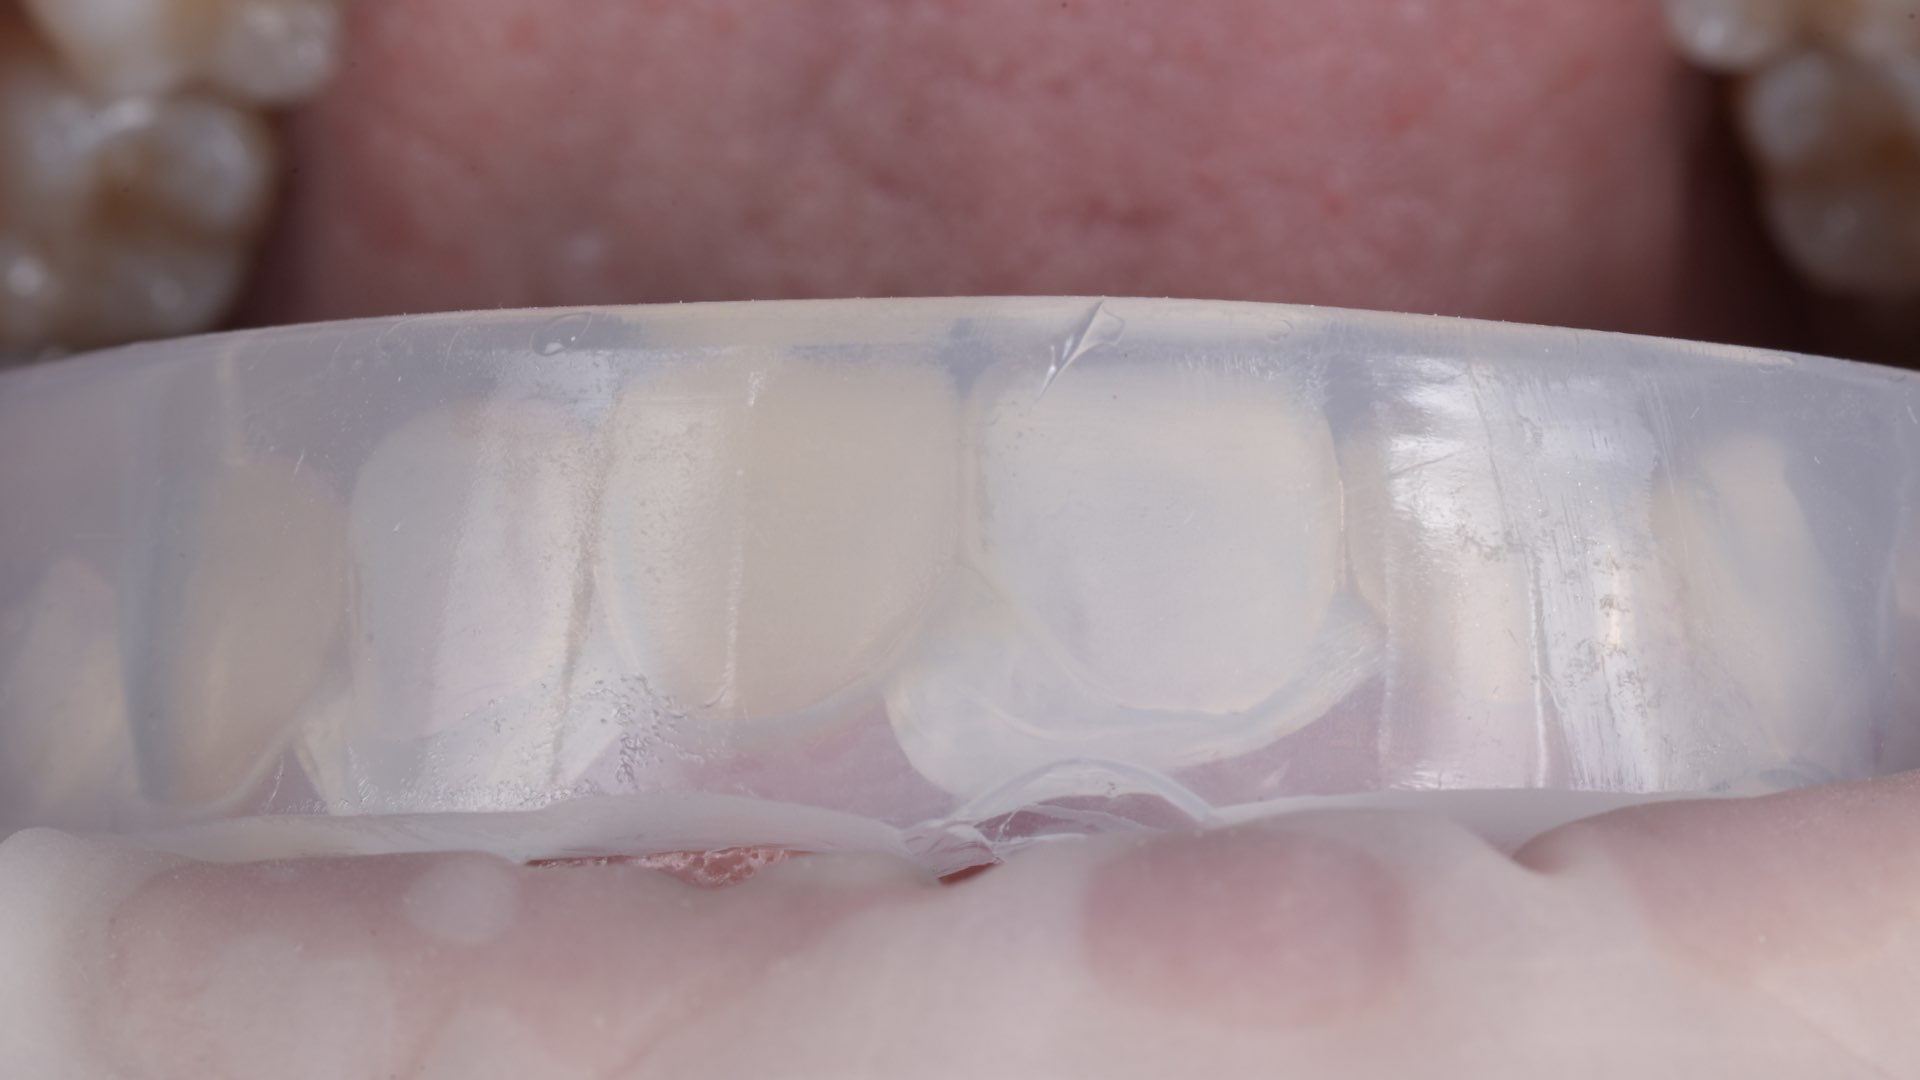
The final step in Shape my smile protocol is Composite injection using a transparent silicone index. Isolation is important. Your task is always to think about your patient’s safety – therefore, a rubber dam is recommended. In this case, I’m using an Optragate as a lip retractor and Teflon tapes as a means to protect neighbouring teeth. Since no drilling is included, there is no need for an anaesthetic.
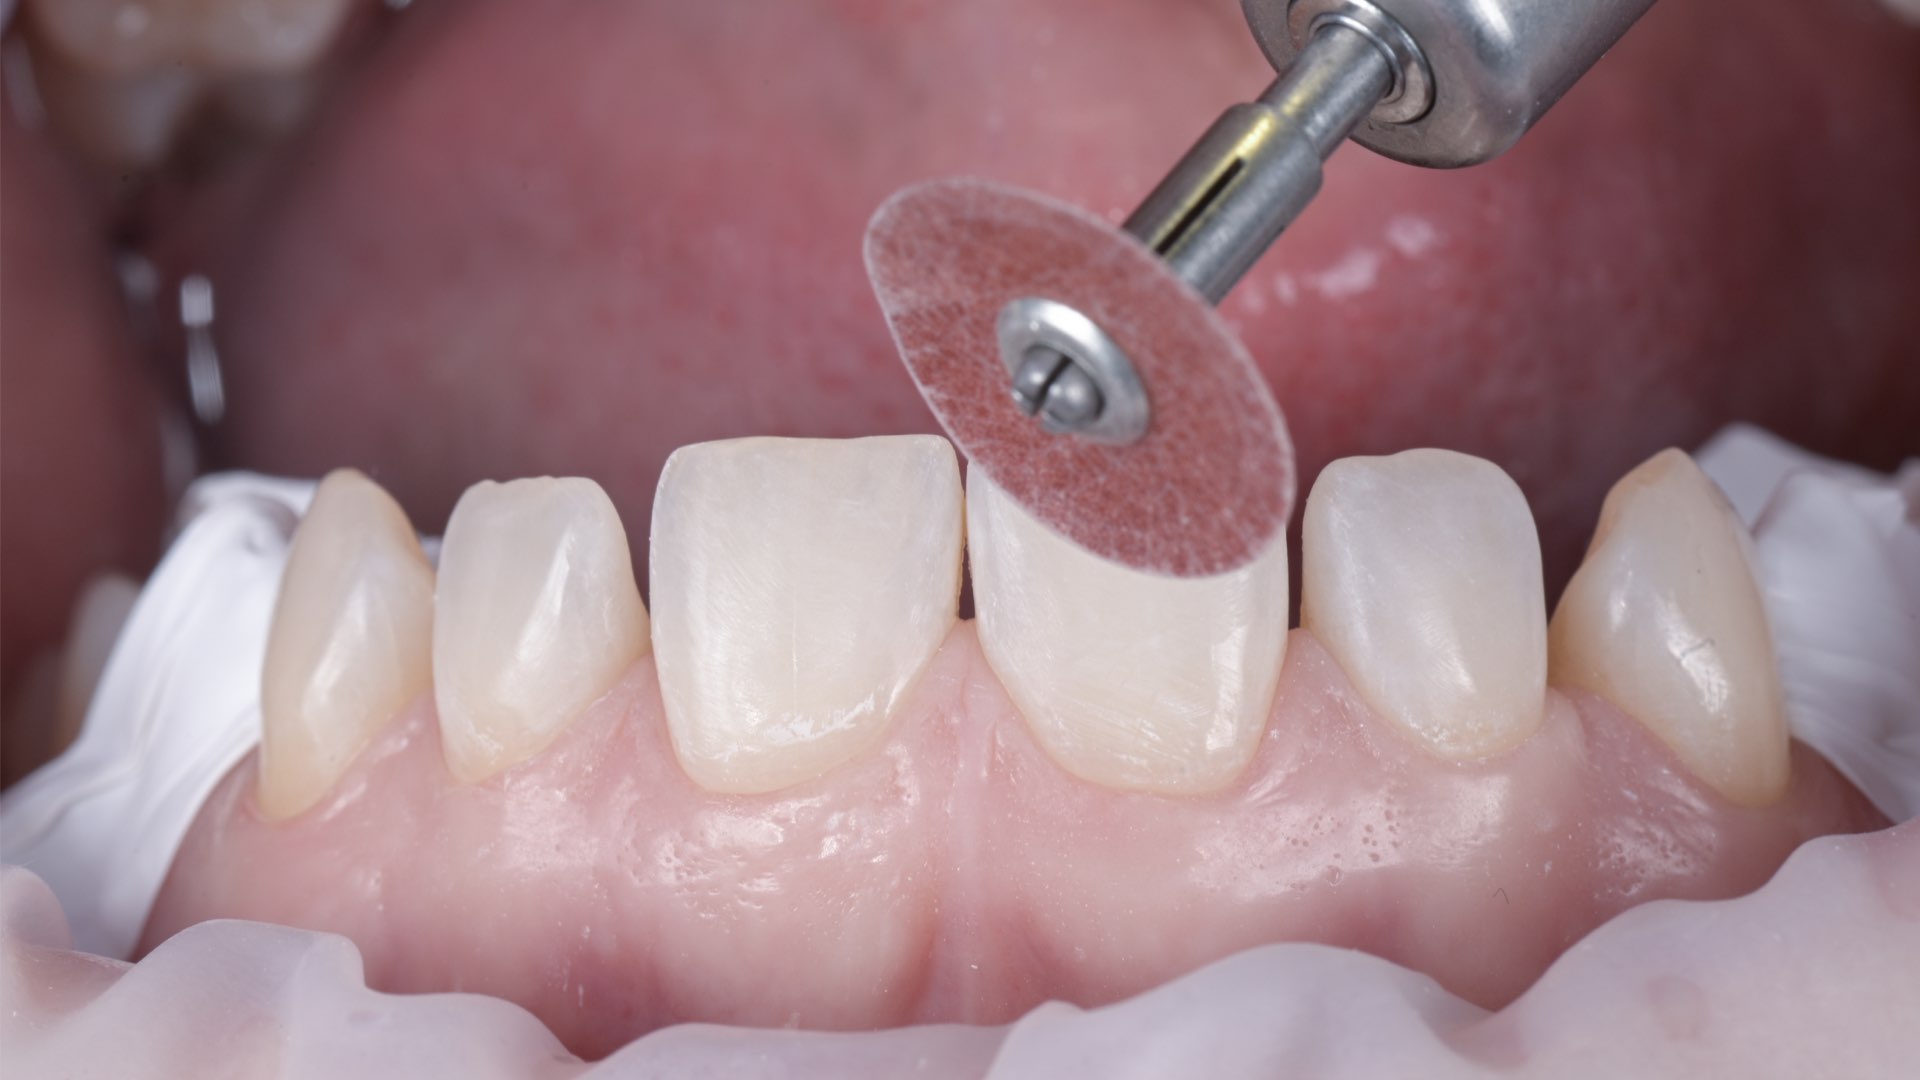
Soflex disc with water is used to gently clean and polish the surface. Roughening of the surface will increase the surface’s ability for better adhesion. In this case, it’s even recommended to use Air abrasion as it proved to be the best means for increasing the tooth’s micro porosities and overall etchable and adhering surface. 
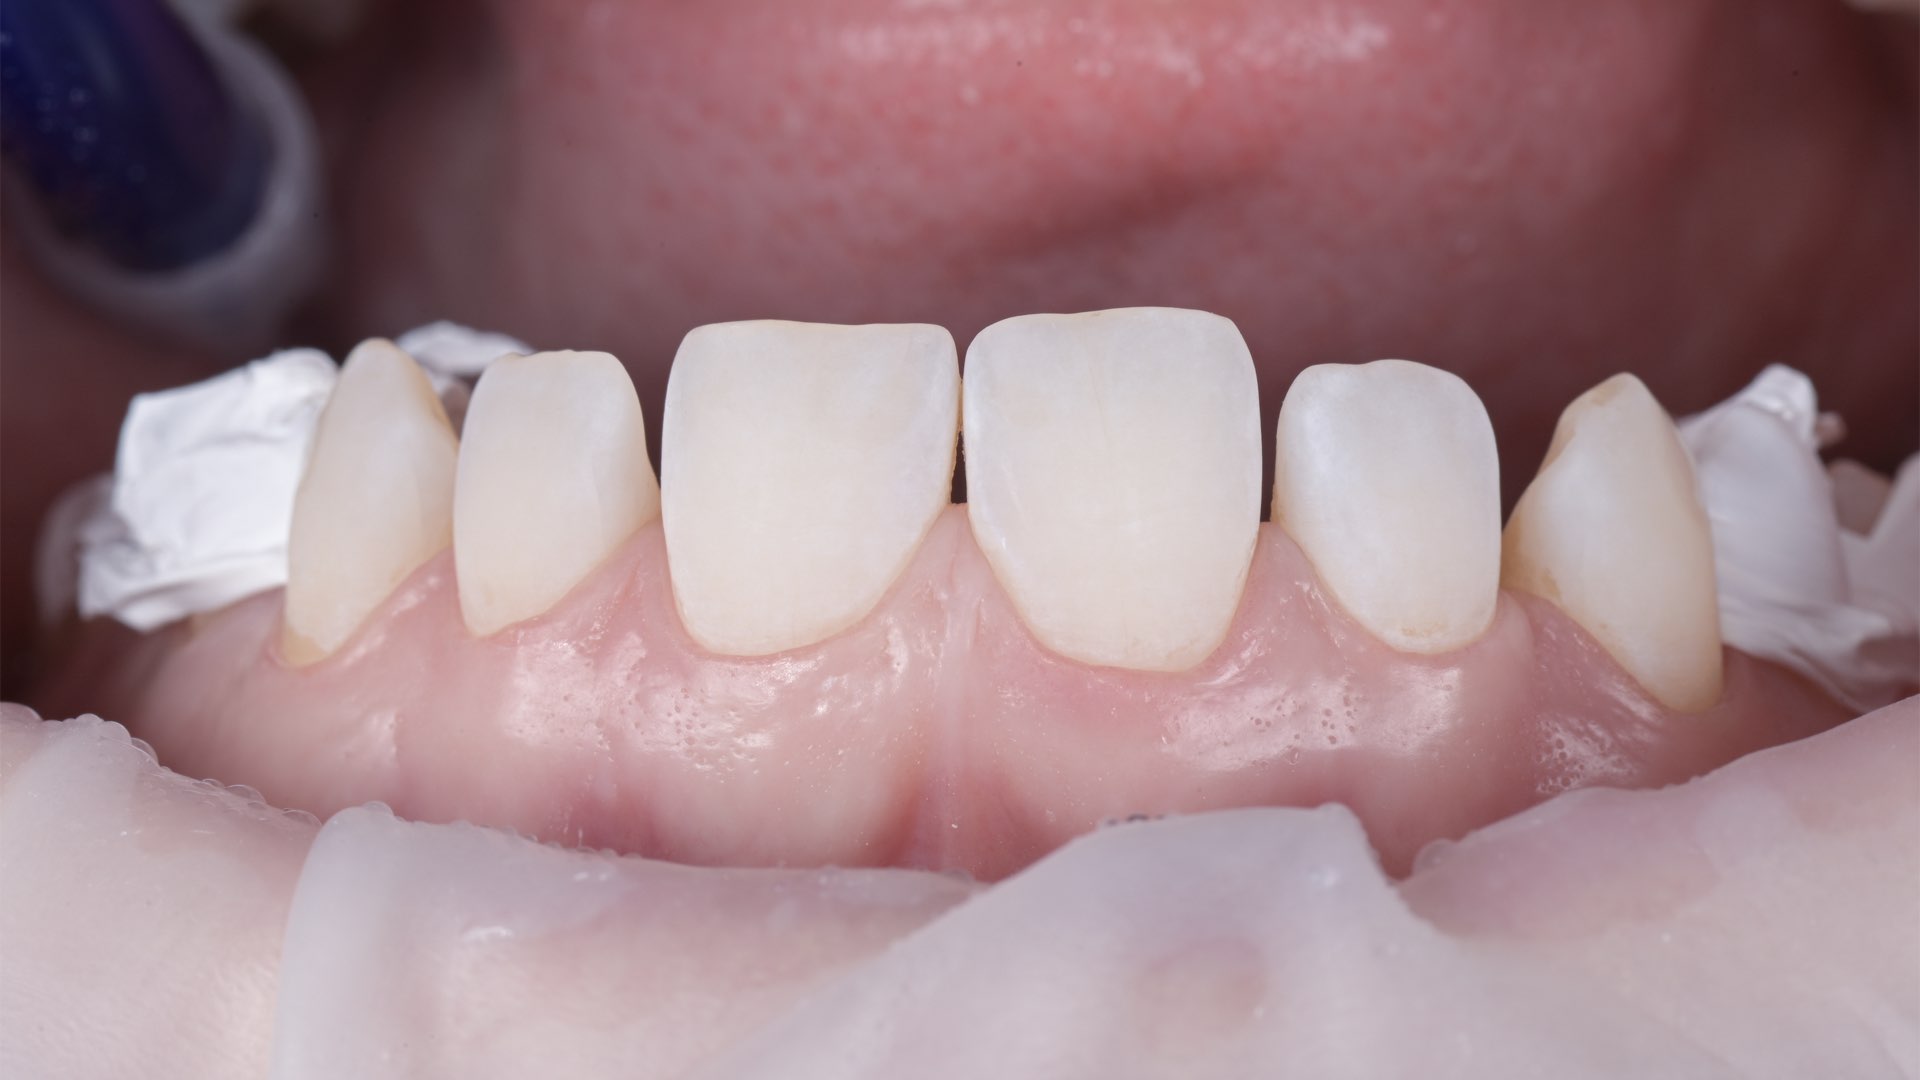
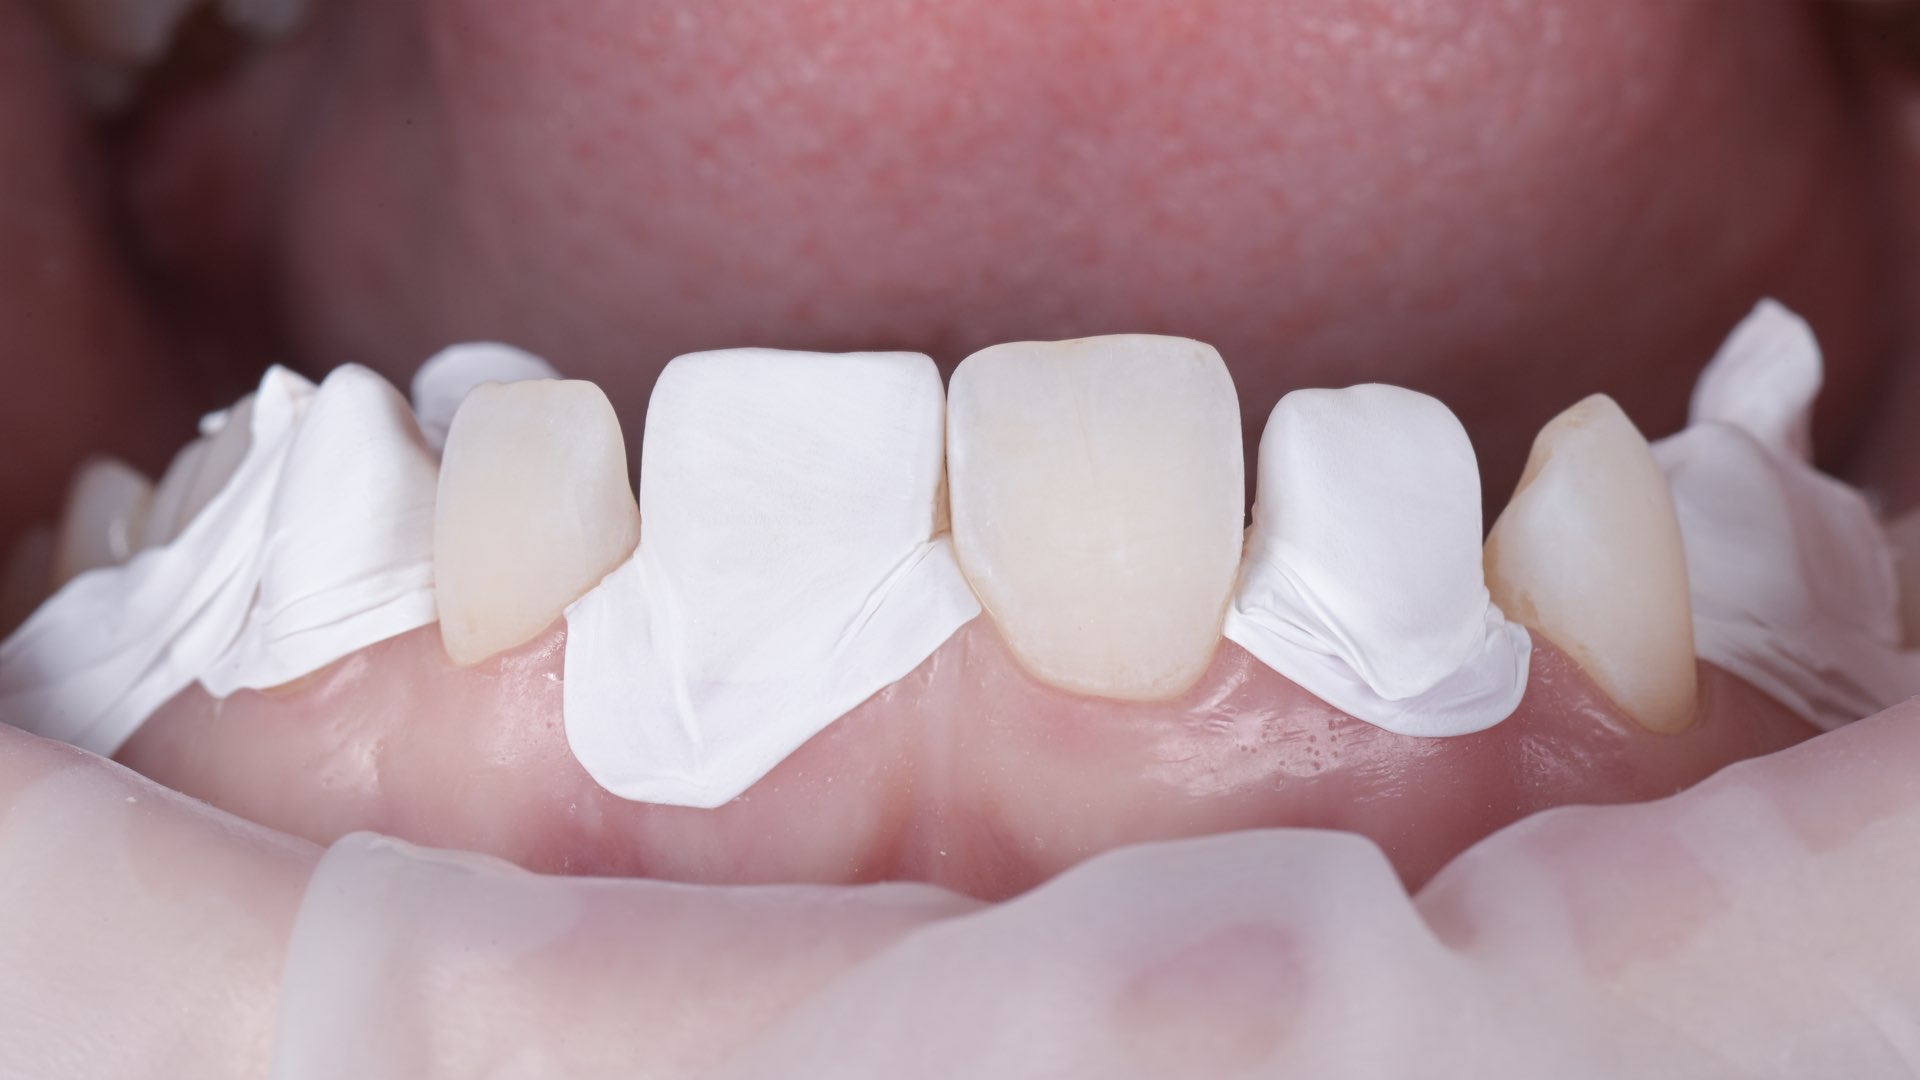
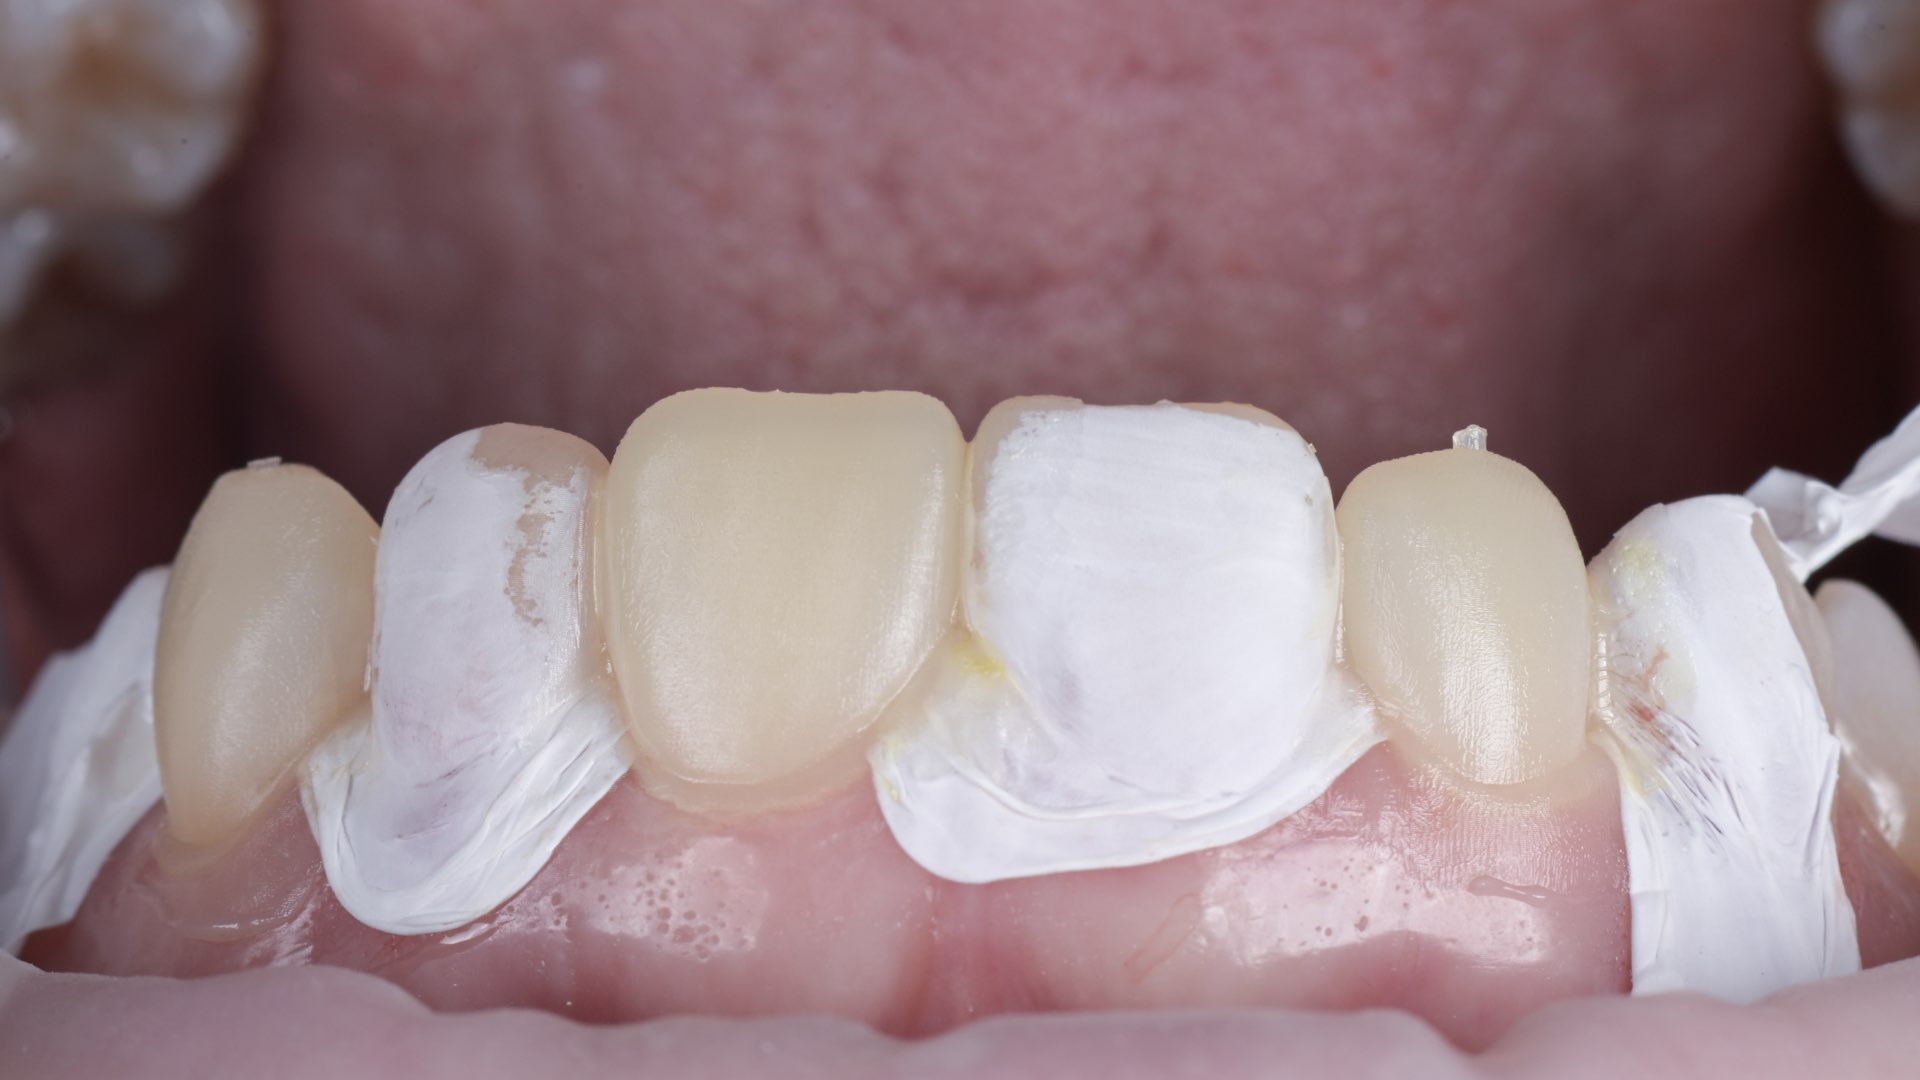
The next step is to protect the lateral teeth with the PTFE tape and to etch the buccal surface. You can etch every separate tooth or all of them.
Silicone mould fit check
Polish and clean with soflex disk
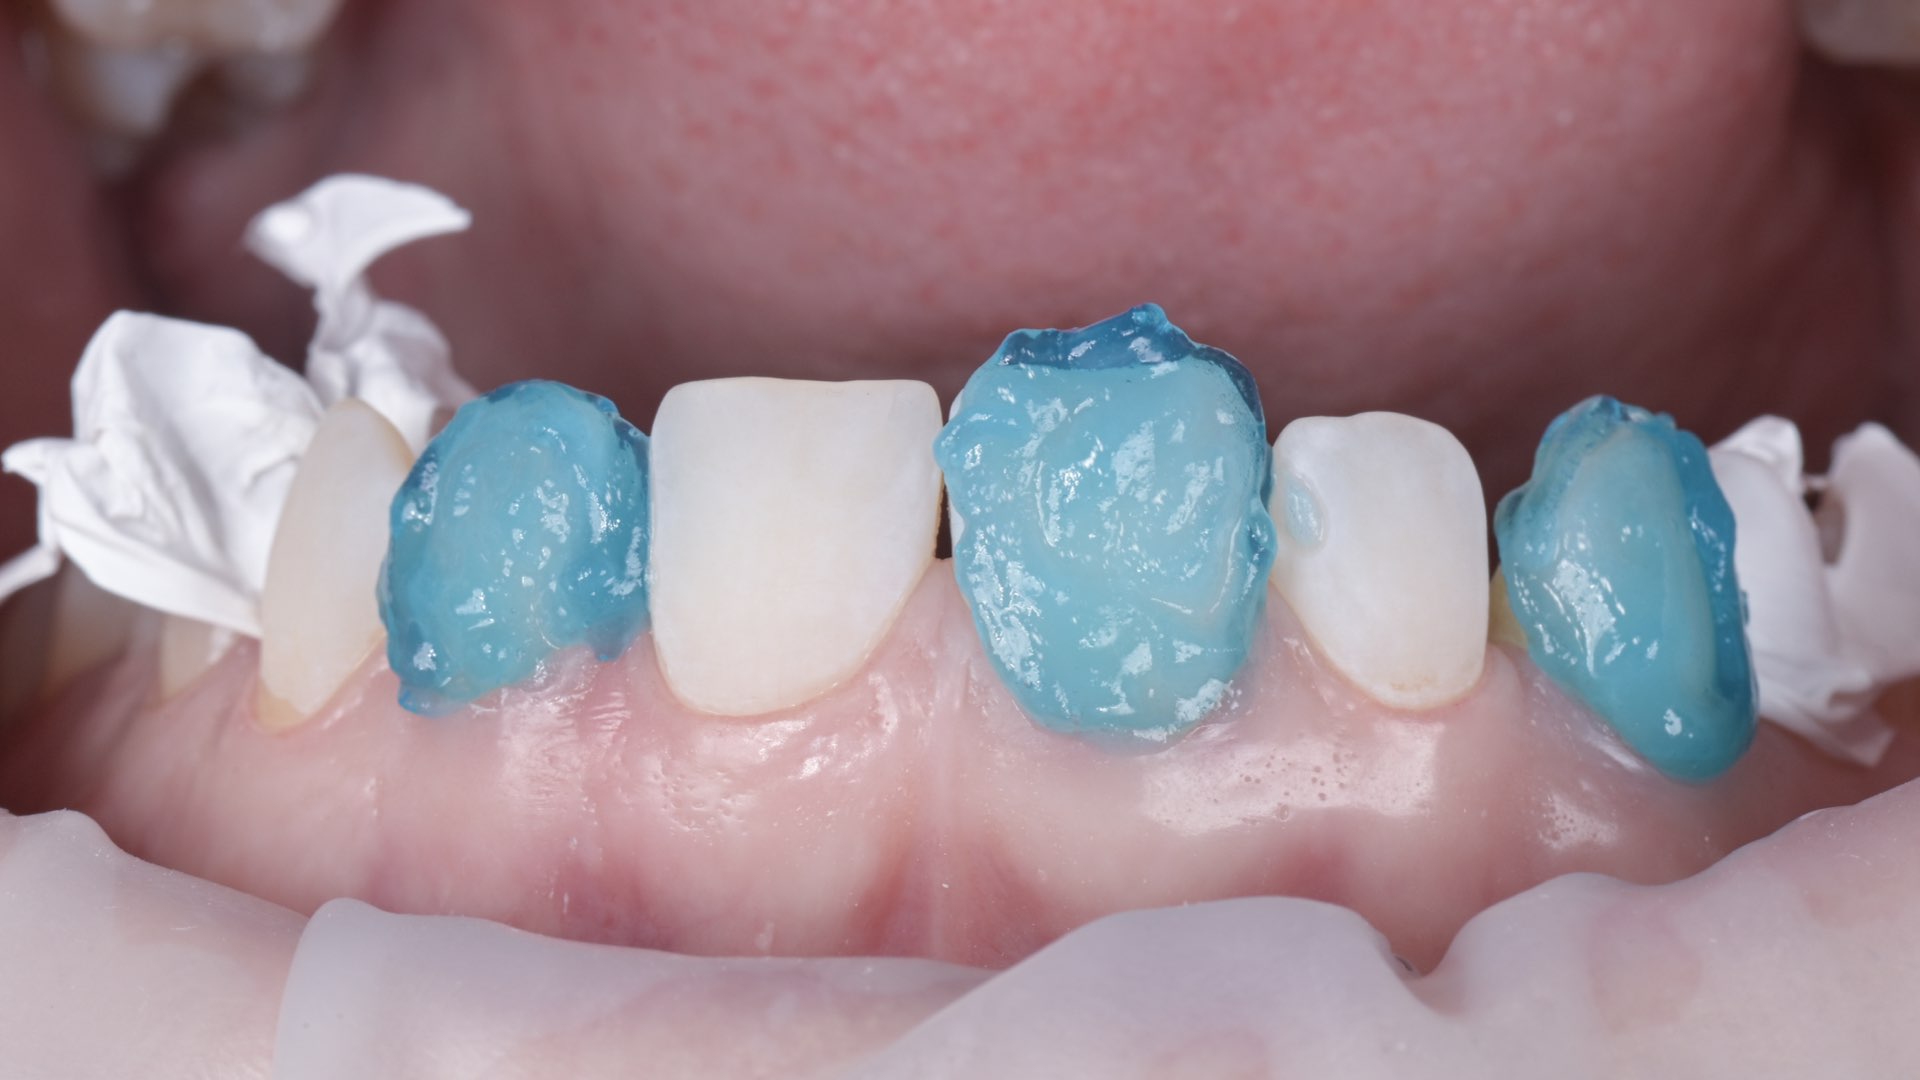
Etching every second tooth
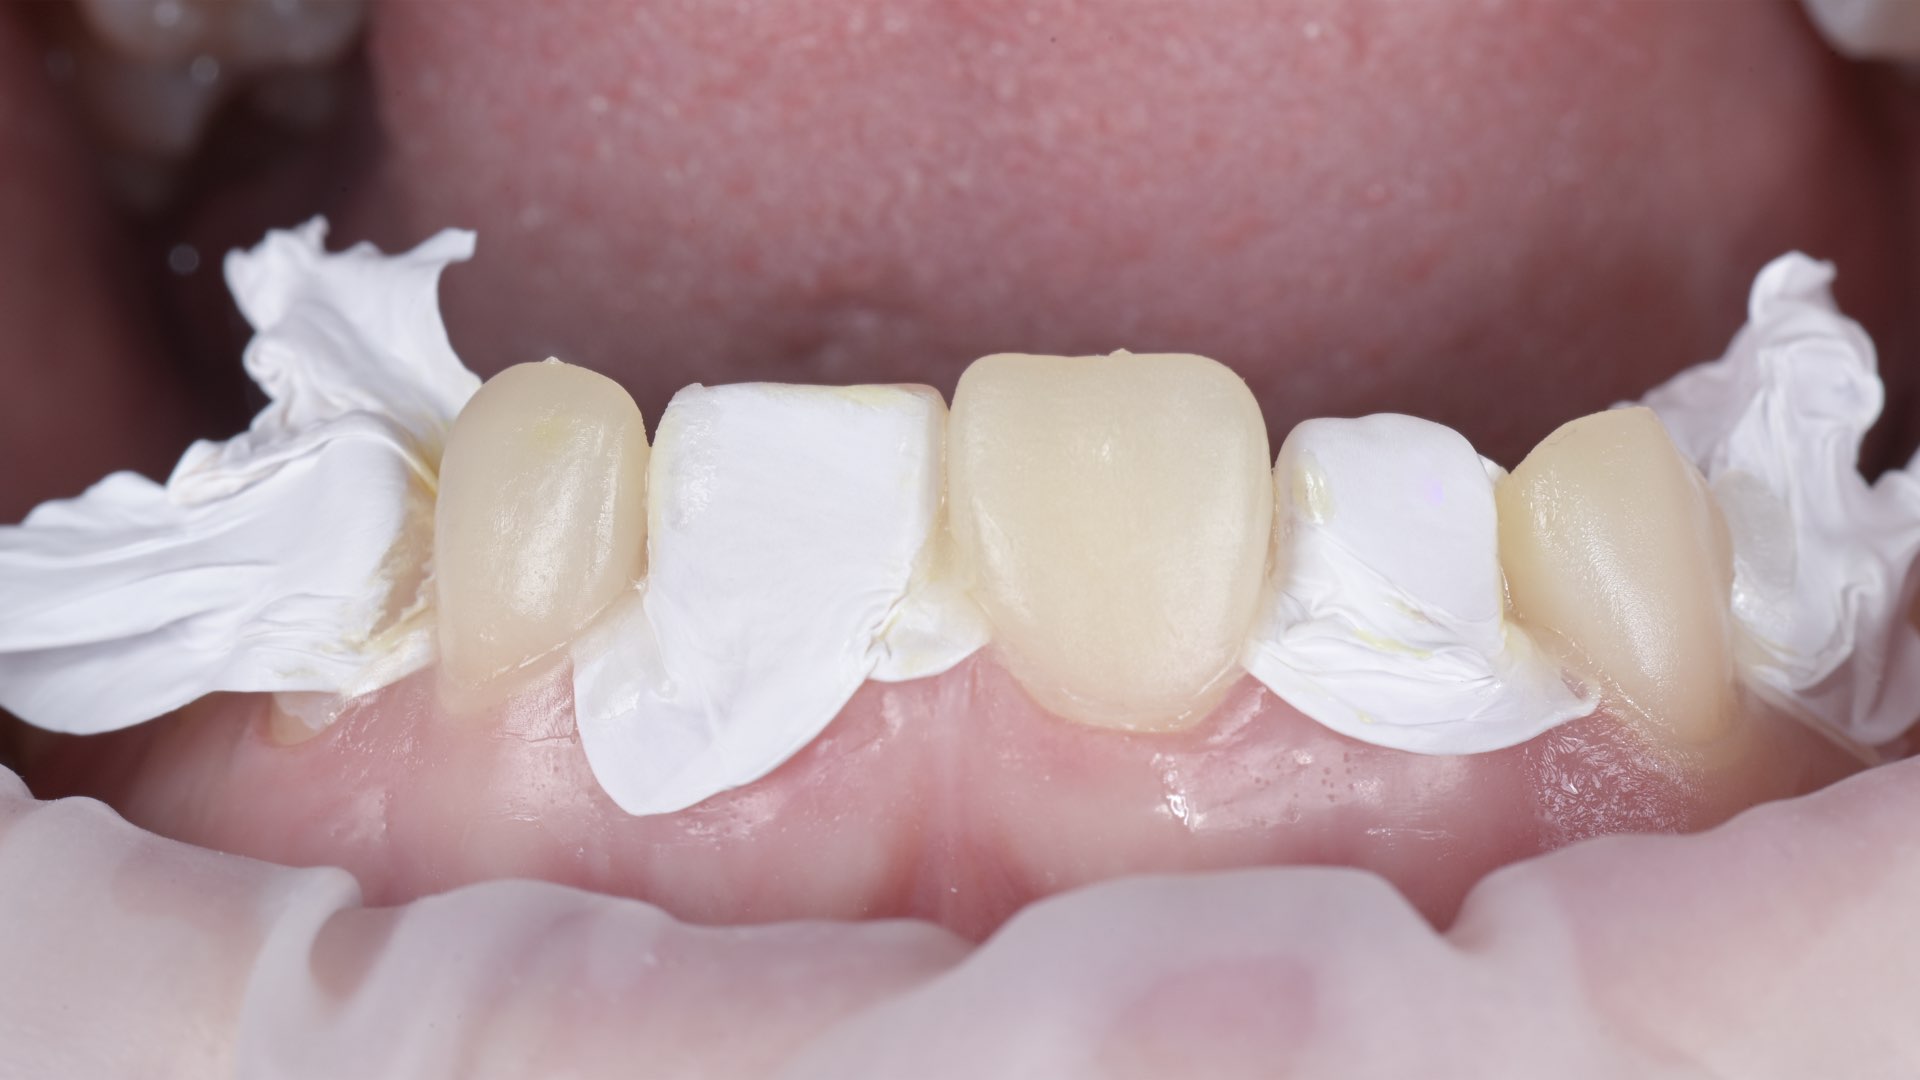
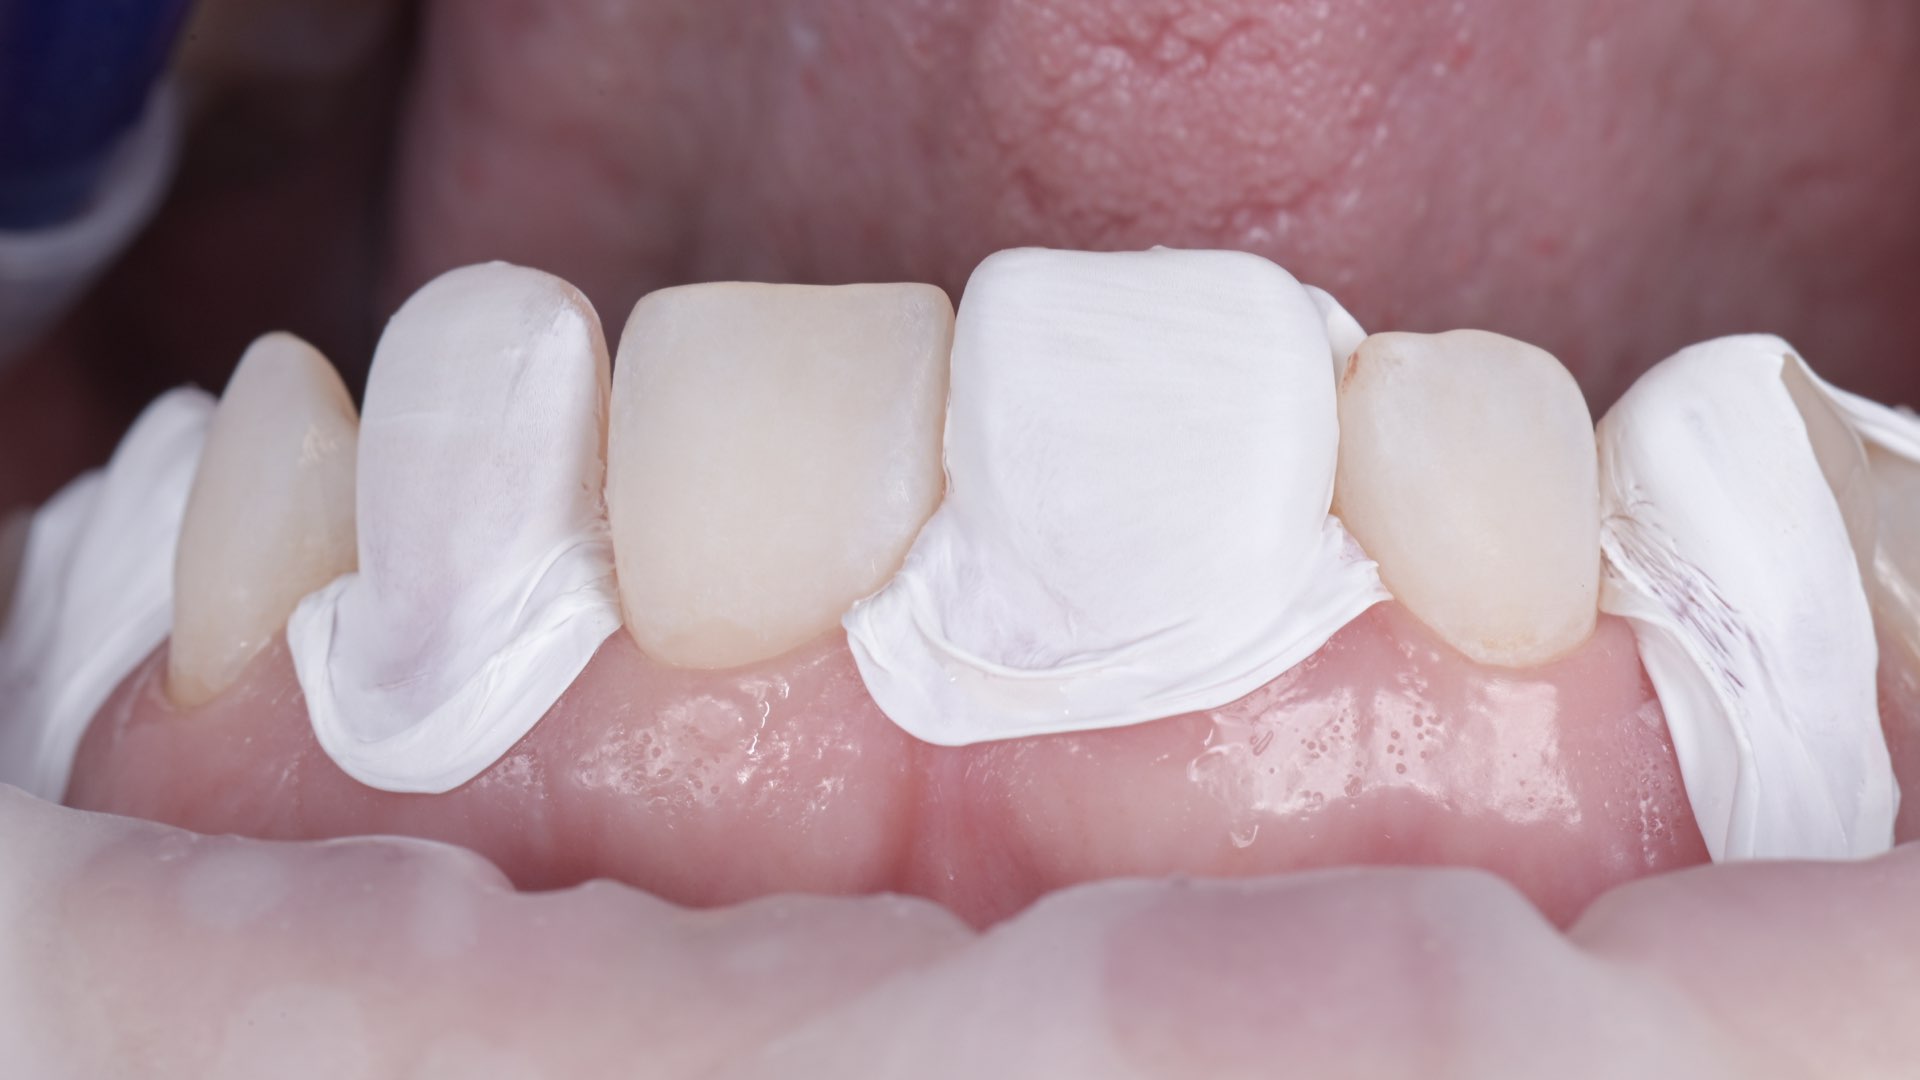
Once the etching protocol is conducted, it is essential to protect the teeth which won’t be injected in the first round. So every second tooth is now isolated. An adhesion system can be applied to non-isolated teeth. Silicone index is placed on the teeth, and every second tooth is injected. Since the index is transparent, it’s easy to check if any bubbles were left as it is essential not to have any. Pre-curing each tooth for 5 to 10 seconds before removing the silicone index.
All teeth etched – matte surface
Neighbouring teeth isolated
Pre-cured composite
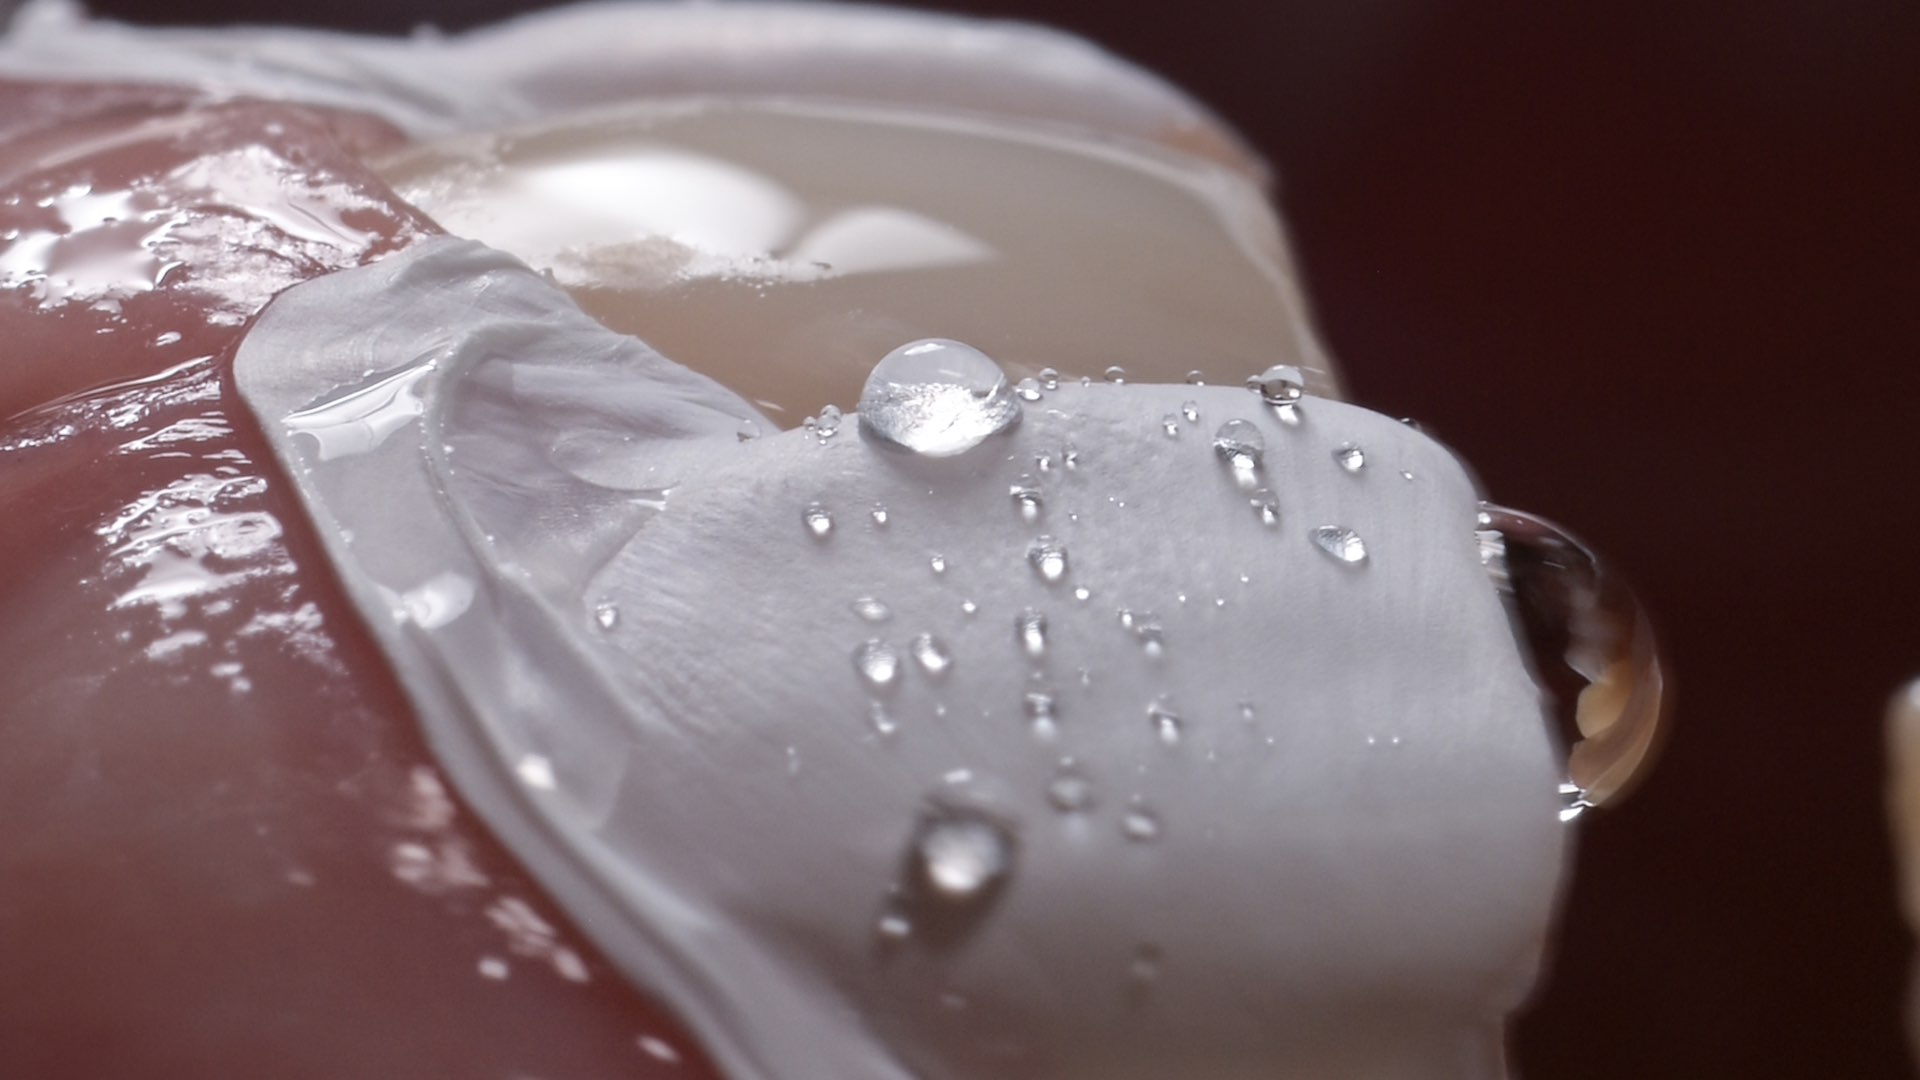
Excess is then removed, and all of the previously injected teeth are now protected using PTFE tape. Pay attention how I’m using the tape to cover the sulcus of the teeth meant for injecting, in this way avoiding any need for placing a retraction cord in the sulcus.
The same process of injecting and pre-curing is now repeated and the silicone index is removed.

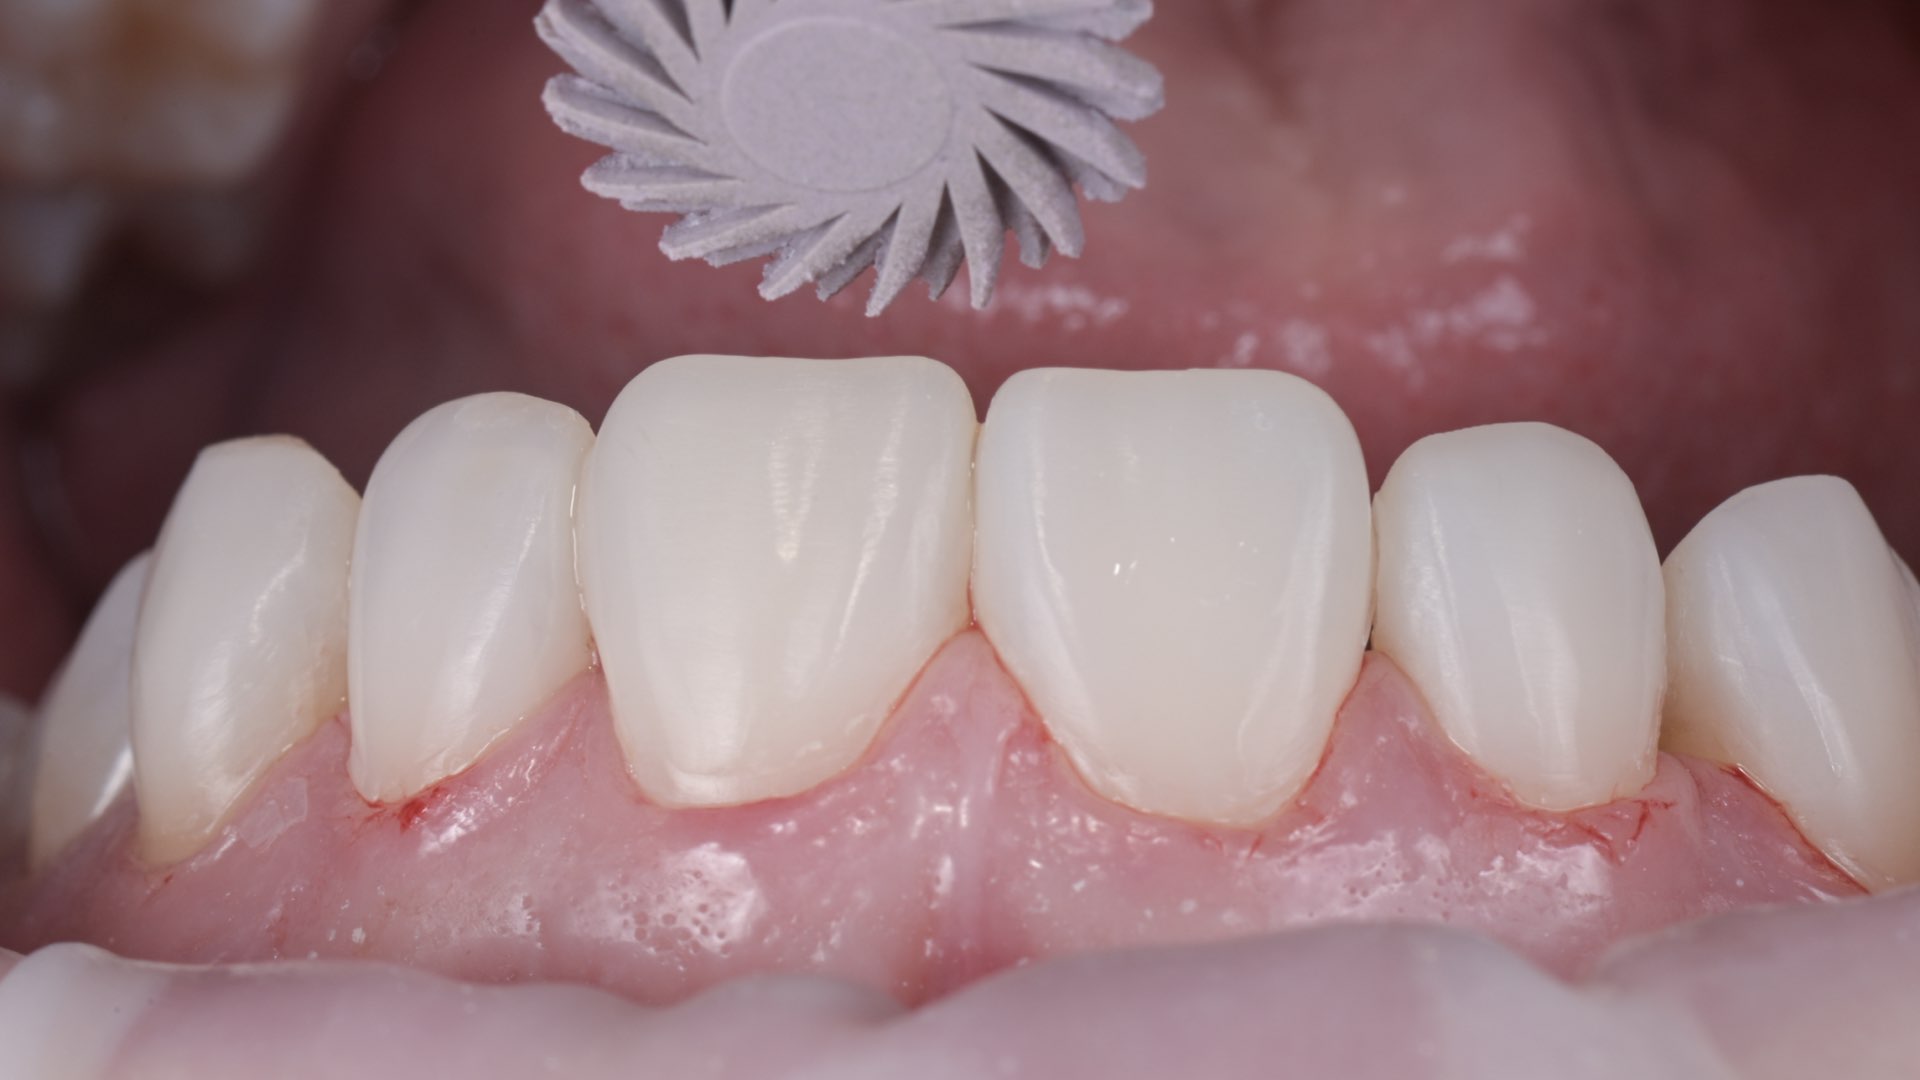
Polishing and finishing

Post-processing is a crucial part of long-lasting results. I’m using a couple of steps:
  1. Blade 12 for removing cervical and proximal excess
  2. Soflex disc for recontouring the proximal walls and thinning the cervical edge of composite
  3. Shofu One gloss for coarse polishing and creating the morphology – as well as removing the excess on palatal surfaces.
  4. High gloss – EVE twist polishers – red for matte surface, and beige for a nice glossy appearance.
  5. Proximal surfaces should be polished using polishing strips – This step should be done carefully to avoid creating diastemas again.
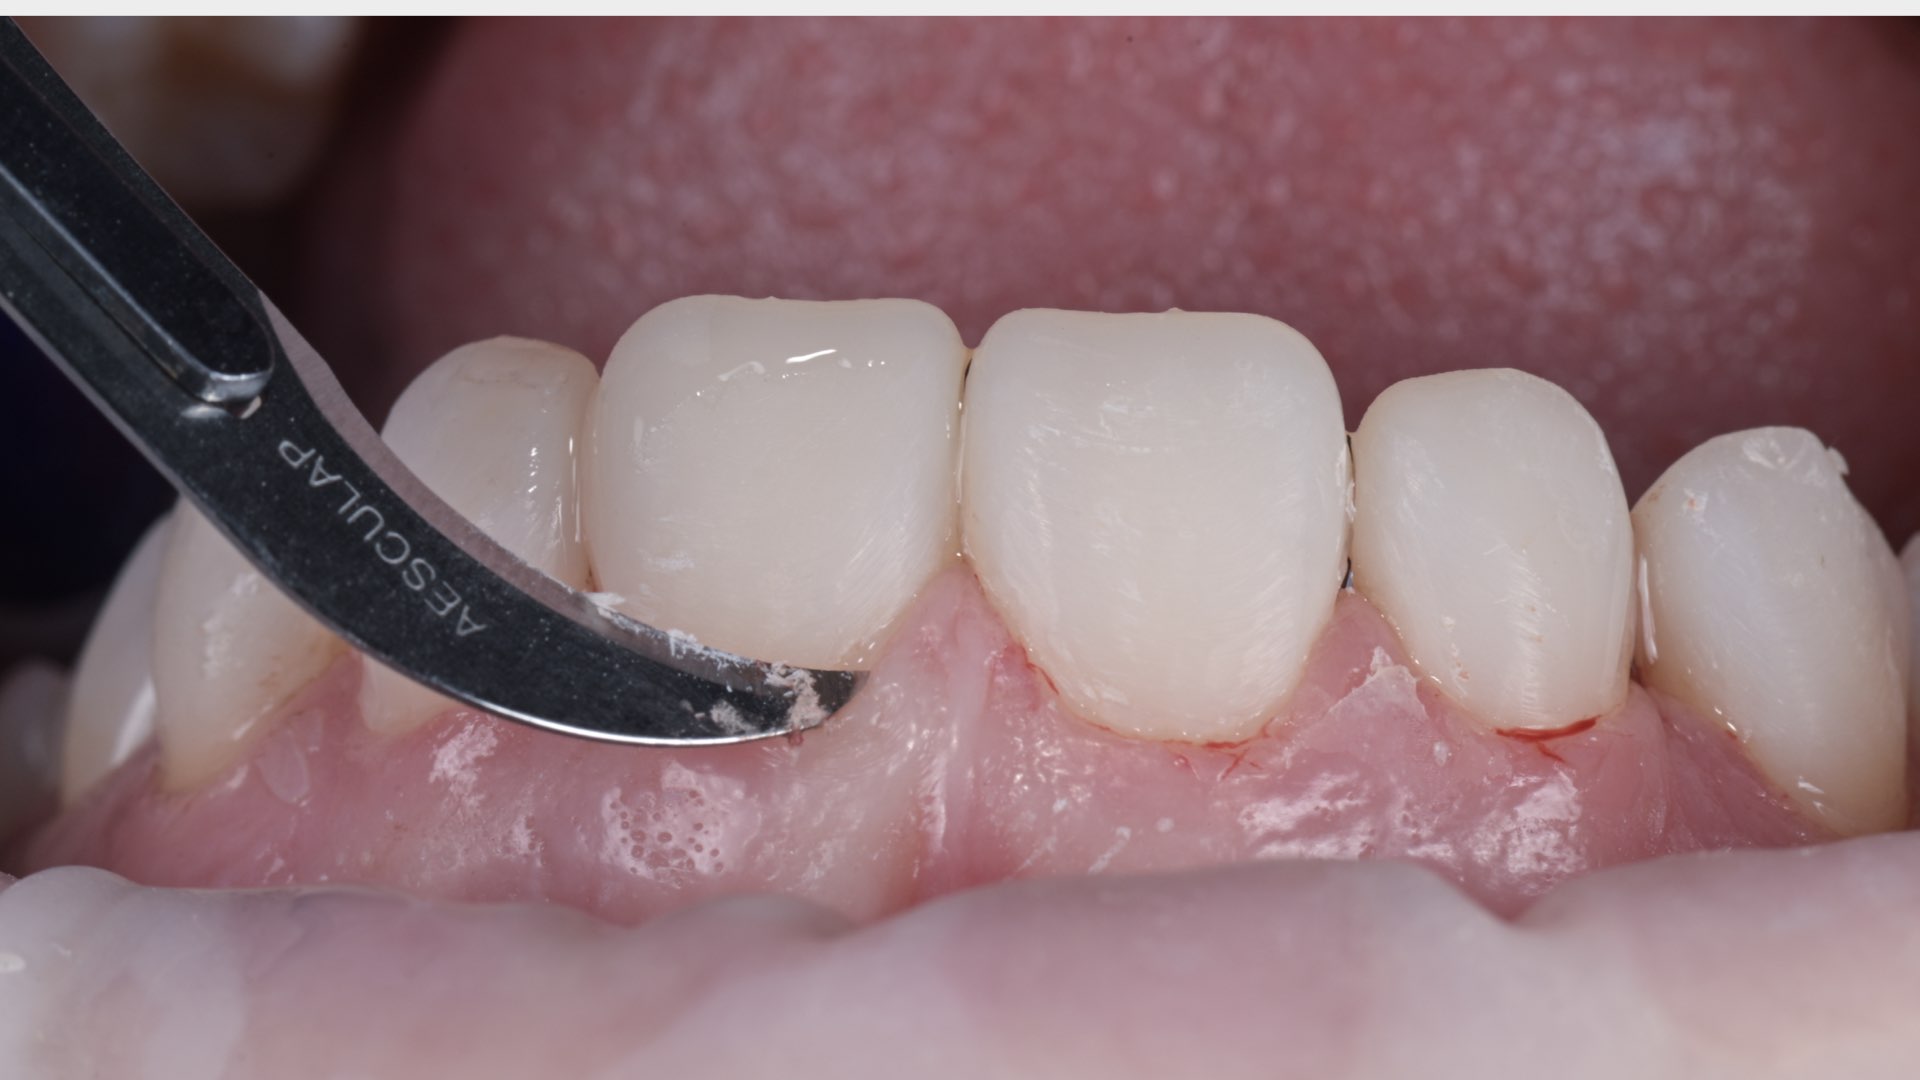
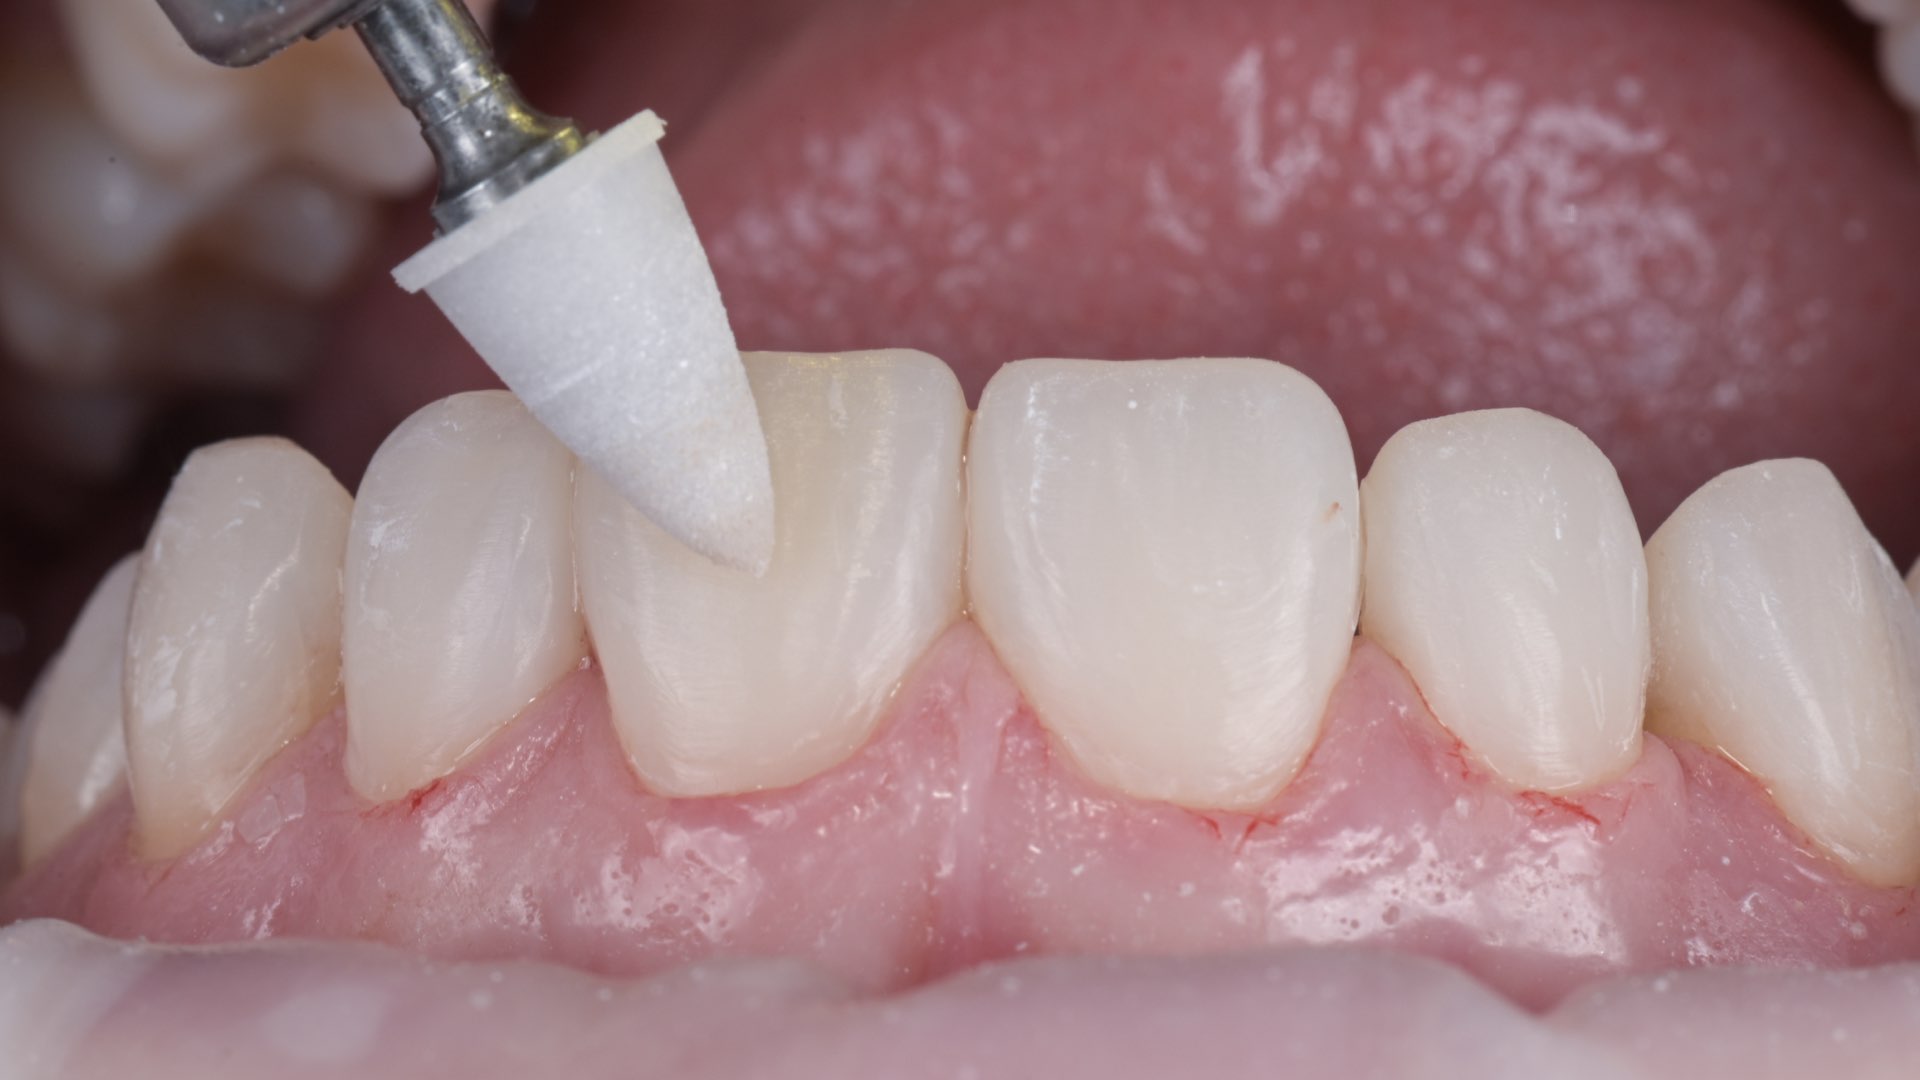
Final result
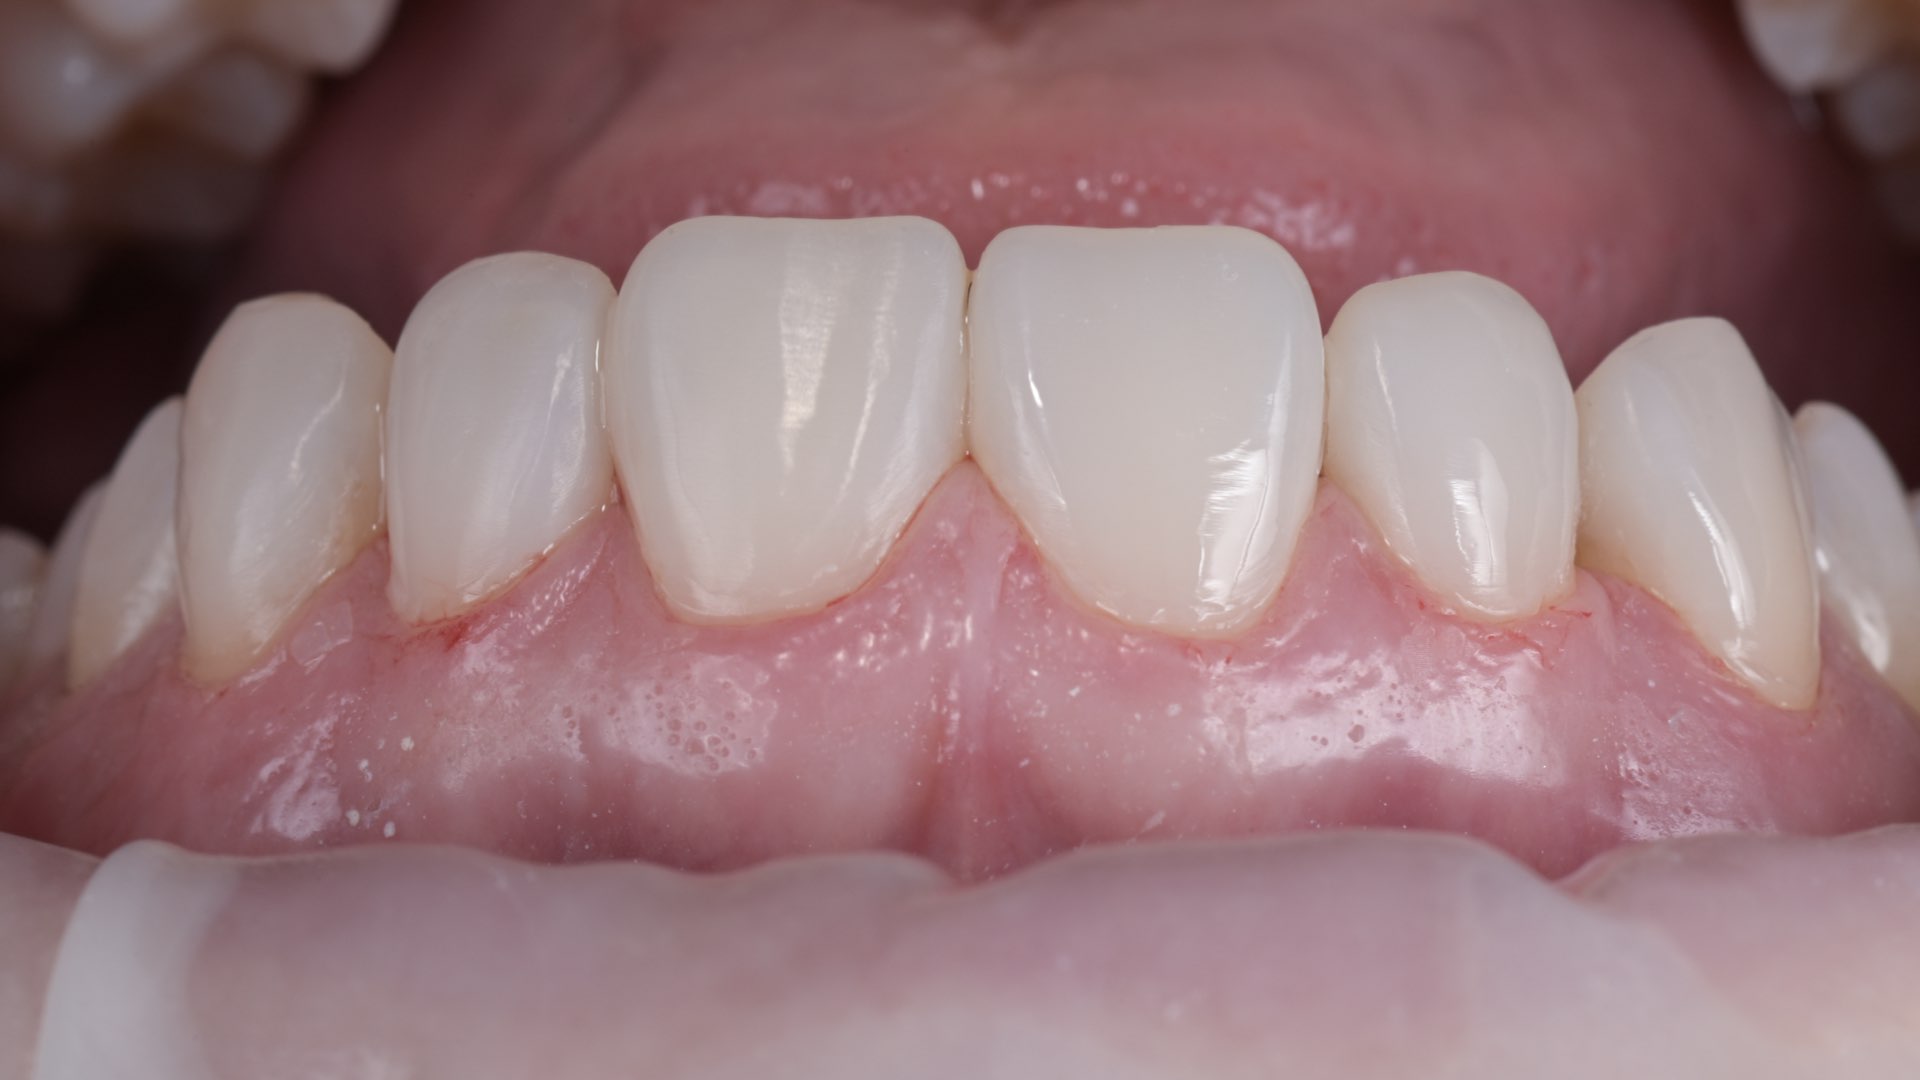
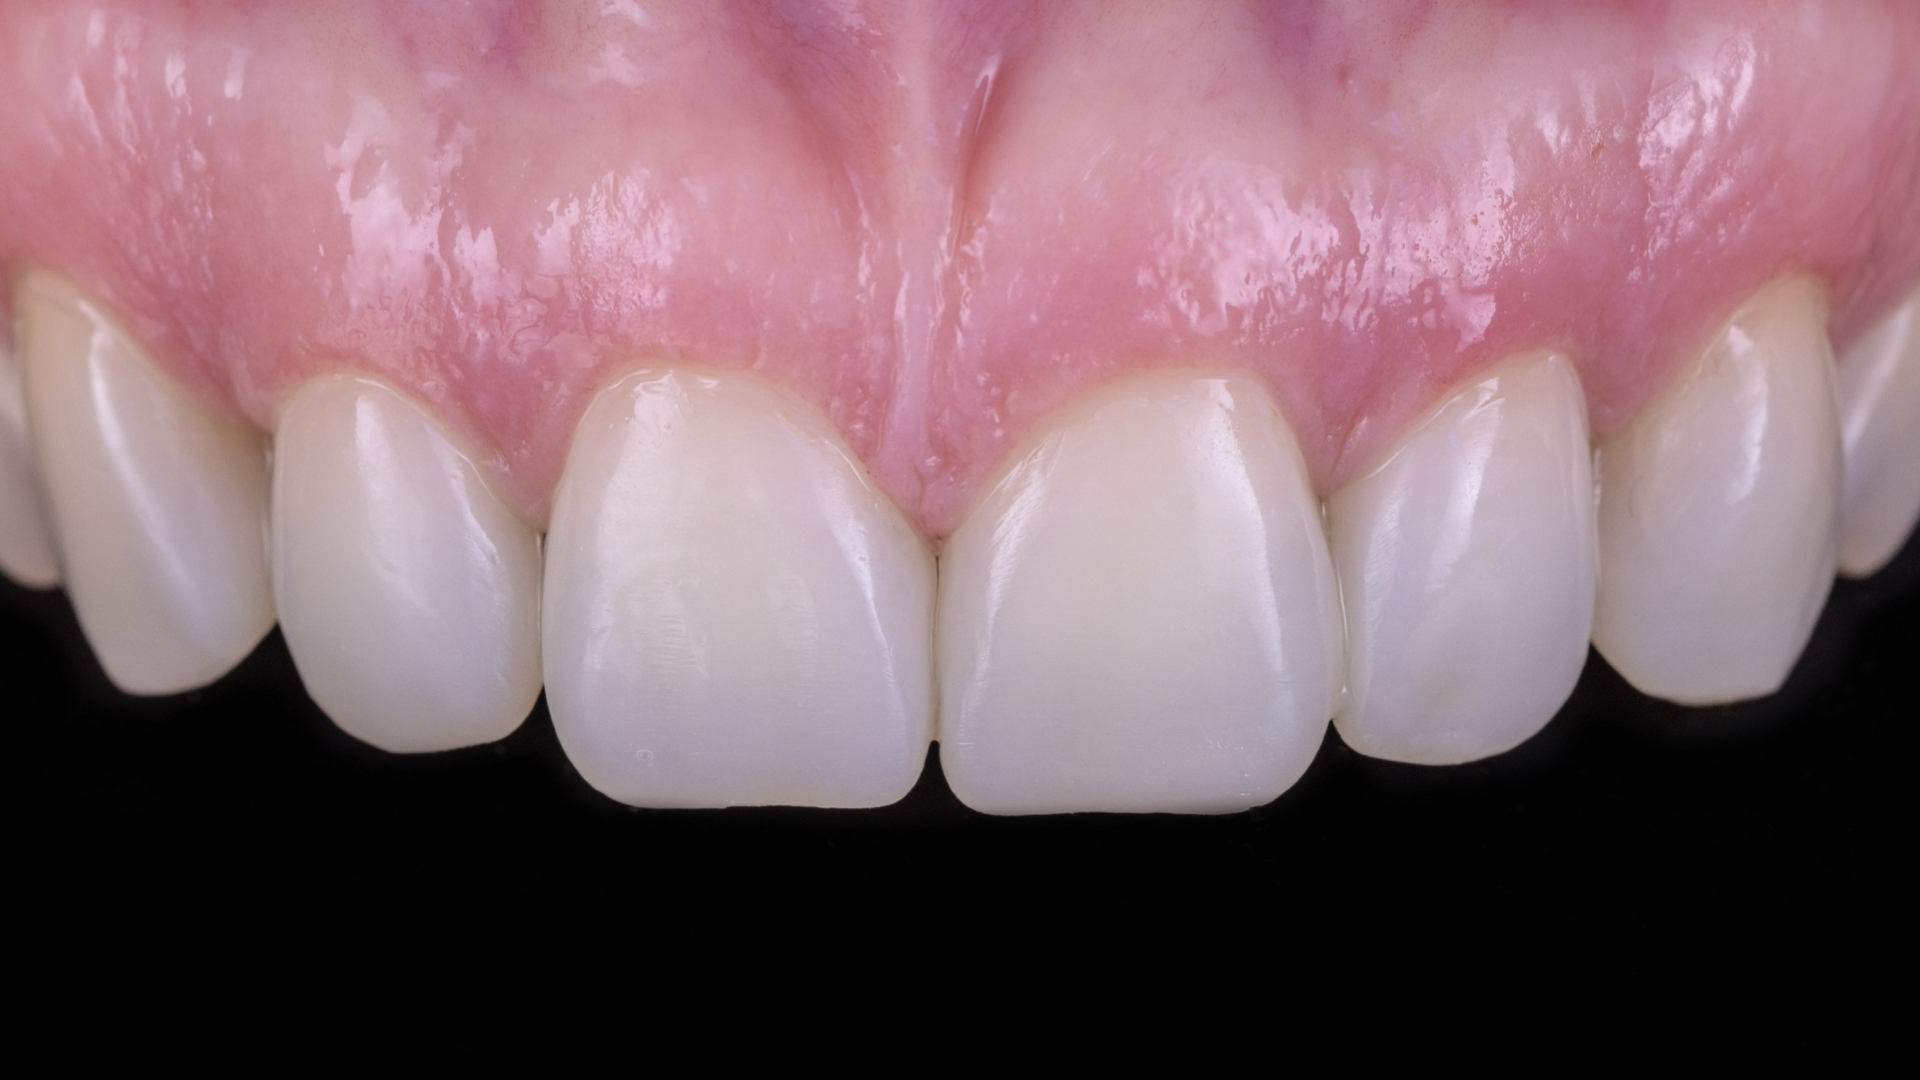
Teeth should be completely light-cured by this point. We removed any excess on palatal surfaces and checked the functional movement.

One day follow up 

The vital thing to notice is how well the composite has blended with her natural teeth. That’s something we have Mimicking abilities of nano-hybrid composites to thank for.

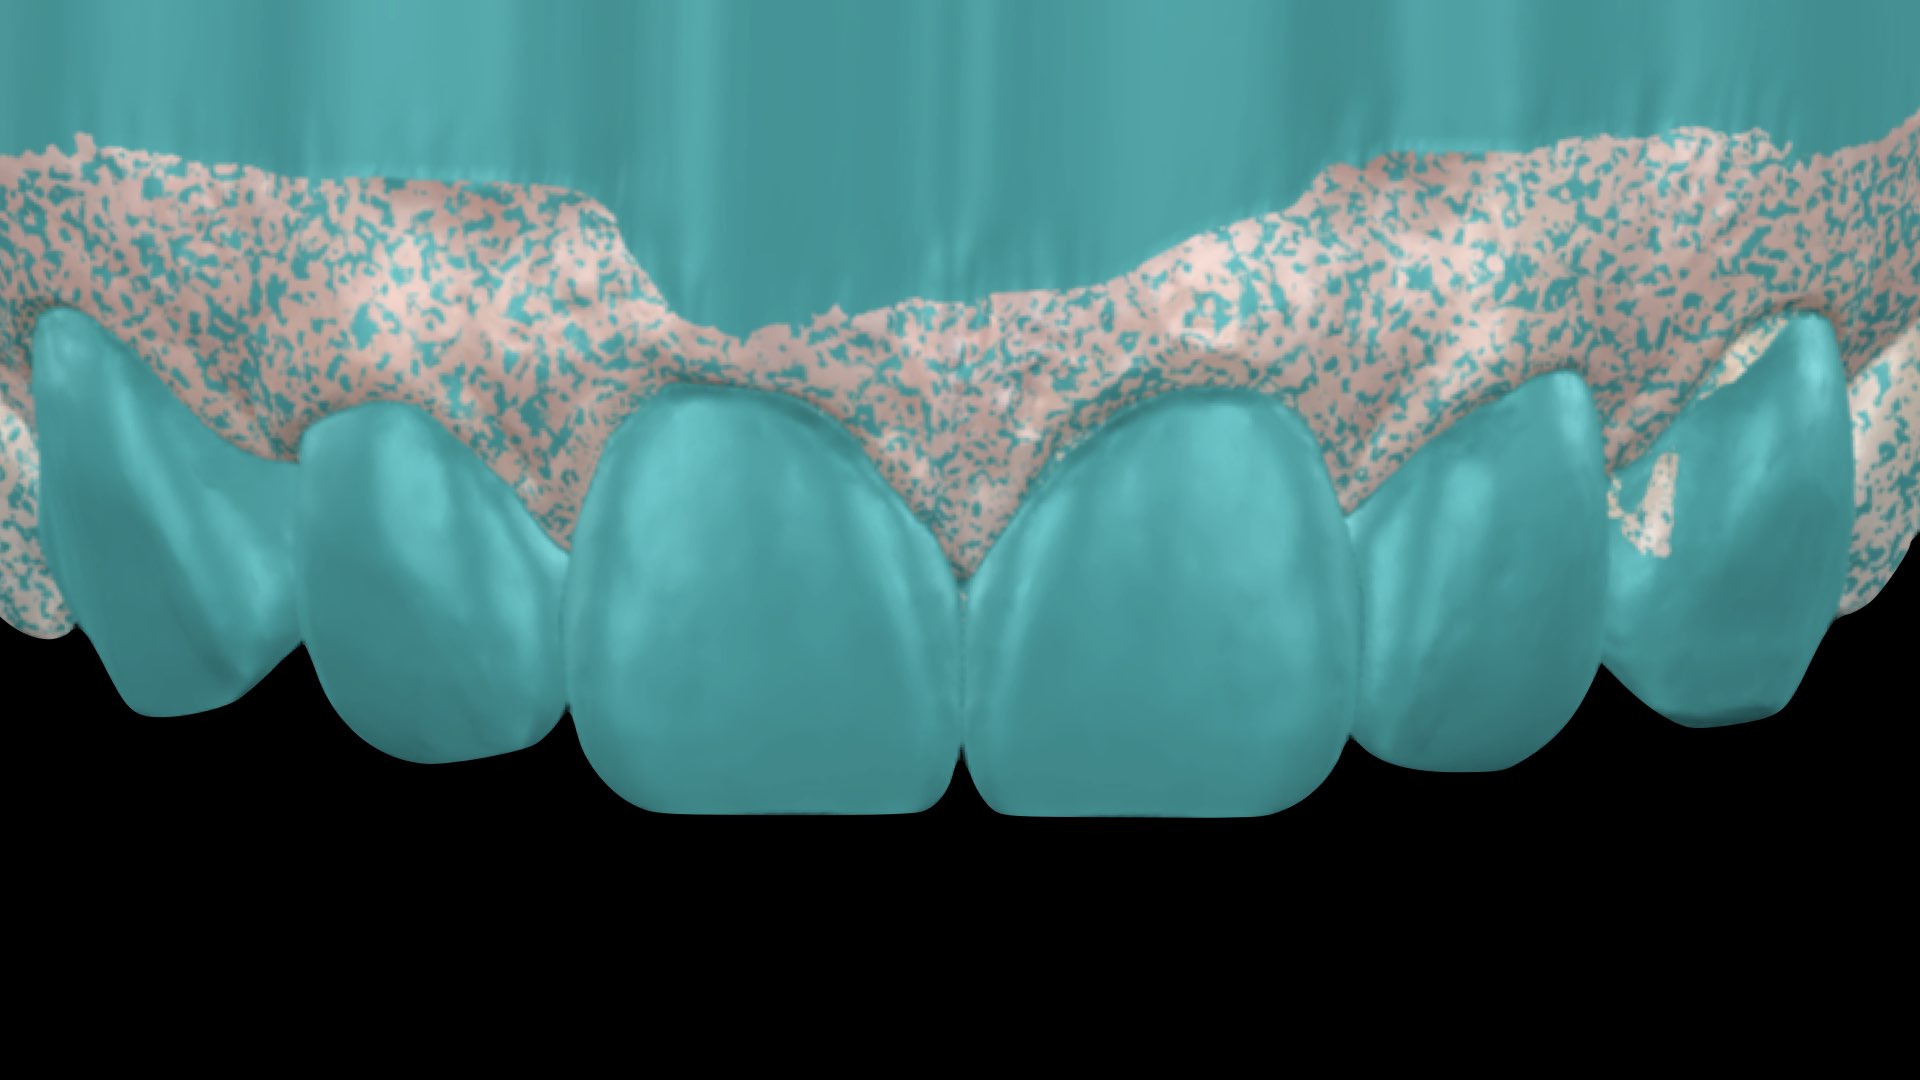
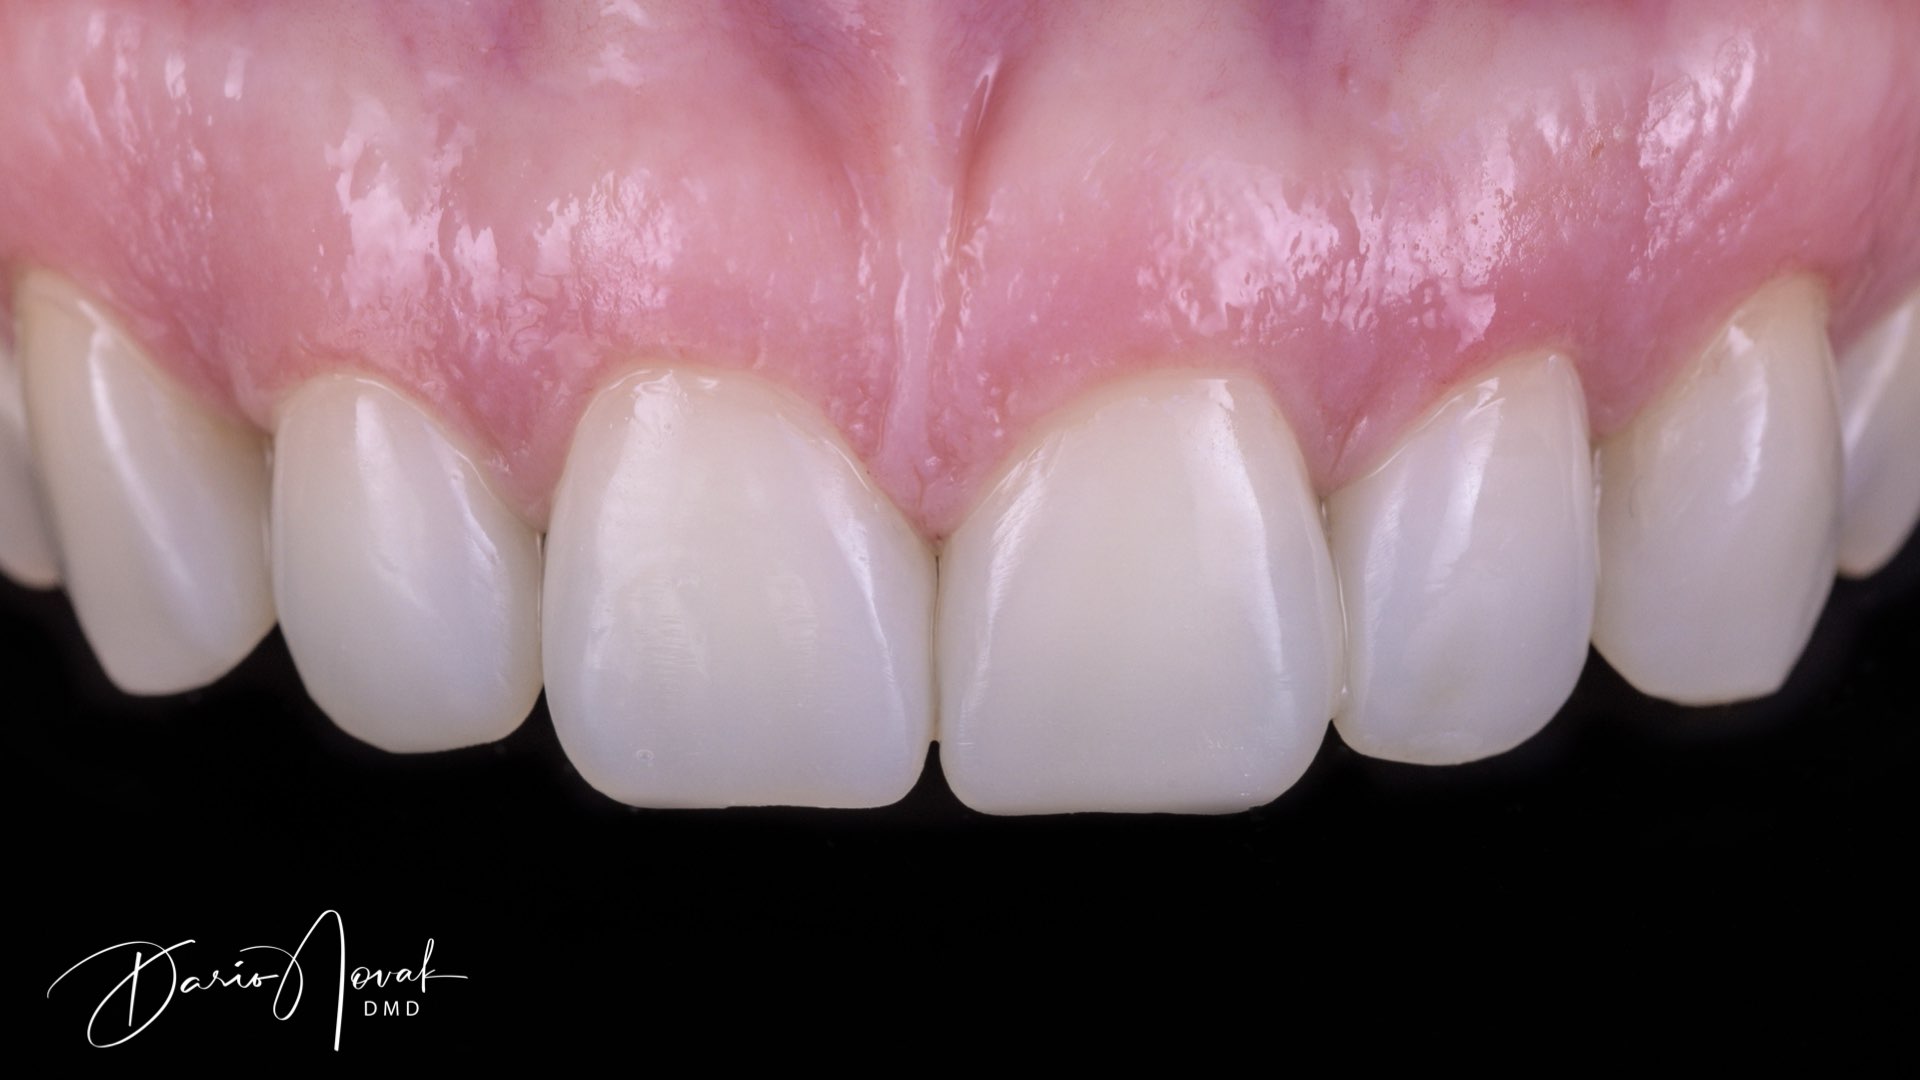
Designed vs. Delivered

Design is almost perfectly transferred into the mouth of the patient hence providing our patients exactly what we designed on the first appointment.
2D Smile Design
3D Final Design
Final restaurations
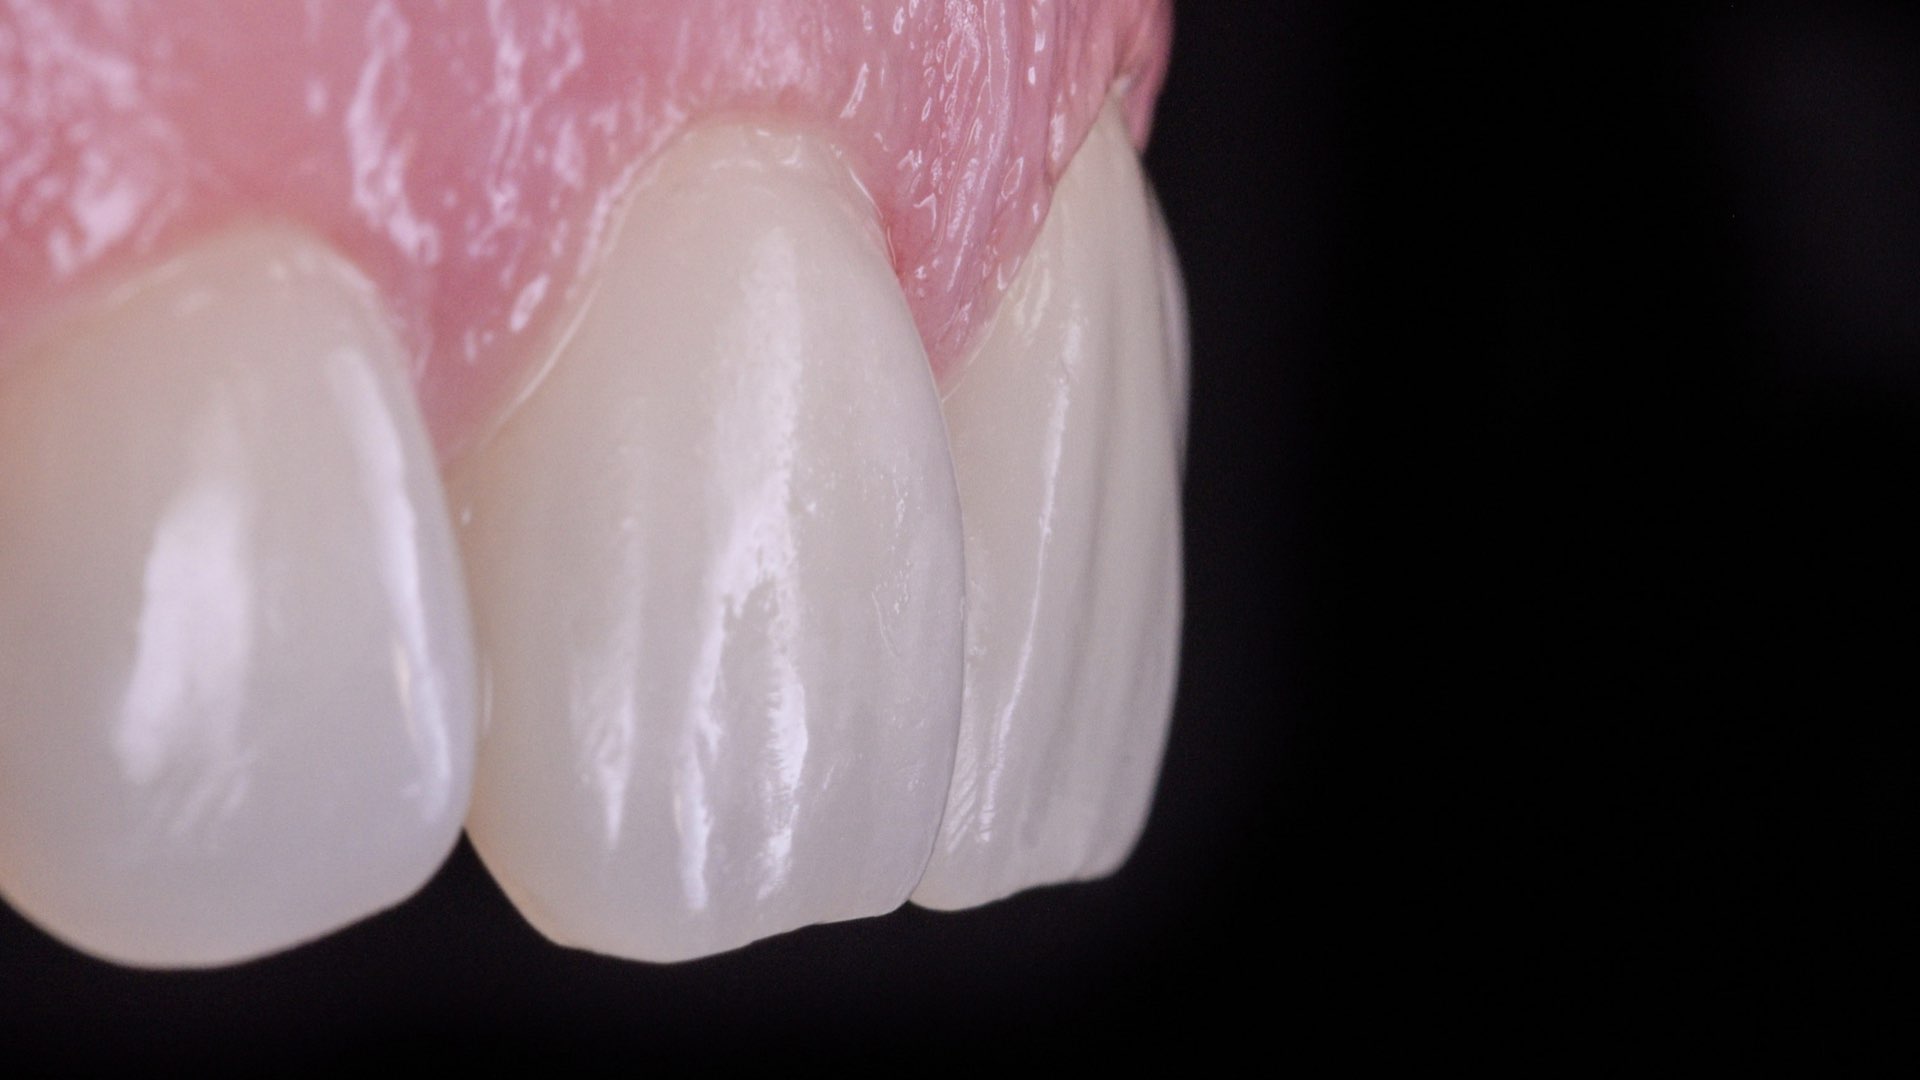
The important thing to notice on this nice lateral photo is the surface texture which is created and emphasized during the polishing protocol. 
The second but most important thing is the edge of the composite veneer. It shouldn’t be bulky, and the veneer should start at least 0,5 mm from the gingival edge – by doing so, securing the biology and enabling our patient a nice and easy hygiene maintaining.
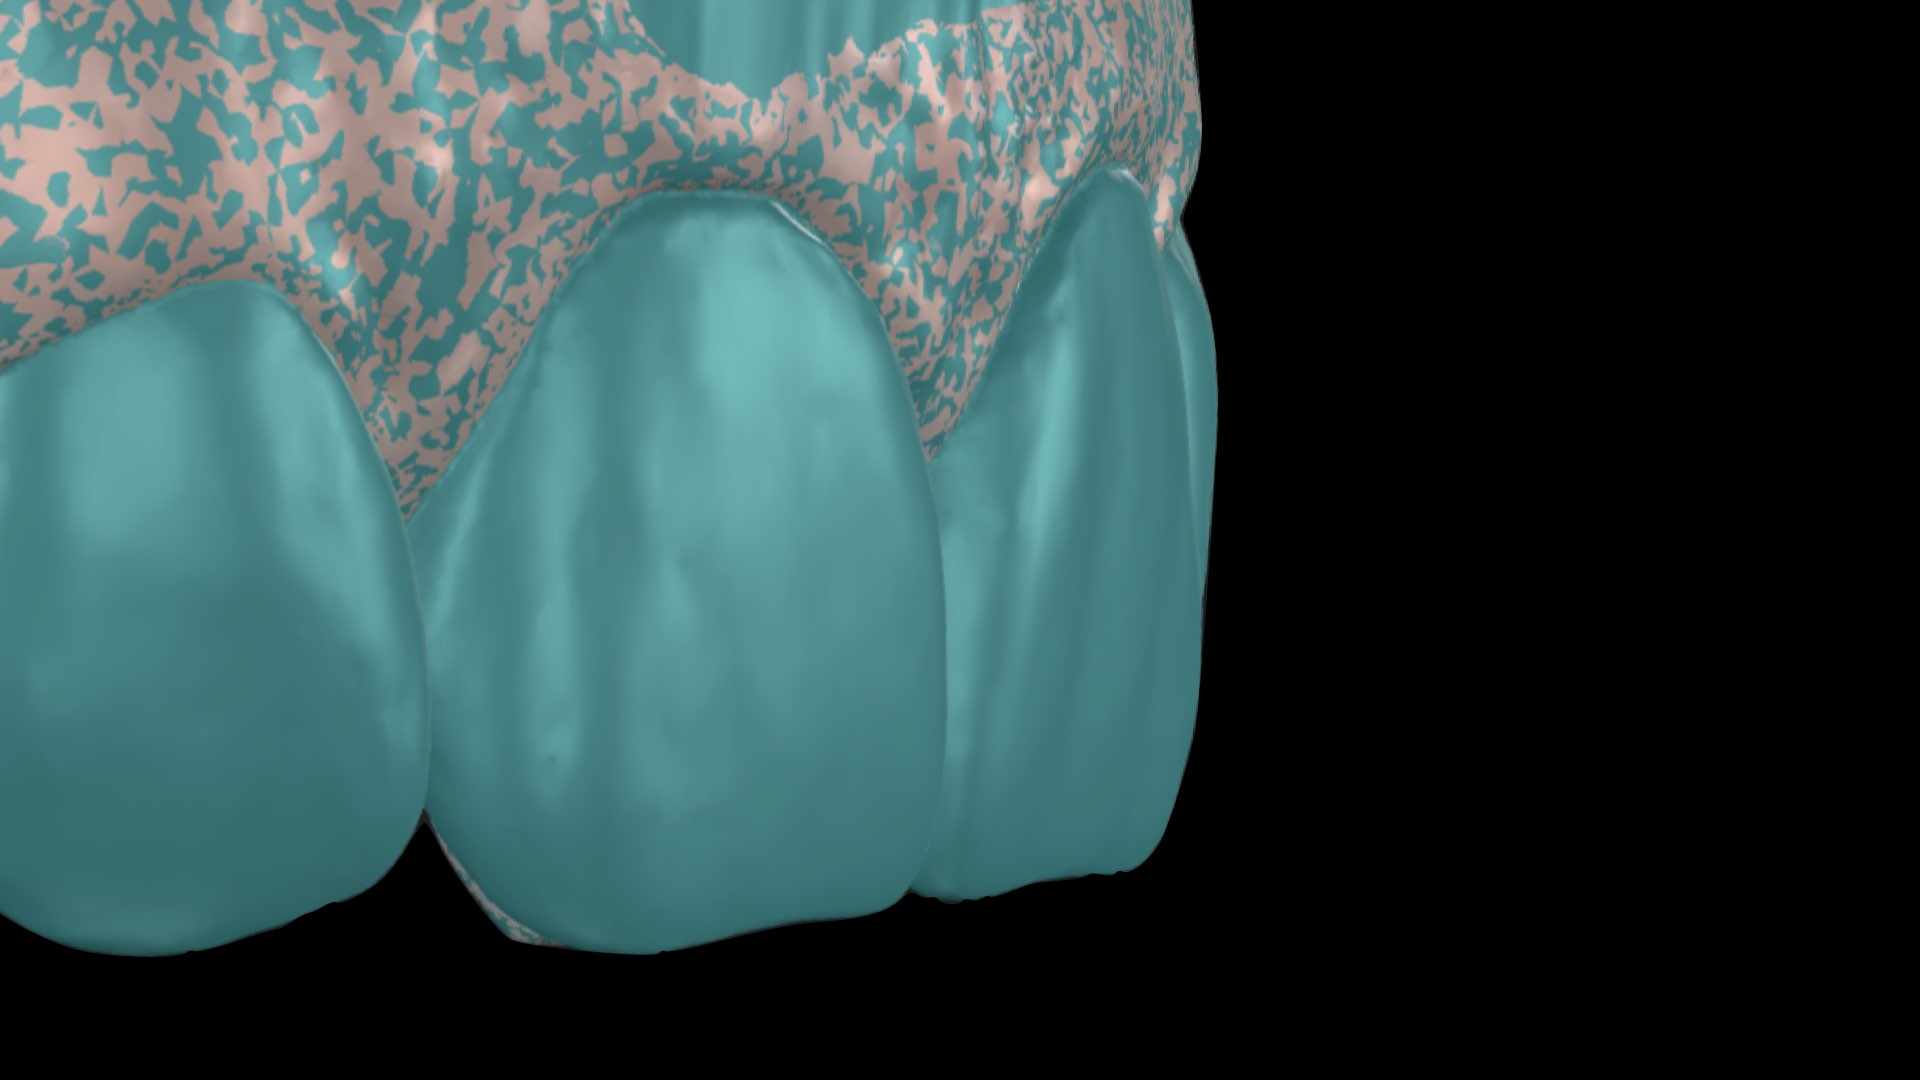
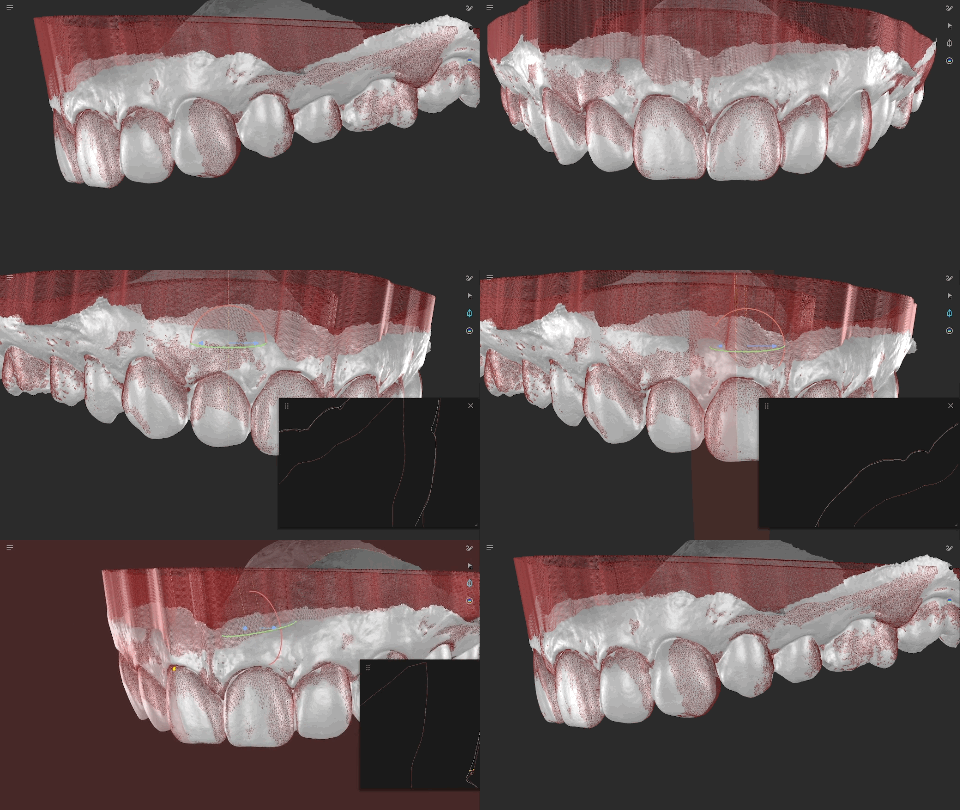
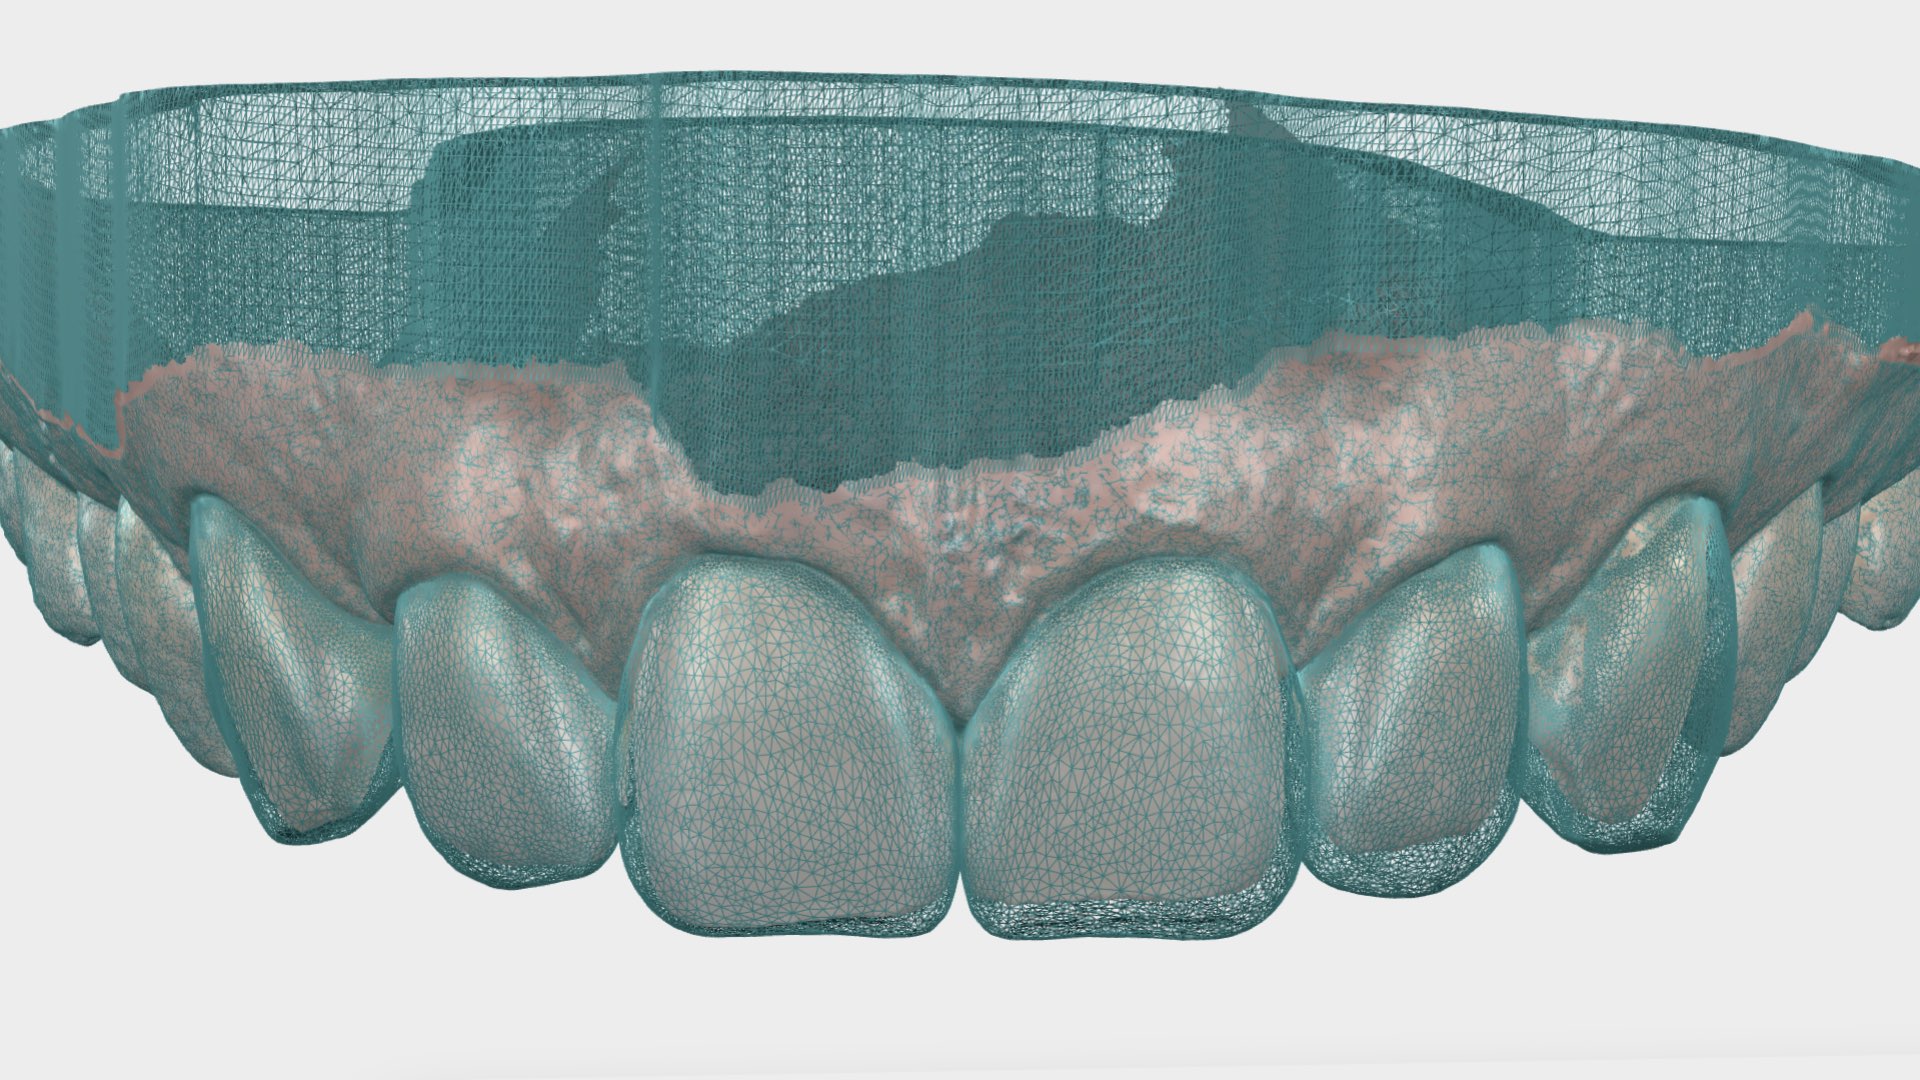
Here, you can see an overlapped design STL file on top of a 10-days post-op scan from the patient’s mouth. The only area that has been reducted is the marked red area, primarily cervical edges. An excellent representation of how the design is accurately transferred into a patient’s mouth.

Conclusion 

Non-invasive Shape my smile protocol is a perfect solution for a number of patients with raising concerns about not damaging their teeth and staying natural regarding the color and shape. Digitalized 2D planning gives us a great opportunity to better understand our patient’s needs and easily transfer their wishes to our dental technician. It could be said that Smilecloud is a Universal translator in the Patient-doctor-technician triangle.
Treatment planning and execution: Dario Novak
Dentum dental clinic, Zagreb, Croatia
Founder of Corona Dentis educational platform: https://www.coronadentis.com 
Dental Technicians: Marko Čeko and Denis Ozjaković

Register and try it free for 14 days

Post a Comment